
How to Make a Scrapbook From Everyday Memories: A Beginner-Friendly Guide
Some memories arrive with a perfect photograph. Others are much smaller: a coffee with a friend, a rainy afternoon, a family meal, a handwritten note, a ticket from an ordinary outing, or a funny moment that would be easy to forget six months from now.
A scrapbook gives those moments somewhere to live.
If you have been searching for how to make a scrapbook from everyday memories, you do not need a professional craft room or a huge collection of decorative supplies. You can start with a small album, a few photographs, paper, adhesive and something to write with.
The real value of a scrapbook is not the number of stickers on a page. It is the story behind the page.
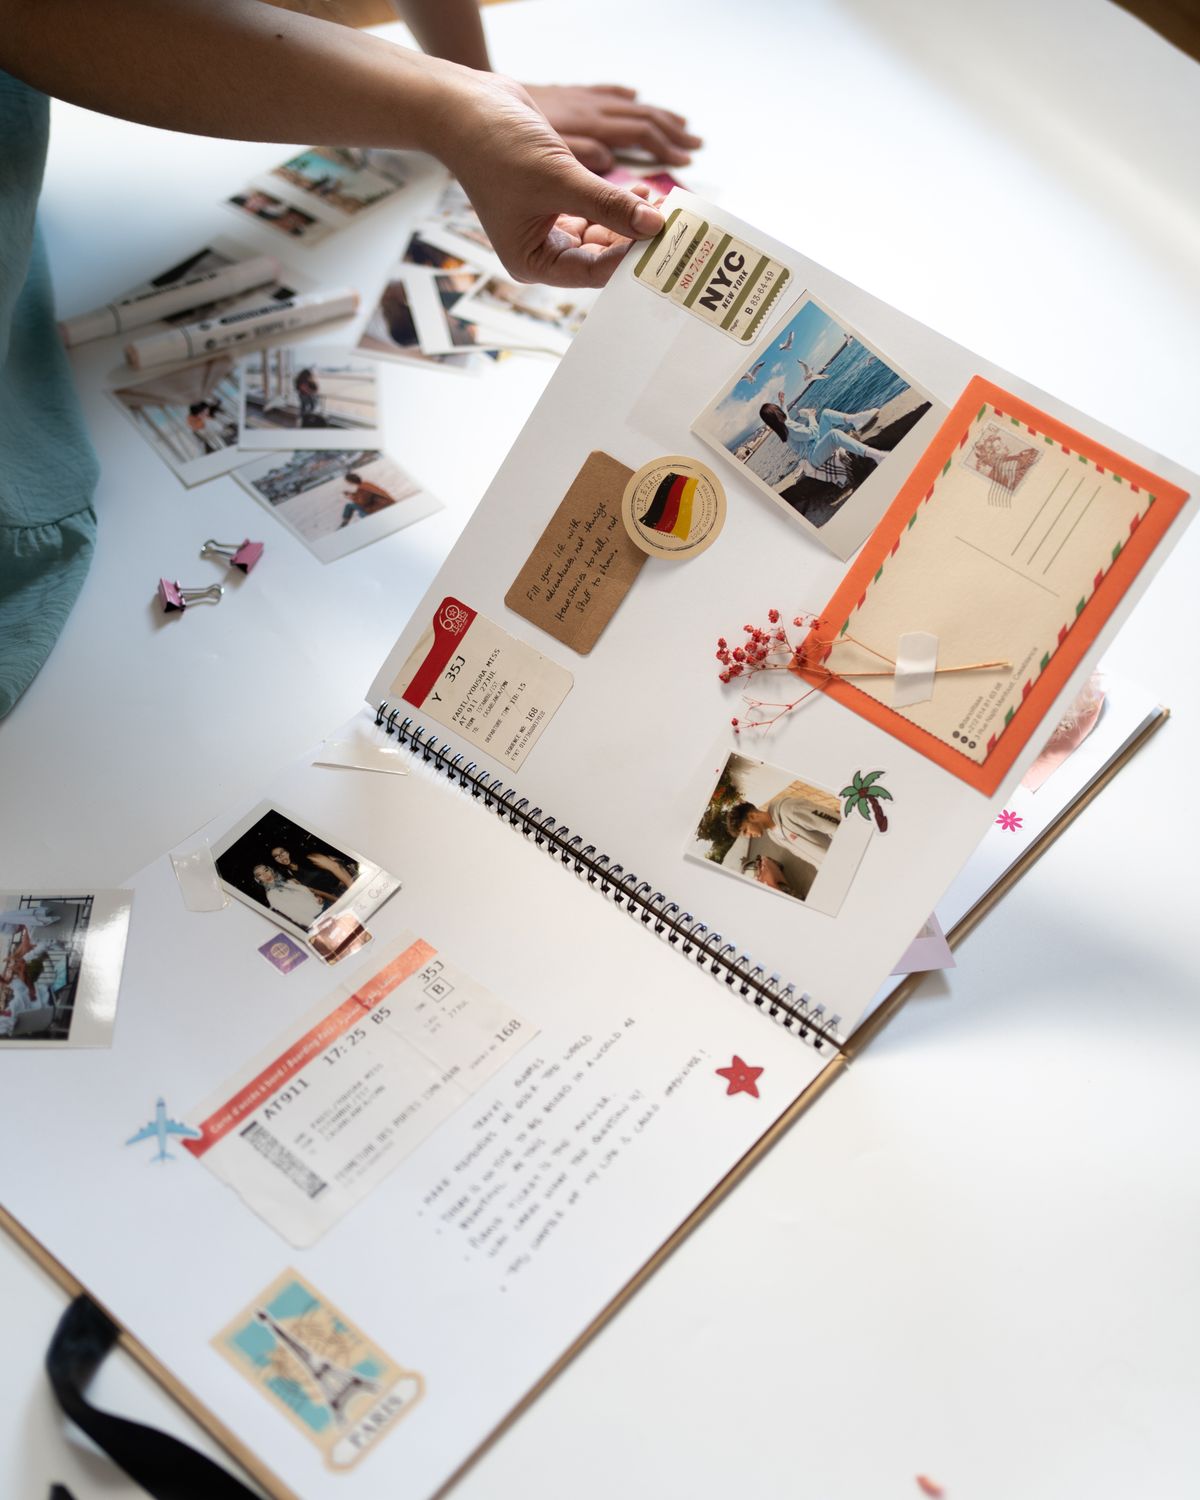
Photo inspiration: Pexels. View the original Pexels photograph.
Scrapbooking combines photographs, journaling, decorative paper and personal objects into a visual record of an experience.
But you can make your approach much simpler. Instead of waiting for a wedding, holiday or major birthday, try documenting an ordinary week.
That is where everyday scrapbooking becomes interesting.
What Is Everyday Scrapbooking?
Traditional scrapbooks often focus on major events. Everyday scrapbooking takes a different approach: it treats ordinary moments as worth recording.
Imagine a page about a Saturday morning.
You could include a photograph of breakfast, a small handwritten note about where you went afterward, a receipt from a café, a tiny paper label, and a sentence describing something funny that happened.
None of those things would normally seem important enough to preserve individually.
Together, however, they tell a story.
This style of memory keeping is particularly useful when you have hundreds or thousands of photographs stored on a phone but rarely look at them.
A scrapbook turns selected images into something physical that you can revisit.
Why Start With Everyday Memories?
There are several reasons everyday memories make excellent scrapbook subjects.
They are easier to find
You do not have to wait for a major event. Your next scrapbook page could be about yesterday.
They tell more personal stories
A photograph from a major celebration may show what happened. An everyday page can explain how life actually felt during that period.
They reduce perfectionism
If you believe every scrapbook page needs to document a spectacular event, you may never start. Everyday memories make experimentation easier.
They create a record of ordinary life
Years from now, small details can become surprisingly interesting: favorite meals, routines, places you visited regularly, hobbies you enjoyed and people you spent time with.
What You Actually Need to Start
One of the easiest ways to become overwhelmed by scrapbooking is to look at all the available supplies before making your first page.
You do not need everything.
Start with the basics.
| Supply | Purpose | Do you need it immediately? |
|---|---|---|
| Album or blank scrapbook | Holds your finished pages | Yes |
| Cardstock or suitable paper | Page background and layers | Yes |
| Printed photographs | Main memory element | Yes |
| Adhesive | Attaching photos and paper | Yes |
| Pen | Journaling and titles | Yes |
| Scissors | Cutting paper | Usually |
| Stickers | Decoration | No |
| Washi tape | Decoration and borders | No |
| Special punches | Decorative shapes | No |
| Die-cutting equipment | Advanced decoration | No |
Beginner guides commonly recommend keeping the initial supply list small and adding specialty tools later if you discover that you genuinely need them.
Choosing Your First Scrapbook Theme
Do not begin with “my entire life.”
That sounds inspiring but creates an enormous project.
Choose one contained theme instead.
- A weekend with friends
- A month of everyday life
- A favorite hobby
- A family meal
- A short trip
- A particular season
- A collection of favorite photographs
- A year of small achievements
- A pet's funny moments
- A personal creative project
A narrow theme gives you a natural beginning and ending.
Once you complete it, you can decide what the next scrapbook should contain.
How Many Photos Should Go on One Page?
There is no universal number, but beginners often find it easier to work with a small selection.
One large photograph can become the focal point.
Two or three photographs can create a simple story.
A larger collection can work if you deliberately use a grid or collage layout.
The important question is not “How many photographs can I fit?”
Ask instead:
Which photographs actually help tell this story?
If ten photographs show essentially the same thing, choose the two or three that capture the memory best.
How to Select Photographs for a Scrapbook
When choosing photographs, look for more than technical perfection.
A slightly imperfect photograph can be more meaningful than a technically beautiful image.
Consider:
- Does the photograph bring back a specific memory?
- Does it show a person, place or object important to the story?
- Does it capture an emotion?
- Does it provide useful context?
- Would you still care about this photograph years from now?
A good scrapbook is not necessarily a collection of your most beautiful photographs. It is a collection of photographs that mean something.
Step-by-Step: How to Make Your First Scrapbook Page
Step 1: Choose one memory
Pick something specific.
For example: “Sunday breakfast with my family” is better than “family memories.”
Step 2: Gather three to five possible photographs
Do not print everything yet if you are unsure. Make a shortlist first.
Step 3: Choose a background
Select a paper color that does not overpower the photographs.
Step 4: Create a title
Your title can be simple:
- Sunday Morning
- Little Things
- A Rainy Afternoon
- Our Weekend
- First Coffee of the Day
Step 5: Arrange everything without glue
This is one of the most useful habits for beginners.
Place the photographs, paper layers, title and decorations on the page.
Move them around.
Try several arrangements.
Only glue once you are satisfied.
Step 6: Add journaling
Write a few sentences explaining what the photographs do not show.
Step 7: Add small decorative details
Use stickers, paper shapes, washi tape or handwriting if they support the page.
Step 8: Stop before the page becomes crowded
Not every empty space needs decoration.
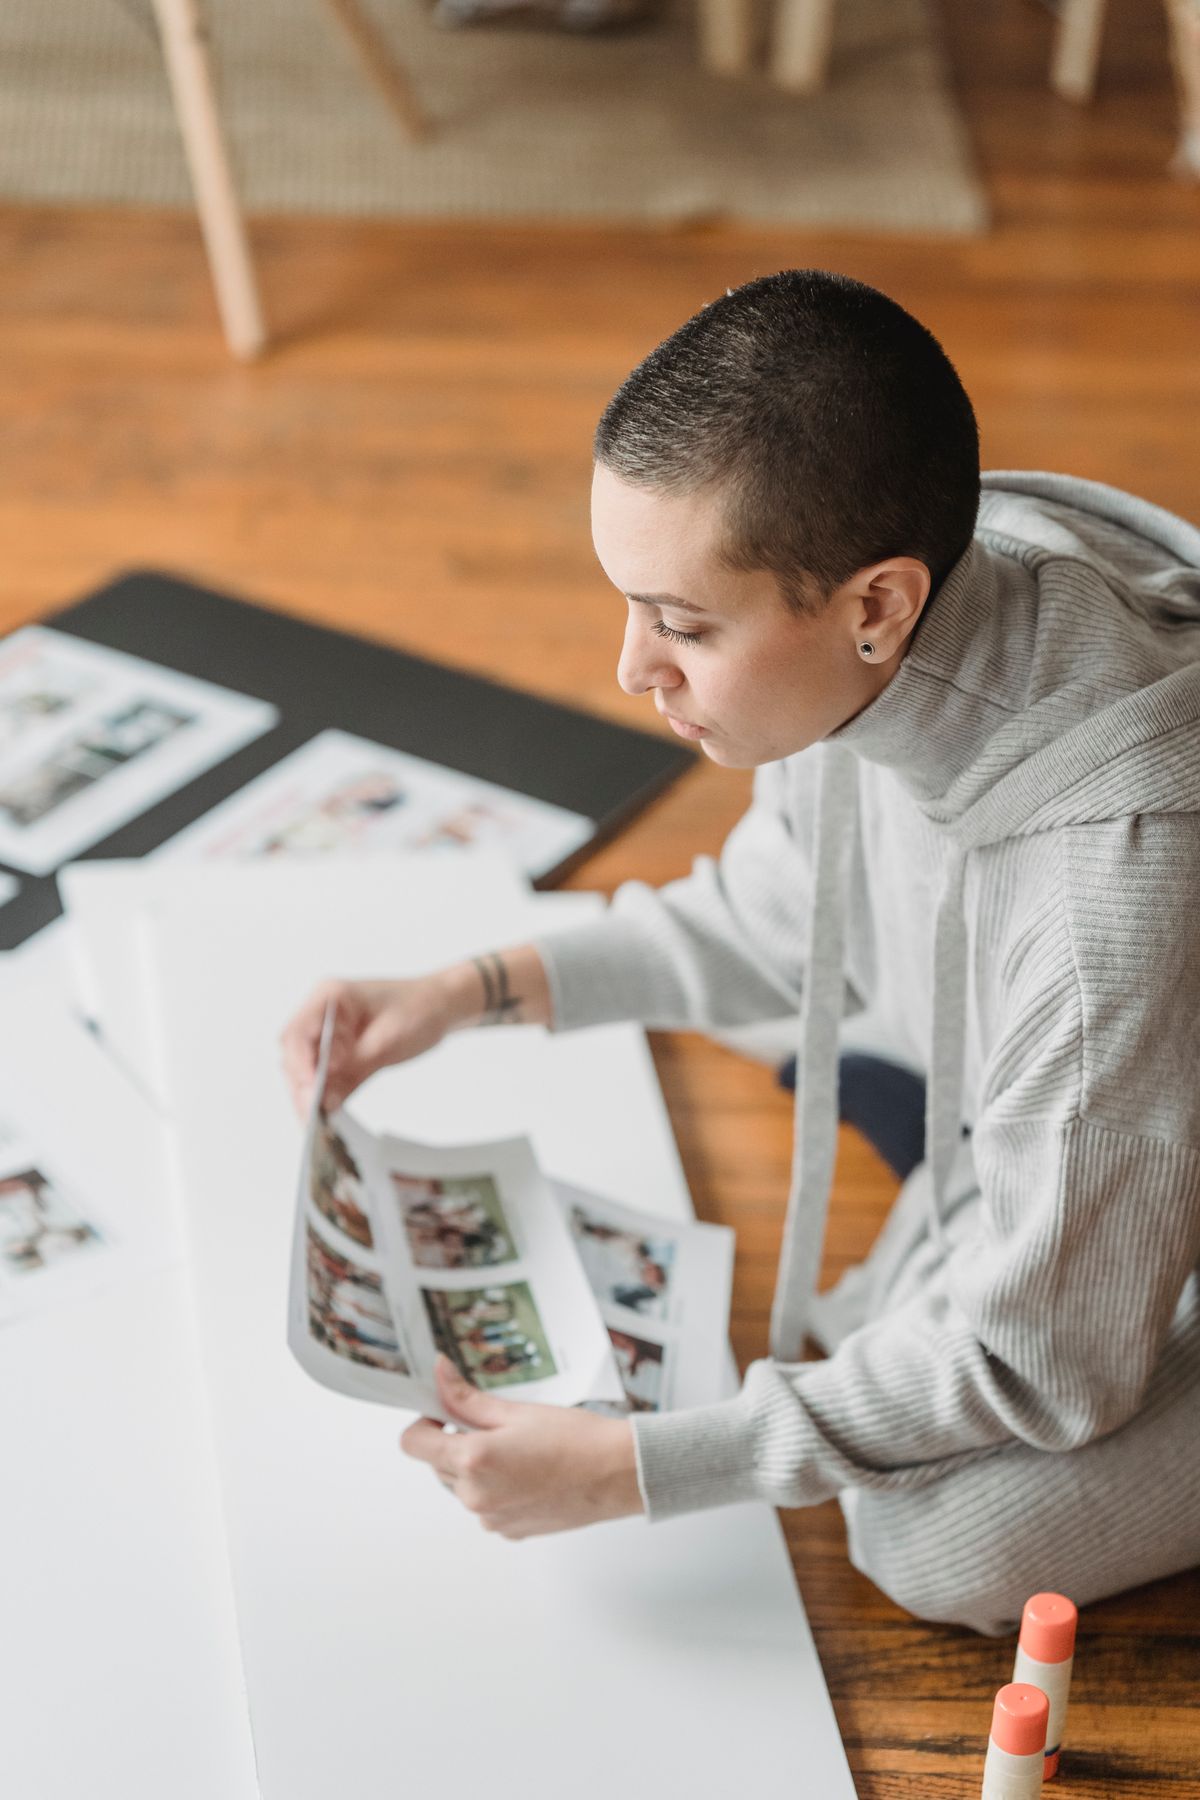
Photo inspiration: Pexels. View the original Pexels photograph.
What Should You Write in a Scrapbook?
Journaling is one of the elements that can turn a photo collection into a memory record.
You do not need to write a long essay.
A few sentences can be enough.
Try answering these questions:
- Where were you?
- Who was there?
- What happened?
- Why did the moment matter?
- What did you notice?
- What made you laugh?
- What would you like to remember?
- What would you tell your future self about this day?
For example, instead of writing “We went to the café,” you might write something more personal:
“We planned to stay for twenty minutes but ended up talking for almost two hours. The coffee was average, but the conversation was one of the best parts of the week.”
That sentence contains information a photograph cannot provide.
15 Easy Scrapbook Page Ideas for Everyday Memories
1. A Normal Day
Document an ordinary day from morning to evening.
Use photographs of breakfast, your workspace, a walk, a meal and something you did at night.
This type of page can become surprisingly valuable later because routines change.
2. Favorite Meal
Take a photograph of a meal you genuinely enjoyed.
Add the date, location and a short explanation of why you liked it.
If you have a recipe card, menu or receipt, add a small copy or pocket version.
3. Coffee Shop Memory
Document a café visit using one photograph, a receipt, a small handwritten note and a simple title.
This works especially well as a one-page mini story.
4. A Walk Around Your Neighborhood
Photograph interesting doors, buildings, plants, street signs or small details.
Arrange them as a visual grid.
Add a short note about why you enjoy walking there.
5. Monthly Favorites
At the end of each month, select a few photographs representing things you enjoyed.
Include a favorite meal, place, song, book, hobby or moment.
After twelve months, you will have a visual record of an entire year.
6. A Small Achievement
Not every achievement needs to be dramatic.
Finishing a personal project, learning a new skill or finally organizing something you had postponed can all deserve a page.
7. A Day With Friends
Combine candid photographs with short captions.
Instead of describing everything, record the funniest or most memorable parts.
8. Seasonal Page
Create one page for each season.
Use photographs, colors and small physical reminders of the season.
9. Favorite Books
Photograph books you read during a particular period.
Add one or two sentences about each book rather than simply listing the titles.
10. A Hobby in Progress
Document your progress learning a craft, instrument, sport, cooking technique or other hobby.
Photograph the early attempts as well as the finished results.
11. A Pet's Personality
Create a page around the funny habits or personality traits of a pet.
Add short captions explaining what was happening outside the frame.
12. Favorite Places
Create a small collection of photographs from places you repeatedly visit.
These do not have to be tourist attractions. A local park, bookstore, café or walking route can be more meaningful.
13. Things That Made Me Smile
Collect several unrelated small moments.
This could include a funny message, an interesting sign, a meal, a photograph or something unexpected.
The common theme is emotion rather than location.
14. Before and After
Document a change.
This could be a room you reorganized, a craft project you completed or a personal skill you improved.
15. One Year From Today
Create a page describing what your life looks like right now.
Write about your routines, interests, goals, favorite foods, current hobbies and the people around you.
Leave a space for a future note.
Five Simple Scrapbook Layouts Beginners Can Reuse
Layout 1: One Photo + Story
Place one photograph prominently on the page and use the remaining space for journaling.
This is probably the easiest layout to repeat.
Layout 2: Three-Photo Triangle
Arrange three photographs so they form a loose triangle. Place your title near the top and journaling near the bottom.
Layout 3: Four-Photo Grid
Use four photographs of similar size. Keep the spacing consistent.
Add one small title block instead of lots of decorations.
Layout 4: Large Photo With Small Details
Use one large photograph as the focal point and add two or three tiny supporting elements.
Layout 5: Timeline
Arrange photographs chronologically from left to right or top to bottom.
Add a short caption under each stage.
How to Make a Scrapbook Look Balanced
A balanced page does not necessarily mean everything is symmetrical.
Instead, think about visual weight.
A large dark photograph may attract more attention than a small pale one. A bright sticker may attract attention immediately.
If one corner becomes visually heavy, leave more open space elsewhere or add a smaller element to balance the composition.
Use repetition
Repeat a color, shape or pattern two or three times.
Use white space
Empty space gives important elements room to breathe.
Create a focal point
Decide what the viewer should notice first.
Avoid competing titles
One strong title is usually more effective than several large pieces of text.
How Many Colors Should You Use?
If you are uncertain about color combinations, start with two or three main colors.
One can come from the photograph.
For example, if your photographs contain lots of green and blue, you could choose green, blue and a neutral paper color.
This does not mean every element must match perfectly. The goal is simply to prevent the page from becoming visually chaotic.
How to Use Tickets, Receipts and Other Keepsakes
One of the most enjoyable parts of memory scrapbooking is incorporating physical evidence of an experience.
Possible items include:
- Tickets
- Receipts
- Maps
- Postcards
- Restaurant menus
- Event wristbands
- Handwritten notes
- Small paper labels
- Packaging from a memorable purchase
However, do not automatically glue valuable originals directly onto the page.
If an item is fragile, unique or important, consider making a scan or photograph and using the copy instead.
How to Create a Hidden Pocket
A pocket is a useful way to store additional journaling or keepsakes without overcrowding the page.
Cut a piece of cardstock slightly larger than the item you want to store.
Attach adhesive along the bottom and side edges while leaving the top open.
Once attached, you have a simple pocket.
You can insert:
- Extra photographs
- Longer journaling
- Receipts
- Tickets
- Small notes
Add a small label so you remember that the pocket contains additional material.
Digital Photos vs Printed Photos
Modern smartphones make taking photographs easy, but digital files can become difficult to revisit.
Printing selected photographs creates a physical starting point for memory keeping.
You do not have to print every photograph.
A useful approach is:
- Take photographs normally.
- Review them at the end of the week or month.
- Choose only the images that still feel meaningful.
- Print a small selection.
- Build pages around those photographs.
This makes the scrapbook a form of editing rather than simply a storage container.
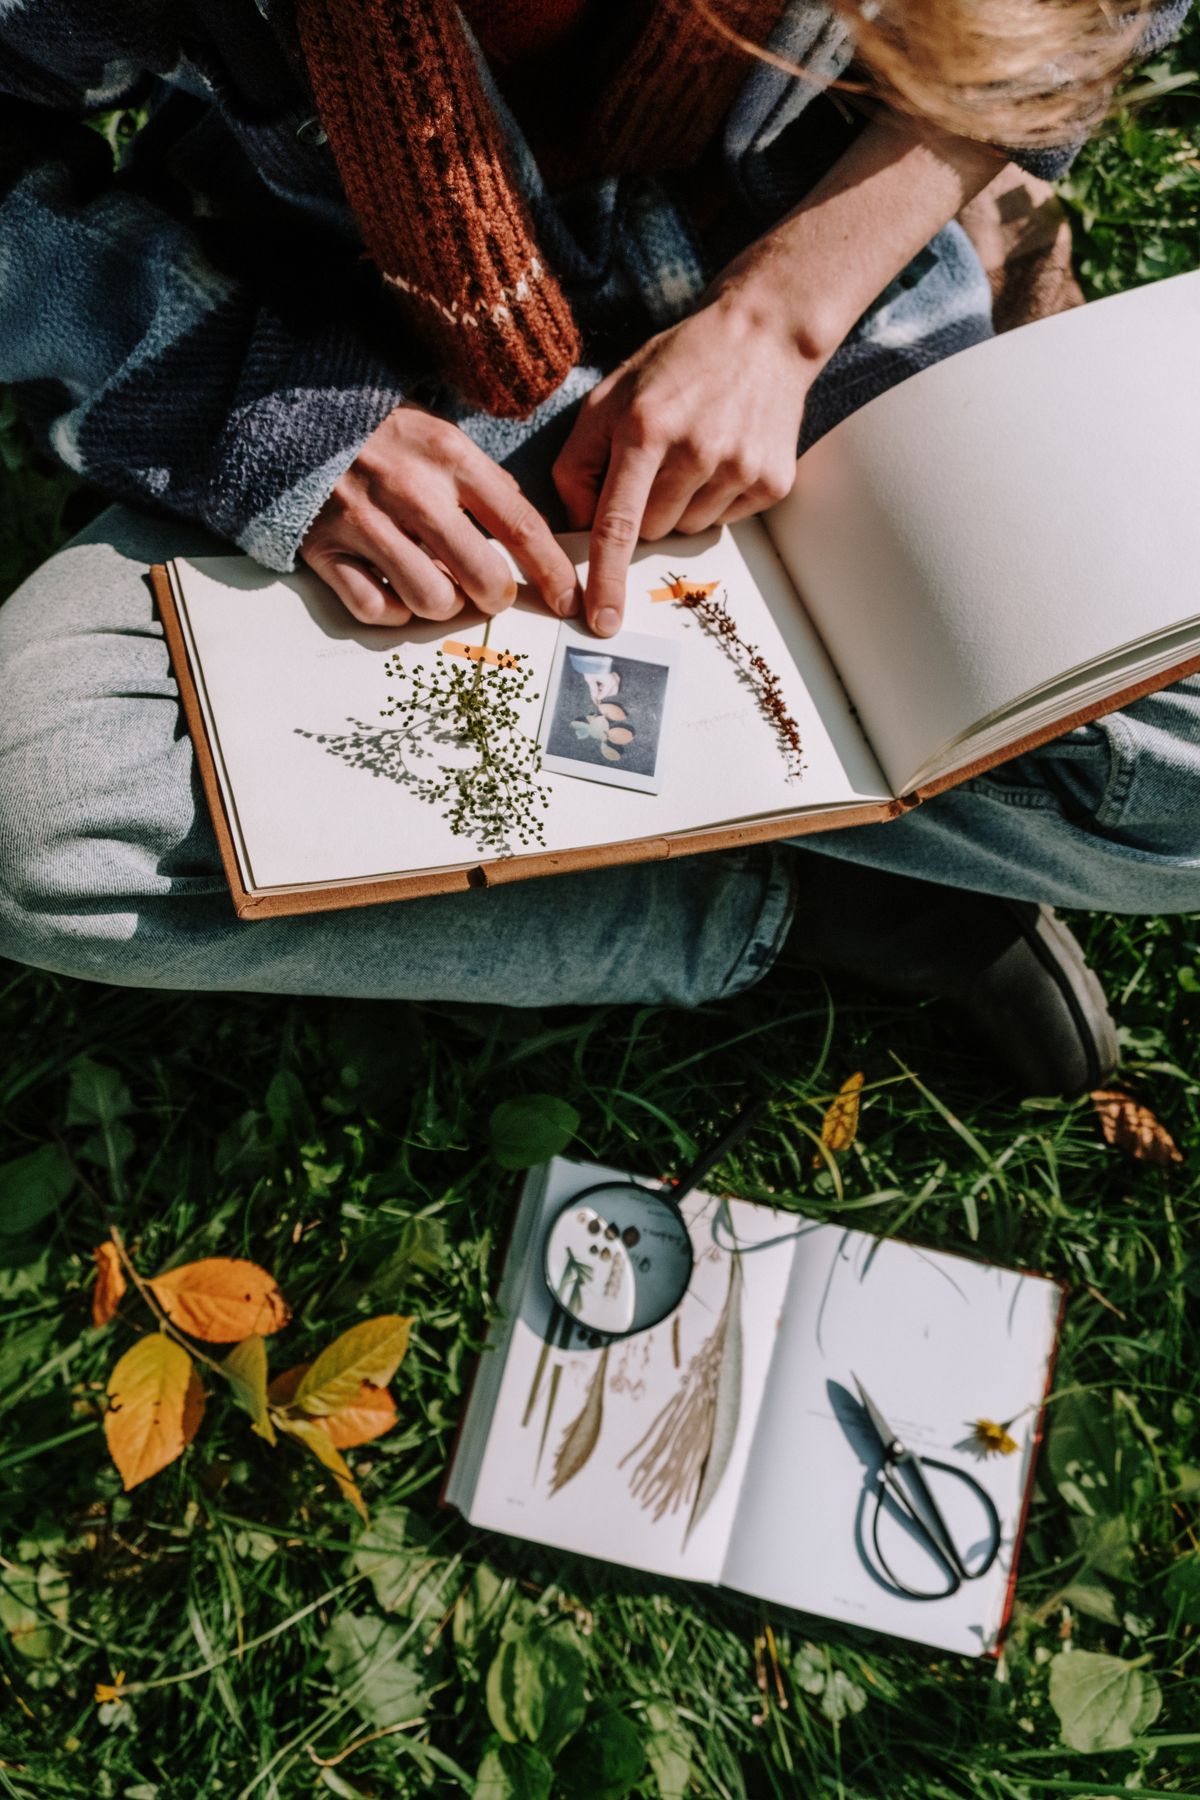
Photo inspiration: Pexels. View the original Pexels photograph.
How to Make Scrapbooking Less Expensive
Scrapbooking can become expensive when every page uses new patterned paper, specialist embellishments and dedicated tools.
It can also be a very affordable hobby.
Try these approaches.
Reuse packaging
Clean packaging can sometimes provide interesting paper textures, labels or cardboard.
Make your own embellishments
Cut stars, circles, leaves, labels and banners from leftover paper.
Use handwriting
Your own handwriting is free and makes a page more personal.
Print fewer photographs
One meaningful photograph can carry an entire page.
Buy supplies slowly
Wait until you know what style of scrapbooking you actually enjoy.
Common Scrapbooking Mistakes Beginners Make
Mistake 1: Gluing too early
Arrange the page first.
Once adhesive is applied, changing the layout becomes much harder.
Mistake 2: Trying to use every decoration
A page does not become better because every sticker is used.
Mistake 3: Forgetting the story
Photographs show what happened. Journaling can explain why it mattered.
Mistake 4: Starting with a huge album
Complete one or two pages before committing to a massive project.
Mistake 5: Comparing your first page with an expert's page
Online scrapbook galleries often show the result of years of practice.
Your first page has a different job: teaching you how you like to create.
Mistake 6: Overcrowding
Leave some breathing room.
Mistake 7: Ignoring preservation
If you want a scrapbook to remain in good condition for years, choose materials and storage methods appropriate for long-term photo and paper preservation.
How to Organize Your Scrapbook Supplies
Organization becomes important surprisingly quickly.
Keep similar items together.
| Container | Suggested contents |
|---|---|
| Photo box | Unused printed photographs |
| Paper folder | Cardstock and patterned paper |
| Small box | Tickets, receipts and small keepsakes |
| Tool container | Scissors, ruler and punches |
| Embellishment box | Stickers, ribbon and decorative pieces |
Labeling containers is especially useful if you plan to scrapbook regularly.
How to Build a Monthly Memory Scrapbook
If you enjoy everyday memory keeping, a monthly system can prevent the hobby from becoming overwhelming.
Week 1: Collect
Take photographs and save interesting physical reminders.
Week 2: Review
Choose the photographs that best represent the month.
Week 3: Print and Sort
Print your chosen photographs and group them by story.
Week 4: Create
Make one or two pages.
You do not have to document every day.
A handful of meaningful moments is enough.
How to Create a “Little Things” Scrapbook
This can become one of the most personal scrapbook formats.
Instead of documenting major events, create pages about tiny things that made a particular period enjoyable.
Examples include:
- Your favorite breakfast
- A song you played repeatedly
- A book you finished
- A funny conversation
- A place you visited regularly
- A new recipe
- A hobby you started
- A view from your window
- A favorite outfit
- A small personal achievement
These details may seem insignificant now, but they can become the most interesting part of the scrapbook later.
Creating a Scrapbook Without Photographs
You can also make a memory scrapbook when you have no photographs.
Use:
- Handwritten stories
- Tickets
- Receipts
- Maps
- Drawings
- Pressed or dried materials that are appropriate for preservation
- Packaging
- Quotes you wrote yourself
- Simple illustrations
A scrapbook is fundamentally a storytelling format. Photographs are powerful, but they are not the only way to tell a story.
How to Make a Scrapbook Page Feel Personal
Personalization comes from details that could not belong to anyone else's page.
Instead of writing “Summer vacation,” mention the tiny details that made your trip yours.
Perhaps you got lost looking for a restaurant. Maybe someone ordered the wrong meal and everyone laughed. Maybe you discovered a quiet street that became your favorite part of the trip.
Those details transform a generic travel page into a personal memory.
Three Scrapbook Styles to Try
Minimalist
One photograph, one title and a short story.
This is ideal if you prefer clean pages and do not enjoy lots of decoration.
Layered
Combine photographs, paper, labels, handwritten notes and small embellishments.
This creates a more tactile page.
Collage
Use several photographs and decorative pieces arranged together.
This works particularly well for collections of small moments.
How to Know When a Page Is Finished
This is harder than it sounds.
Beginners often keep adding decorations because they are afraid the page looks incomplete.
Try asking three questions:
- Can I immediately understand the main memory?
- Does the page contain enough personal information?
- Would another decoration actually improve the story?
If the answer to the third question is no, stop.
Finished is better than endlessly adjusted.
A Simple 60-Minute Scrapbooking Routine
If you have limited time, you can complete a small page in one focused session.
| Time | Task |
|---|---|
| 0–10 minutes | Choose the memory and photographs. |
| 10–20 minutes | Choose paper and colors. |
| 20–35 minutes | Arrange the layout without adhesive. |
| 35–45 minutes | Write the journaling and title. |
| 45–55 minutes | Attach the main elements. |
| 55–60 minutes | Add final details and clean the workspace. |
You may need more time for a detailed page, but the important idea is to make the hobby approachable.
Scrapbooking as a Long-Term Creative Hobby
One of the best things about scrapbooking is that the hobby can evolve.
You might begin with basic photo layouts.
Later, you may become interested in typography, collage, paper cutting, journaling, color theory, photography or mixed-media art.
You can also combine scrapbooking with other hobbies.
- Photography + scrapbooking
- Travel + scrapbooking
- Cooking + scrapbooking
- Gardening + scrapbooking
- Reading + scrapbooking
- Drawing + scrapbooking
- Journaling + scrapbooking
This flexibility makes it easier to keep the hobby interesting.
Frequently Asked Questions
What is the easiest way to start scrapbooking?
Start with one memory, a few photographs, a piece of cardstock, adhesive and a pen. Create one page before buying additional supplies.
Can I scrapbook everyday moments?
Yes. Everyday memories can be excellent scrapbook subjects because they document ordinary routines and details that may otherwise be forgotten.
How many photos should a beginner use?
One to three photographs can make an easy first layout. Larger collections can work too, especially with a grid or collage design.
Do I need expensive scrapbooking supplies?
No. Basic paper, photographs, adhesive, scissors and a pen can be enough to create your first page.
What should I write in a scrapbook?
Write details that the photographs cannot communicate: where you were, who was present, what happened, what you noticed and why the memory matters.
Can I make a scrapbook without photos?
Yes. Tickets, notes, receipts, drawings, maps and written memories can all contribute to a scrapbook page.
Should I glue everything immediately?
No. Arrange your complete layout first. Once you are satisfied with the composition, attach the elements.
How can I make scrapbook pages look less cluttered?
Use fewer colors, create one clear focal point, repeat a small number of design elements and leave some empty space.
Is scrapbooking a good hobby for adults?
Yes. Adults can use scrapbooking as a creative hobby, a memory-keeping practice or a way to combine photography, writing and paper crafts.
Can I scrapbook digitally?
Yes. Digital scrapbooking uses software or apps instead of physical paper and adhesive. The same storytelling principles—selection, layout, journaling and visual hierarchy—still apply.
Final Thoughts: Your Ordinary Memories Are Worth Keeping
You do not need an extraordinary life to make an interesting scrapbook.
You only need to notice the details.
The photograph of an ordinary breakfast. The receipt from a place you loved. The note someone left on your desk. The walk you took every Sunday. The hobby you were learning. The book you could not put down.
These small pieces of life can disappear surprisingly quickly.
Scrapbooking gives you a reason to pause and preserve them.
Start with one page.
Choose one memory.
Print one or two photographs.
Write the story in your own words.
Add a little decoration if you want it.
Then stop.
Your first page does not need to look like a professional scrapbooker's work. It needs to look like your memory.
As you create more pages, you will naturally develop your own preferences. You may discover that you prefer minimalist layouts, colorful collages, handwritten journaling, vintage designs or almost completely undecorated pages.
There is no single correct scrapbook style.
The most valuable scrapbook is the one you will actually enjoy opening years from now.
Choose one ordinary moment from the last seven days. Find one photograph that represents it. Write three sentences about what happened and why you remember it. Place those elements on a blank page. You have everything you need to create your first everyday-memory scrapbook page.