
Smart Home Wi-Fi Setup Guide: How to Build a Network That Never Drops Your Devices
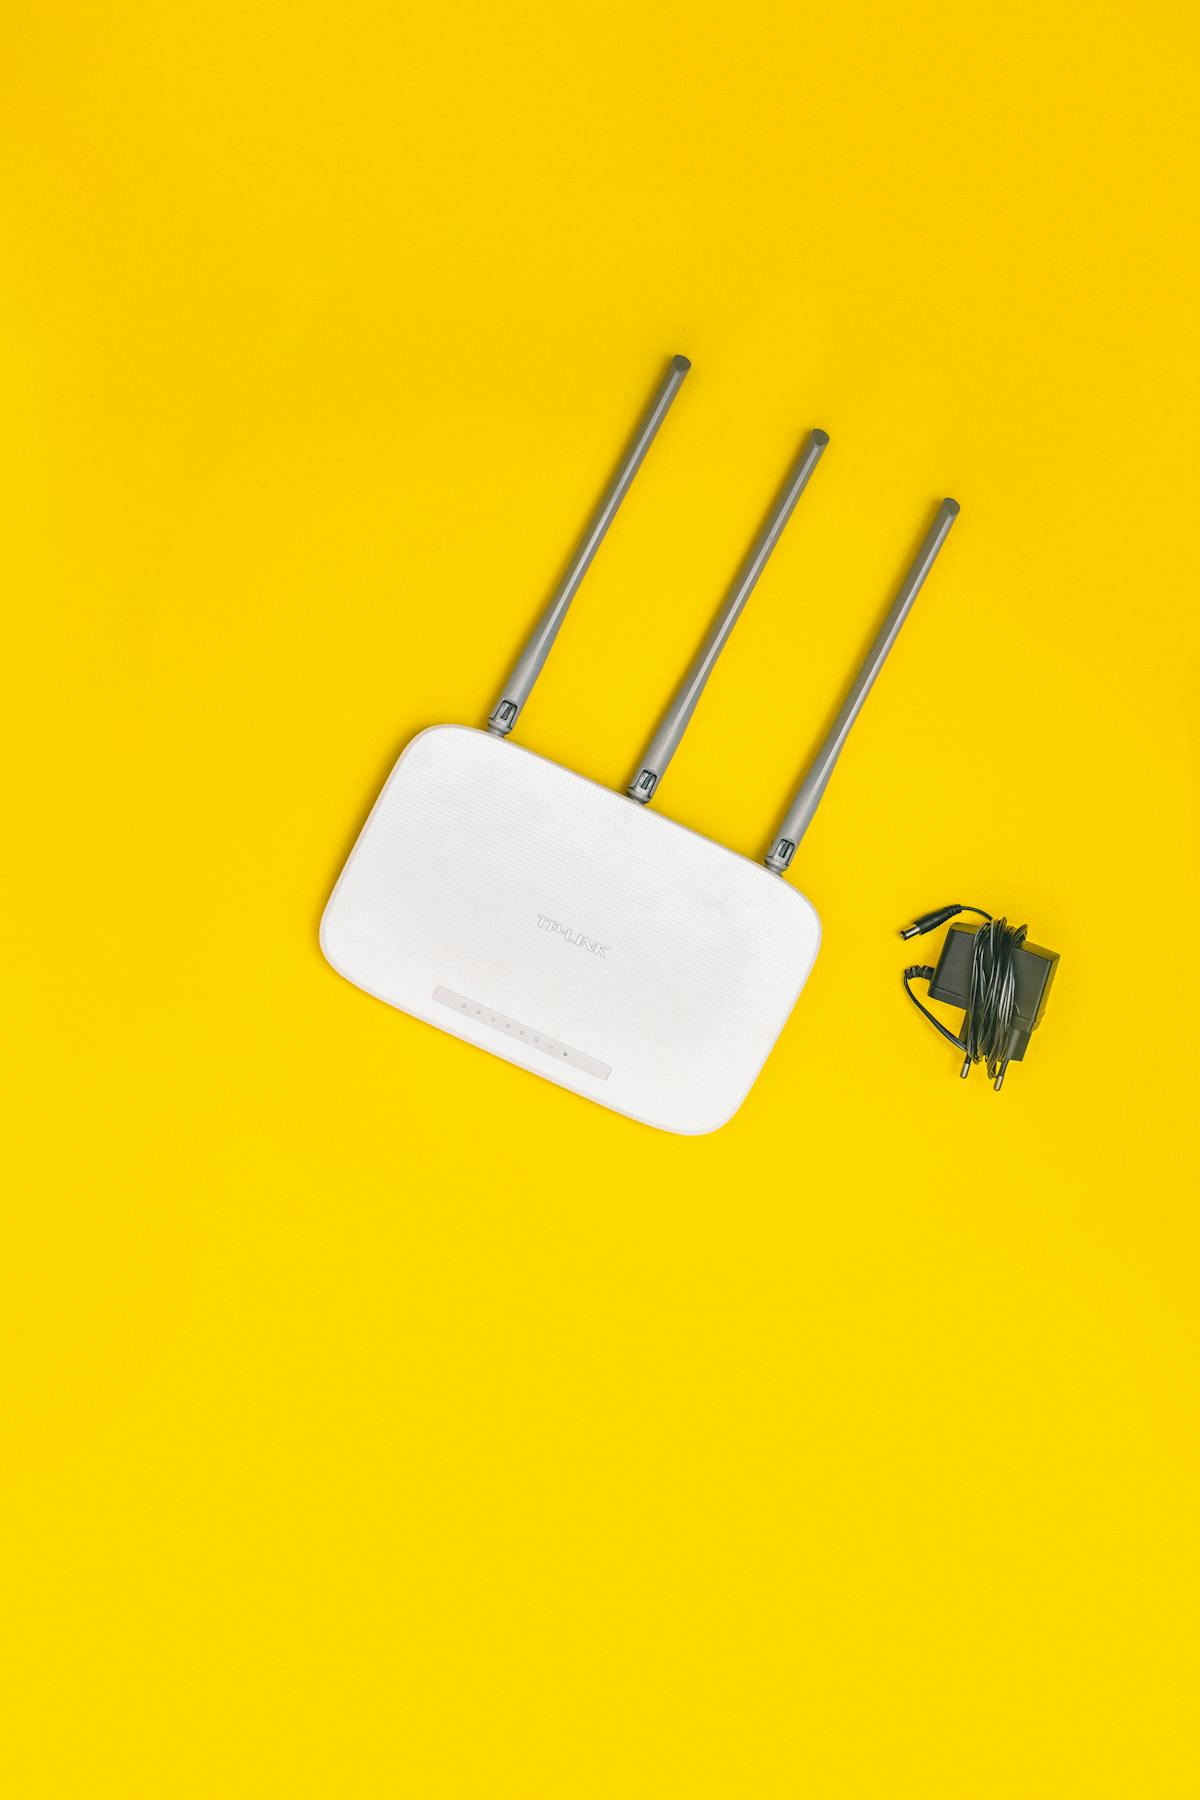
I want to tell you about the three weekends I spent troubleshooting a "broken" smart plug before I figured out the plug was never the problem. My network was. If you've replaced a bulb, returned a hub, or reset the same sensor for the fifth time this month and it still drops off the app by dinner, you're probably chasing the same ghost I was. Smart home gear gets blamed for a lot of failures that actually start one layer down, in the Wi-Fi network everything is plugged into.
This guide is not another "top 10 smart devices" roundup. It's the setup work that has to happen before any of those devices can behave the way the box promised. We'll go through how smart home traffic actually behaves on a home network, how to decide between a router upgrade, an extender, or a mesh system, how to split off a dedicated network for your IoT gear, and how to actually diagnose the specific way your network is failing instead of guessing.
Quick Answer
Most smart home Wi-Fi problems come down to three things: devices sitting too far from the router on a weak 2.4GHz signal, a single router trying to manage too many low-power clients at once, and no separation between IoT devices and your main devices. Fix the coverage first (mesh if your home is over 1,500 sq ft or has dead zones), split IoT devices onto their own SSID or VLAN, and reserve DHCP addresses for anything that streams video. That combination resolves the large majority of "device keeps going offline" complaints without buying a single new gadget.
- Why smart home devices drop off Wi-Fi (it's rarely the device)
- How smart home devices actually talk to your network
- 2.4GHz vs. 5GHz vs. 6GHz: what your devices actually need
- Step 1: Audit your current network before buying anything
- Step 2: Router, extender, or mesh — picking the right hardware
- Step 3: Setting up a dedicated network for IoT devices
- Step 4: Router and node placement that actually works
- Step 5: Channel width, QoS, and DHCP reservations
- Step 6: The right order to connect your devices
- Step 7: Locking down a network full of IoT devices
- Troubleshooting table: common problems and real fixes
- How many smart devices can your router actually handle?
- Keeping the network stable long-term
- Frequently asked questions
Why Smart Home Devices Drop Off Wi-Fi (It's Rarely the Device)
When a smart bulb goes offline, the instinct is to blame the bulb. Sometimes that's fair — cheap hardware exists. But in most households, the pattern that shows up isn't "one device fails," it's "devices in one part of the house fail" or "everything gets flaky around 8pm" or "things work fine until I add the eighth device." Those are network symptoms, not product defects.
Home routers were designed around a handful of hungry devices: a laptop, a couple of phones, maybe a smart TV. A modern smart home flips that model. You might have thirty devices, each sipping a tiny amount of bandwidth but each one holding open a constant connection, checking in every few seconds, and expecting the network to never blink. That's a completely different load pattern, and a lot of routers — especially ones your internet provider handed you for free — were never tuned for it.
How Smart Home Devices Actually Talk to Your Network
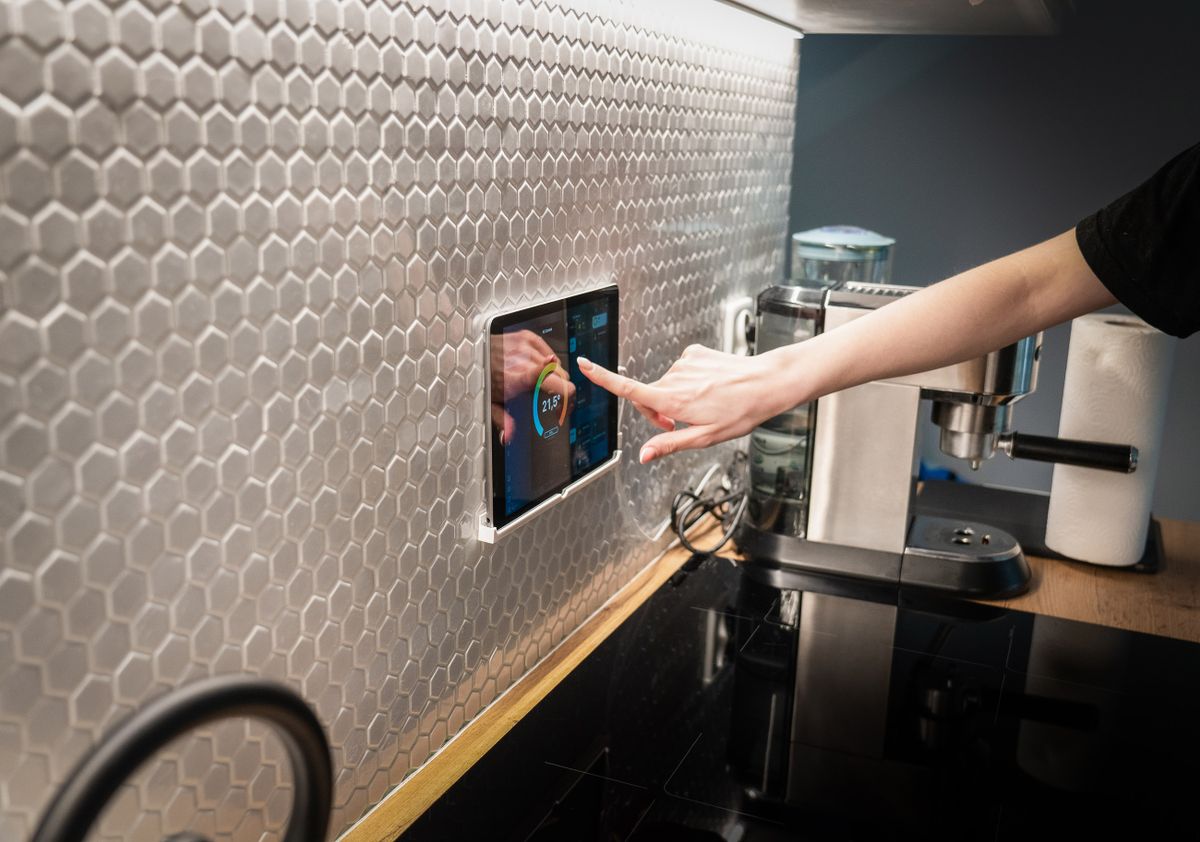
It helps to understand what's actually happening behind the scenes, because it changes how you troubleshoot. A smart camera behaves nothing like a smart plug on your network, even though both show up as "connected" in your router's device list.
- Always-on, low-data devices (plugs, switches, sensors, most bulbs) send tiny bursts of data and hold a persistent connection so the cloud or hub can reach them instantly. They don't need much bandwidth, but they need stability — dropped packets here show up as "unresponsive" in the app even though almost no data was lost.
- Continuous video devices (cameras, video doorbells) need sustained upload bandwidth, which is the direction most home internet plans are weakest in. A camera that looks fine on a speed test can still choke your upload the moment someone rings the doorbell and three other cameras are also recording motion.
- Hub-and-bridge devices (Zigbee/Z-Wave/Thread hubs, Matter border routers) sit on your Wi-Fi network but then create a second, separate low-power mesh for the actual sensors and bulbs. This is why a Wi-Fi problem can look like it's affecting devices that aren't even using Wi-Fi directly — if the hub itself drops, everything behind it goes dark.
- Voice assistants and displays are constantly listening for a wake word locally but send the actual request to the cloud, so a laggy connection shows up as a delayed or failed response rather than a disconnect.
If you've already read our Matter smart home hub setup guide, you've seen how Thread-based devices route around some of this by forming their own mesh. But Thread still needs a stable Wi-Fi-connected border router to bridge out to the internet, so none of this groundwork becomes optional just because you're using a newer standard.
2.4GHz vs. 5GHz vs. 6GHz: What Your Devices Actually Need
This is the single most common setup mistake I see: someone gets a new mesh system, and during setup they merge both bands into one "smart" network name, then wonder why half their smart plugs won't show up during pairing. A large share of budget and mid-range smart home devices are 2.4GHz-only. If your router is set to broadcast only 5GHz on that SSID, or if it's set to "smart connect" and keeps bumping the device to 5GHz, pairing will fail silently.
| Band | Best for | Range | Typical smart home use |
|---|---|---|---|
| 2.4GHz | Low-power, always-on devices | Longest range, best wall penetration | Plugs, bulbs, sensors, locks, most hubs |
| 5GHz | Higher-bandwidth devices near the router | Moderate range, weaker through walls | Cameras, video doorbells, smart displays, TVs |
| 6GHz (Wi-Fi 6E/7) | High-bandwidth devices on newer hardware | Shortest range of the three | Newer cameras and hubs on Wi-Fi 6E+ routers; rarely required for basic IoT |
Step 1: Audit Your Current Network Before Buying Anything
Before you spend money on a mesh kit, spend fifteen minutes finding out what's actually going on. Walk your home with your phone's Wi-Fi settings open and note the signal strength (shown as a percentage or in dBm) in every room where a device lives or will live. Anything weaker than about -70 dBm, or under 50% on a phone that just shows bars, is a spot where IoT devices will struggle even if a phone or laptop seems to connect fine — phones have far better antennas than a $15 smart plug.
Also check how old your router is and when it last received a firmware update. A surprising number of "random disconnect" issues on forums trace back to a router that's been running the same firmware for two or three years. Manufacturers patch Wi-Fi stability bugs constantly; if auto-update isn't on, turn it on now.
Step 2: Router, Extender, or Mesh — Picking the Right Hardware
This decision trips people up because all three options technically "extend Wi-Fi," but they behave very differently under an IoT load.
| Option | How it works | Good for | Watch out for |
|---|---|---|---|
| Single upgraded router | One strong access point, no additional nodes | Apartments, small homes under ~1,200 sq ft, single floor | Still leaves far corners and multi-floor homes weak |
| Wi-Fi extender/repeater | Rebroadcasts the existing signal on a new name or the same name | Quick, cheap fix for one weak spot | Usually halves throughput on that hop; devices may not roam smoothly between router and extender |
| Mesh system | Multiple nodes share one network name and hand devices off seamlessly | Homes over 1,500 sq ft, multiple floors, houses with dead zones | Higher upfront cost; wired backhaul between nodes performs far better than wireless backhaul |
If you're only fixing one dead corner in an otherwise fine network, an extender can genuinely be the right call — it's cheap and fast. But if you're setting up a smart home from scratch across a full house, mesh is worth the extra cost almost every time, because IoT devices punish inconsistent coverage far more than a laptop does. A laptop that briefly drops to a weaker access point just feels a little slower. A battery-powered sensor that briefly loses its connection can miss the one event it existed to report.
Step 3: Setting Up a Dedicated Network for IoT Devices
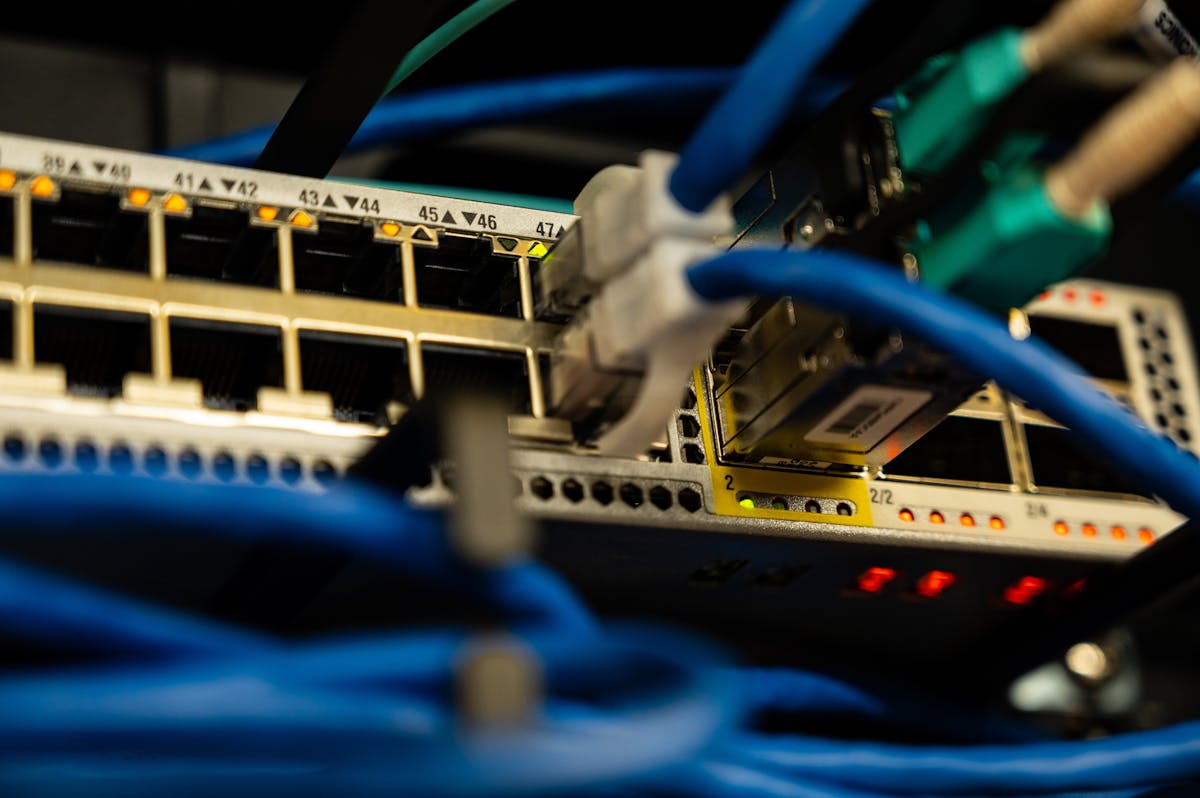
This is the step most guides skip, and it's the one that solves both a security problem and a performance problem at once. Nearly every consumer router now supports at least a guest network, and better ones support full VLAN tagging. Either works for this purpose.
Why bother? Two reasons. First, security: smart plugs and budget cameras have a rough track record for firmware vulnerabilities, and keeping them off the same network as your laptop and phone limits what a compromised device could reach. Second, and more relevant to the "why does my stuff keep dropping" question — separating dozens of chatty, always-on IoT clients from your handful of high-bandwidth devices reduces channel congestion on both networks. Your 2.4GHz IoT band isn't competing with a 4K video call for airtime anymore.
Step 4: Router and Node Placement That Actually Works
Placement mistakes are unglamorous but they cause a huge share of coverage complaints. A few rules that consistently hold up:
- Central and elevated beats a closet. Routers pushed into a cabinet, behind a TV, or in a basement corner lose signal to the walls before it even leaves the room. Aim for a central, open, elevated spot.
- Keep it away from big metal and water. Refrigerators, metal ductwork, and fish tanks are notorious Wi-Fi killers because they reflect and absorb the signal.
- Space mesh nodes at the edge of usable signal, not the edge of "still shows bars." A node placed too far from the previous one creates a weak handoff point that behaves worse than no node at all, because devices try to connect to it and get poor performance instead of properly roaming back to the stronger node.
- Wire the backhaul if you can. If you have Ethernet drops or can run one, connecting mesh nodes with a wired backhaul instead of relying on wireless mesh backhaul dramatically improves both speed and reliability, especially for camera-heavy setups.
Step 5: Channel Width, QoS, and DHCP Reservations
Three settings buried in your router's advanced menu do more for smart home stability than almost any hardware purchase.
Channel width and channel selection
On 2.4GHz, stick to a 20MHz channel width and manually set the channel to 1, 6, or 11 — these don't overlap with each other, unlike the channels in between. In dense neighborhoods with dozens of nearby networks, auto-channel selection often makes a poor choice and never revisits it. Use a Wi-Fi analyzer app to see what channels your neighbors are on and pick the quietest of the three.
Quality of Service (QoS)
If your router supports QoS or device prioritization, put your work laptop and any video-calling devices above your IoT network, but don't starve your cameras entirely — give them a guaranteed minimum so a doorbell ring doesn't get buried during a busy network moment.
DHCP reservations
Assign a fixed local IP address to your hub, any cameras, and your smart TV through DHCP reservation in the router settings. This prevents the address from changing after a reboot, which is a surprisingly common cause of a hub suddenly "losing" devices it was previously talking to — the hub cached an old address that no longer points to the right device.
Step 6: The Right Order to Connect Your Devices
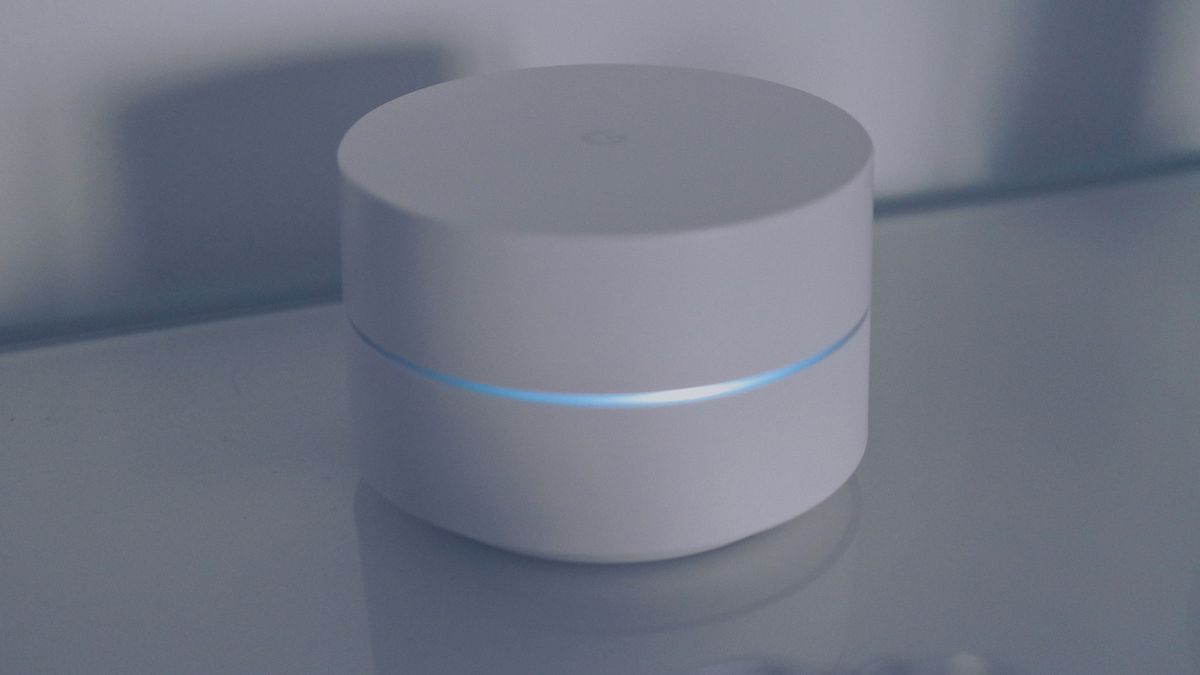
Pairing order sounds trivial until you've watched someone fight with a lock that won't join the network for forty-five minutes, only to discover the hub itself hadn't finished settling onto the new mesh yet. A sensible order:
- Router/mesh nodes fully set up and stable (wait 10–15 minutes after setup before adding devices — let the network settle)
- Hub or bridge devices (Zigbee/Z-Wave/Matter/Thread border routers)
- Plugged-in, always-on devices (smart plugs, plug-in cameras, smart switches)
- Battery-powered devices last (door/window sensors, smart locks, battery cameras)
Battery devices often have weaker radios and fewer retry attempts during pairing to conserve power, so they benefit the most from joining a network that's already proven stable rather than one that's still negotiating its own settings.
Step 7: Locking Down a Network Full of IoT Devices
A smart home is a bigger attack surface than most people realize, simply because of the number of internet-connected devices involved. None of this is complicated, but all of it matters:
- Change default admin credentials on the router and on any hub with a local admin panel — not just the Wi-Fi password.
- Use WPA3 if every device supports it, or WPA2/WPA3 mixed mode if you have older devices that can't handle WPA3 alone.
- Keep firmware updates on for the router, hub, and individual devices where auto-update is offered.
- Disable UPnP on the router unless a specific device documentation tells you it's required — it's a common vector for unwanted external access.
- Review connected devices monthly through your router's app. An unfamiliar device name is worth investigating immediately.
Troubleshooting Table: Common Problems and Real Fixes
| Symptom | Likely cause | Fix |
|---|---|---|
| Device shows "offline" but works if you unplug/replug it | Weak signal or DHCP lease expiring | Move closer to a node, or set a DHCP reservation |
| Hub can't find a new device during setup | Client isolation enabled on the IoT network, or device is 2.4GHz but network is 5GHz-only at that moment | Temporarily disable client isolation; confirm 2.4GHz is broadcasting separately during pairing |
| Camera feed lags or buffers, especially in the evening | Upload bandwidth saturated by multiple cameras or general household use | Set QoS priority; consider lowering camera resolution slightly; check upload speed with a speed test during peak hours |
| Devices work near the router but drop upstairs or at the far end of the house | Coverage gap | Add a mesh node at the edge of usable signal, not beyond it |
| Everything gets flaky after adding several new devices | Router hitting client capacity or channel congestion | Split IoT devices onto a separate SSID; check router's rated max client count |
| Battery sensor won't reconnect after a power outage | Network took time to stabilize; sensor gave up retrying | Manually wake/re-trigger the sensor once the network is confirmed stable |
How Many Smart Devices Can Your Router Actually Handle?
Manufacturer specs often list impressive maximum client numbers — 100, 200, sometimes more. In practice, that number describes devices that can technically associate with the router, not devices that will all perform well simultaneously. For always-on, low-data IoT devices specifically, most consumer-grade routers stay comfortable up to somewhere between 30 and 40 devices on a single 2.4GHz radio before you start noticing slower response times, occasional missed commands, or slower app refresh.
Splitting devices across two bands (2.4GHz for low-power devices, 5GHz for higher-bandwidth ones) roughly doubles your comfortable headroom, since you're not funneling everything through one radio's airtime. A true mesh system with multiple nodes, each acting as its own access point, pushes that ceiling even higher because devices connect to whichever node is nearest rather than all hammering one central radio.
Keeping the Network Stable Long-Term
Smart home networks don't usually fail all at once — they degrade slowly as you add devices, as firmware ages, and as your neighbors' networks change the interference picture around you. A short recurring maintenance habit prevents most of the "it used to work fine" complaints:
- Monthly: Glance at your router's connected devices list for anything unfamiliar or any device stuck in a reconnect loop.
- Quarterly: Re-run a Wi-Fi channel scan, since new networks nearby can shift which channel is actually the quietest.
- Twice a year: Reboot the router and mesh nodes deliberately (not just when something breaks) to clear memory leaks that build up in cheaper router firmware over months of uptime.
- Whenever you add five or more new devices: Revisit whether your current hardware and network split still make sense, rather than waiting for problems to appear.
Frequently Asked Questions
Do smart home devices need their own Wi-Fi network?
They don't strictly need one, but giving smart home devices a separate SSID or VLAN keeps a compromised bulb or plug from having direct access to your laptops and phones, and it stops dozens of low-power devices from competing with your main devices for airtime on one crowded network.
Why do my smart home devices keep disconnecting from Wi-Fi?
The most common causes are the device being too far from the router or nearest mesh node, router firmware that hasn't been updated in months, DHCP lease conflicts, or a 5GHz-only band setting that many battery-powered IoT devices can't actually connect to.
Should I use 2.4GHz or 5GHz for smart home devices?
Most smart plugs, bulbs, sensors, and locks are built for 2.4GHz because it travels farther through walls and uses less power. Video devices like cameras and doorbells benefit from 5GHz when they're close to the router, but should fall back to 2.4GHz at range.
Is a mesh Wi-Fi system worth it for a smart home?
If your home is larger than about 1,500 square feet, has more than two floors, or has dead zones where devices routinely drop, a mesh system usually solves the problem faster and more permanently than a single router or a range extender.
How many smart home devices can one router handle?
Most consumer routers list a maximum client count between 50 and 250, but real-world performance for always-on IoT devices usually stays smooth up to 30 to 40 devices on a single 2.4GHz band before you start noticing lag, and that number drops further on older or budget hardware.
What order should I set up smart home devices in on a new network?
Connect your hub or bridge first, then plugged-in always-on devices like smart plugs and cameras, then battery-powered sensors and locks last, since battery devices often need the mesh network already stable to pair reliably on the first try.