
How to Make a Mini Indoor Herb Garden From Recycled Containers
Growing a few herbs at home does not require a large garden, expensive planters, or a dedicated gardening room. A sunny windowsill, a handful of recycled containers, suitable potting mix, and a few plants can be enough to create a small indoor herb garden that is both useful and decorative.
In fact, turning ordinary household containers into planters can make the project more interesting. An empty food container, clean yogurt cup, small tin, or suitable reusable container can become part of a miniature garden instead of immediately becoming household waste.
If you have been searching for how to make a mini indoor herb garden from recycled containers, this guide will walk you through the project from choosing containers and herbs to adding drainage, decorating the planters, positioning them indoors, watering them, and solving common problems.
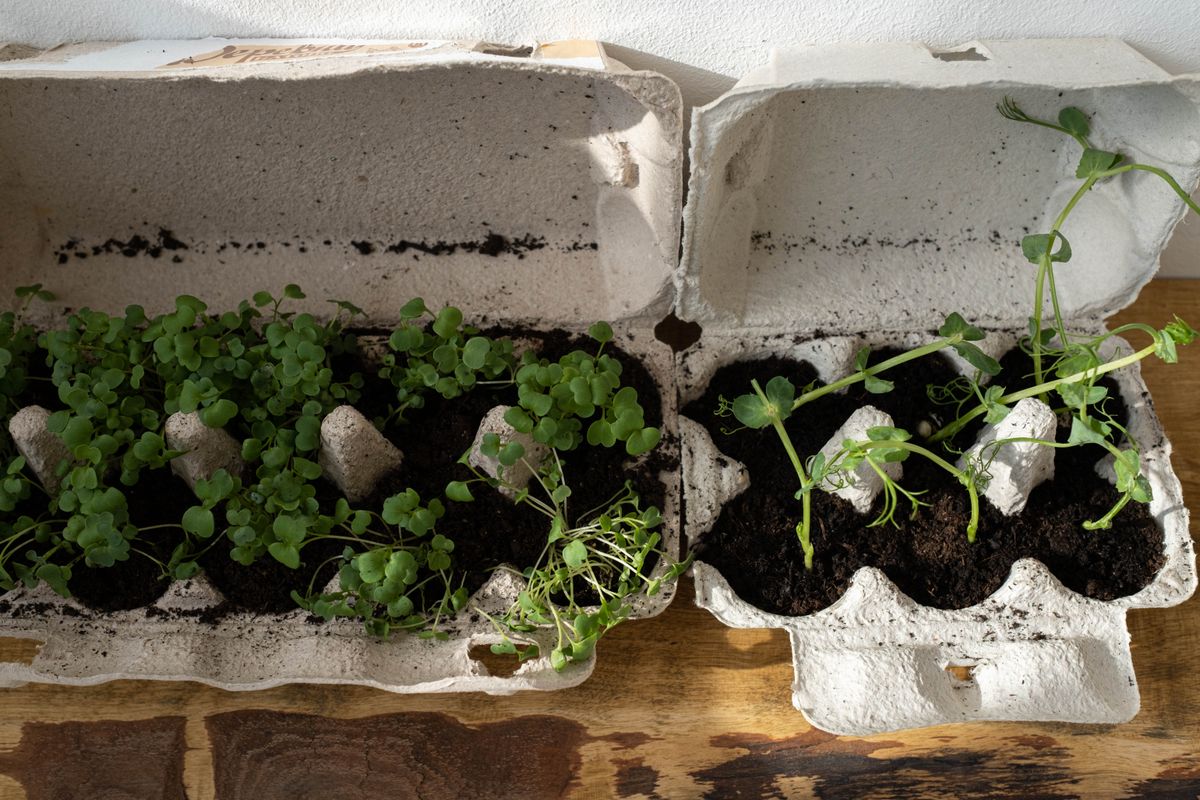
Image: Pexels — recycled-container gardening inspiration.
Why Make an Indoor Herb Garden From Recycled Containers?
There are two enjoyable hobbies combined in this project: gardening and crafting.
You are not simply purchasing three matching pots and putting plants inside them. You are taking something ordinary, deciding how it can be reused, modifying it for a new purpose, and then caring for something living.
That makes this project particularly appealing to people who enjoy practical crafts.
It can also be a useful introduction to container gardening because the small size makes it easier to observe what happens when you change the amount of water, light, soil, or space available to a plant.
Recycled containers have already been used in many indoor gardening projects, including seed-starting containers made from everyday items such as paper cups, cans, bottles, and other household objects.
What Makes a Good Recycled Planter?
Not every household container is automatically suitable for growing plants.
A useful planter should be reasonably sturdy, clean, large enough for the chosen plant, and capable of supporting a sensible drainage arrangement.
Good starting options include:
- Clean plastic food containers
- Yogurt containers
- Small food tubs
- Paper cups for short-term seed starting
- Clean tin cans
- Small reusable plastic containers
- Suitable discarded plant pots
- Some sturdy takeaway containers
- Clean containers designed for food storage
The important point is to evaluate each item individually rather than assuming that every recycled container will work equally well.
Before You Begin: Clean Everything
Wash the container thoroughly before adding soil or plants.
Remove food residue, oils, labels that could interfere with your design, and anything that might attract insects or produce an unpleasant smell.
Allow the container to dry completely.
If you are reusing a container that has cracks, sharp edges, heavy staining, or an unknown previous use, choose another container.
Materials You Need
You can make the project as simple or decorative as you like.
| Material | Purpose |
|---|---|
| Three recycled containers | Plant holders |
| Potting mix | Growing medium |
| Three small herb plants or seed packets | Main plants |
| Labels | Identifying herbs |
| Marker or waterproof pen | Writing labels |
| Scissors | Crafting and decorating |
| Decorative paper, fabric or tape | Optional decoration |
| Small tray | Protecting the surface underneath |
| Water | Initial watering |
You do not need every item on the list. The decorative materials are optional.
Choosing Herbs for a Small Indoor Garden
A miniature garden works best when you choose plants according to the conditions you can actually provide.
Popular culinary herbs for indoor growing include basil, chives, parsley, rosemary, and thyme. Indoor herb guidance commonly emphasizes adequate light and appropriate watering as important factors in keeping these plants productive.
For a first project, consider choosing three different herbs rather than attempting to grow ten varieties at once.
| Herb | Why beginners may like it | Useful consideration |
|---|---|---|
| Basil | Fast-growing and useful in cooking | Needs plenty of light and should not be kept excessively wet |
| Chives | Compact and convenient for kitchens | Harvest gradually rather than removing everything |
| Parsley | Versatile culinary herb | Give it adequate light and consistent care |
| Thyme | Compact and attractive | Allow suitable drying between waterings |
| Rosemary | Fragrant and useful | Can eventually require more root space |
Think about your own kitchen habits. If you frequently cook with basil, basil may give you more satisfaction than an herb you rarely use.
Step 1: Choose Three Containers
For your first mini herb garden, select three containers that can comfortably sit beside one another.
They do not need to match.
In fact, different shapes can create a more interesting handmade appearance.
For example, you might use:
- One small food container
- One cleaned tin can
- One sturdy plastic cup
Alternatively, use three containers of similar size and decorate them differently.
Step 2: Decide How You Want the Garden to Look
Before filling anything with soil, arrange your empty containers on the intended windowsill, shelf, or countertop.
Think about the finished arrangement.
Do you want a symmetrical row?
Do you prefer different heights?
Would a wooden tray help keep everything together?
Would labels make the garden look more organized?
This is where the craft side of the project becomes enjoyable.
Step 3: Create a Suitable Drainage Arrangement
One of the most important things to consider when converting containers into planters is excess water.
Herbs generally do not benefit from sitting in constantly saturated soil. Container-gardening guidance commonly recommends providing drainage so excess water can leave the growing container.
If your recycled container can safely be modified, appropriate drainage holes can be made in the base.
If you cannot safely create drainage holes, reconsider whether that container is suitable for direct planting.
Do not rely on decorative stones alone as a substitute for proper drainage holes in a container that has nowhere for excess water to escape.
Step 4: Decorate the Containers
This is the part where you can turn a basic gardening project into a genuine craft.
You can keep the containers natural or give them a completely different appearance.
Idea 1: Paper labels
Cut small rectangles from leftover cardstock and write the name of each herb.
Idea 2: Fabric bands
Wrap a decorative strip of fabric around the outside of a suitable container, keeping the material away from areas where it could remain constantly wet.
Idea 3: Reusable decorative tape
Create simple stripes, blocks, or geometric patterns around the outside of a clean container.
Idea 4: Handwritten labels
Use simple handwritten plant names for a deliberately handmade look.
Idea 5: Minimalist design
Leave the container plain and add one small label.
This works particularly well if you like a clean kitchen aesthetic.
Step 5: Add the Potting Mix
Fill each container with an appropriate potting mix suitable for the herb you are growing.
Avoid packing the growing medium down extremely hard.
Leave enough room near the top so that watering does not immediately cause soil to overflow.
If you are transplanting an existing herb, handle the root area carefully and avoid unnecessarily disturbing the roots.
Step 6: Plant Your Herbs
Place each herb into its container according to the planting instructions associated with the particular plant or seed packet.
If you are using young plants, make the planting hole large enough to accommodate the existing root ball without crushing it.
After positioning the plant, gently firm the growing medium around it.
Do not compress the soil aggressively.
If you are starting from seed, follow the instructions on the seed packet because planting depth and germination requirements differ between herbs.
Step 7: Add the Labels
Labels are more useful than they first appear.
When several young herbs look similar, it can become surprisingly easy to forget which plant is which.
You can make simple labels from:
- Craft sticks
- Recycled cardboard
- Old plastic packaging cut safely into strips
- Waterproof label material
- Small reusable tags
Write the plant name clearly.
You can also add the planting date.
Step 8: Water Carefully
After planting, water according to the needs of the particular herb and the moisture condition of the potting mix.
Do not assume that every plant needs water every day.
Indoor conditions can vary significantly depending on temperature, humidity, sunlight, container size, and soil.
Check the growing medium rather than following a rigid calendar.
Step 9: Find the Right Indoor Location
Light is one of the most important factors in an indoor herb garden.
A sunny window can work well for many herbs, although the exact amount of light required depends on the plant.
Container herb guidance notes that many herbs prefer substantial sunlight, while indoor gardens may require a very bright window or supplemental lighting when natural light is insufficient.
Before choosing the permanent location, observe your room during the day.
Which area receives the strongest useful light?
Is the location near a draft?
Does the surface become extremely hot?
Can you comfortably reach the plants for watering and harvesting?
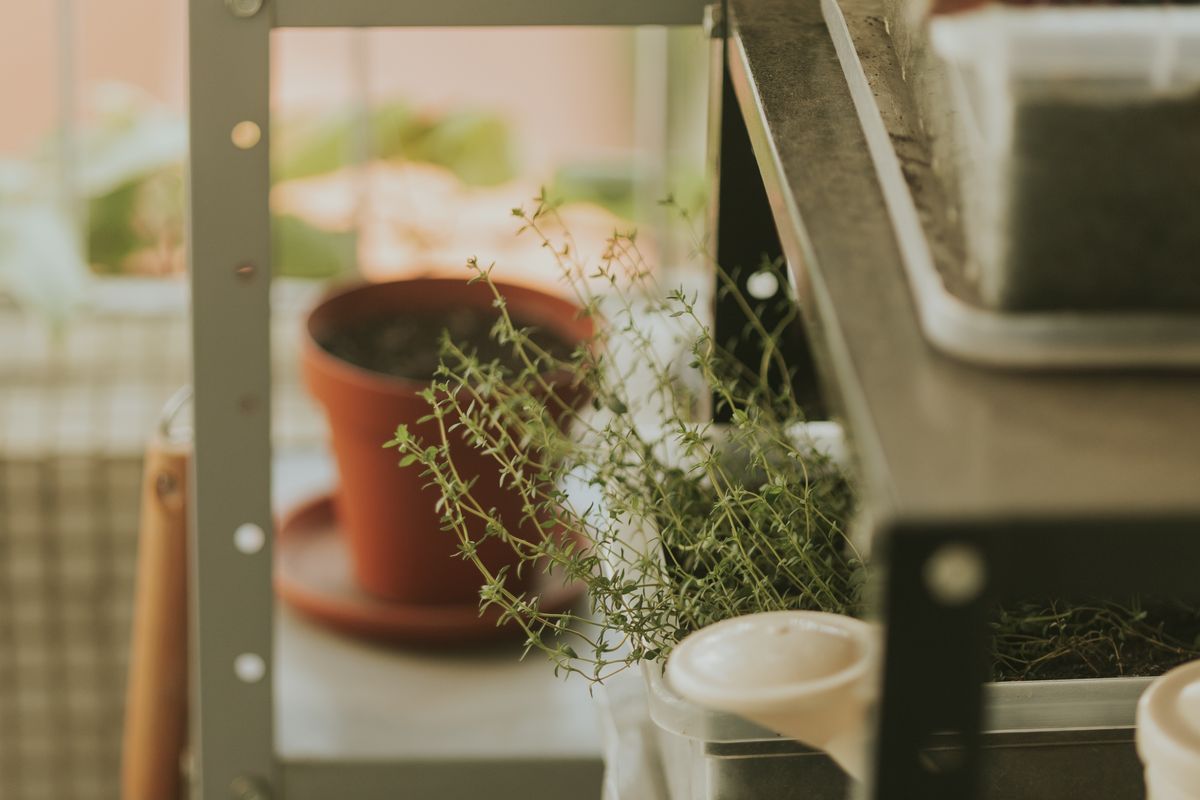
Image: Pexels — compact indoor herb garden inspiration.
Three Easy Recycled Container Designs
Design A: The Window Row
Use three similar containers and place them in a straight line.
Give each planter a different handwritten label.
This is the easiest design if you want a neat, organized appearance.
Design B: The Mixed-Container Garden
Use three completely different recycled containers.
One could be metal, another plastic, and another a repurposed food container.
Use matching labels to visually connect them.
Design C: The Mini Herb Station
Place three planters together on a reusable tray.
Add a small label card with the name of each herb.
You can also keep small scissors nearby for harvesting.
How to Turn This Into a Weekend Craft Project
You do not have to finish everything in one sitting.
Make the project a relaxing weekend activity.
Saturday morning
Collect and clean containers.
Saturday afternoon
Decorate the containers and make labels.
Sunday morning
Add potting mix and plants.
Sunday afternoon
Arrange the garden and photograph the finished project.
This slower approach makes the activity feel more like a hobby than a chore.
How to Make the Garden Look More Attractive
You do not need expensive decorations to make a recycled herb garden attractive.
Focus on consistency.
If the containers are different, use matching labels.
If the labels are different, use similar containers.
If everything is visually busy, simplify the decoration.
Natural materials can also work well. A simple wooden tray, neutral labels, or plain containers can give the garden a calm appearance.
Five Creative Label Ideas
1. Botanical labels
Write the common name and add a tiny hand-drawn leaf.
2. Kitchen labels
Use simple names such as “For Pasta,” “For Tea,” or “For Salads.”
3. Date labels
Add the date the herb was planted.
4. Chalkboard-style labels
Use a dark reusable label and light writing.
5. Tiny illustrated labels
Draw a small symbol representing the herb.
How to Reuse a Plastic Bottle as a Planter
Plastic bottles are one possible material for an upcycling project, and recycled-bottle indoor gardening has been used in educational sustainability activities.
A bottle planter can be made in several ways, but cutting plastic requires care.
For a basic design, use a clean bottle and create a stable planting section rather than making an unnecessarily complicated shape.
Make sure the finished edges cannot cut your hands.
Place the container somewhere stable so that it cannot easily tip over.
If the bottle is too small for the plant you want to grow, use a larger recycled container instead.
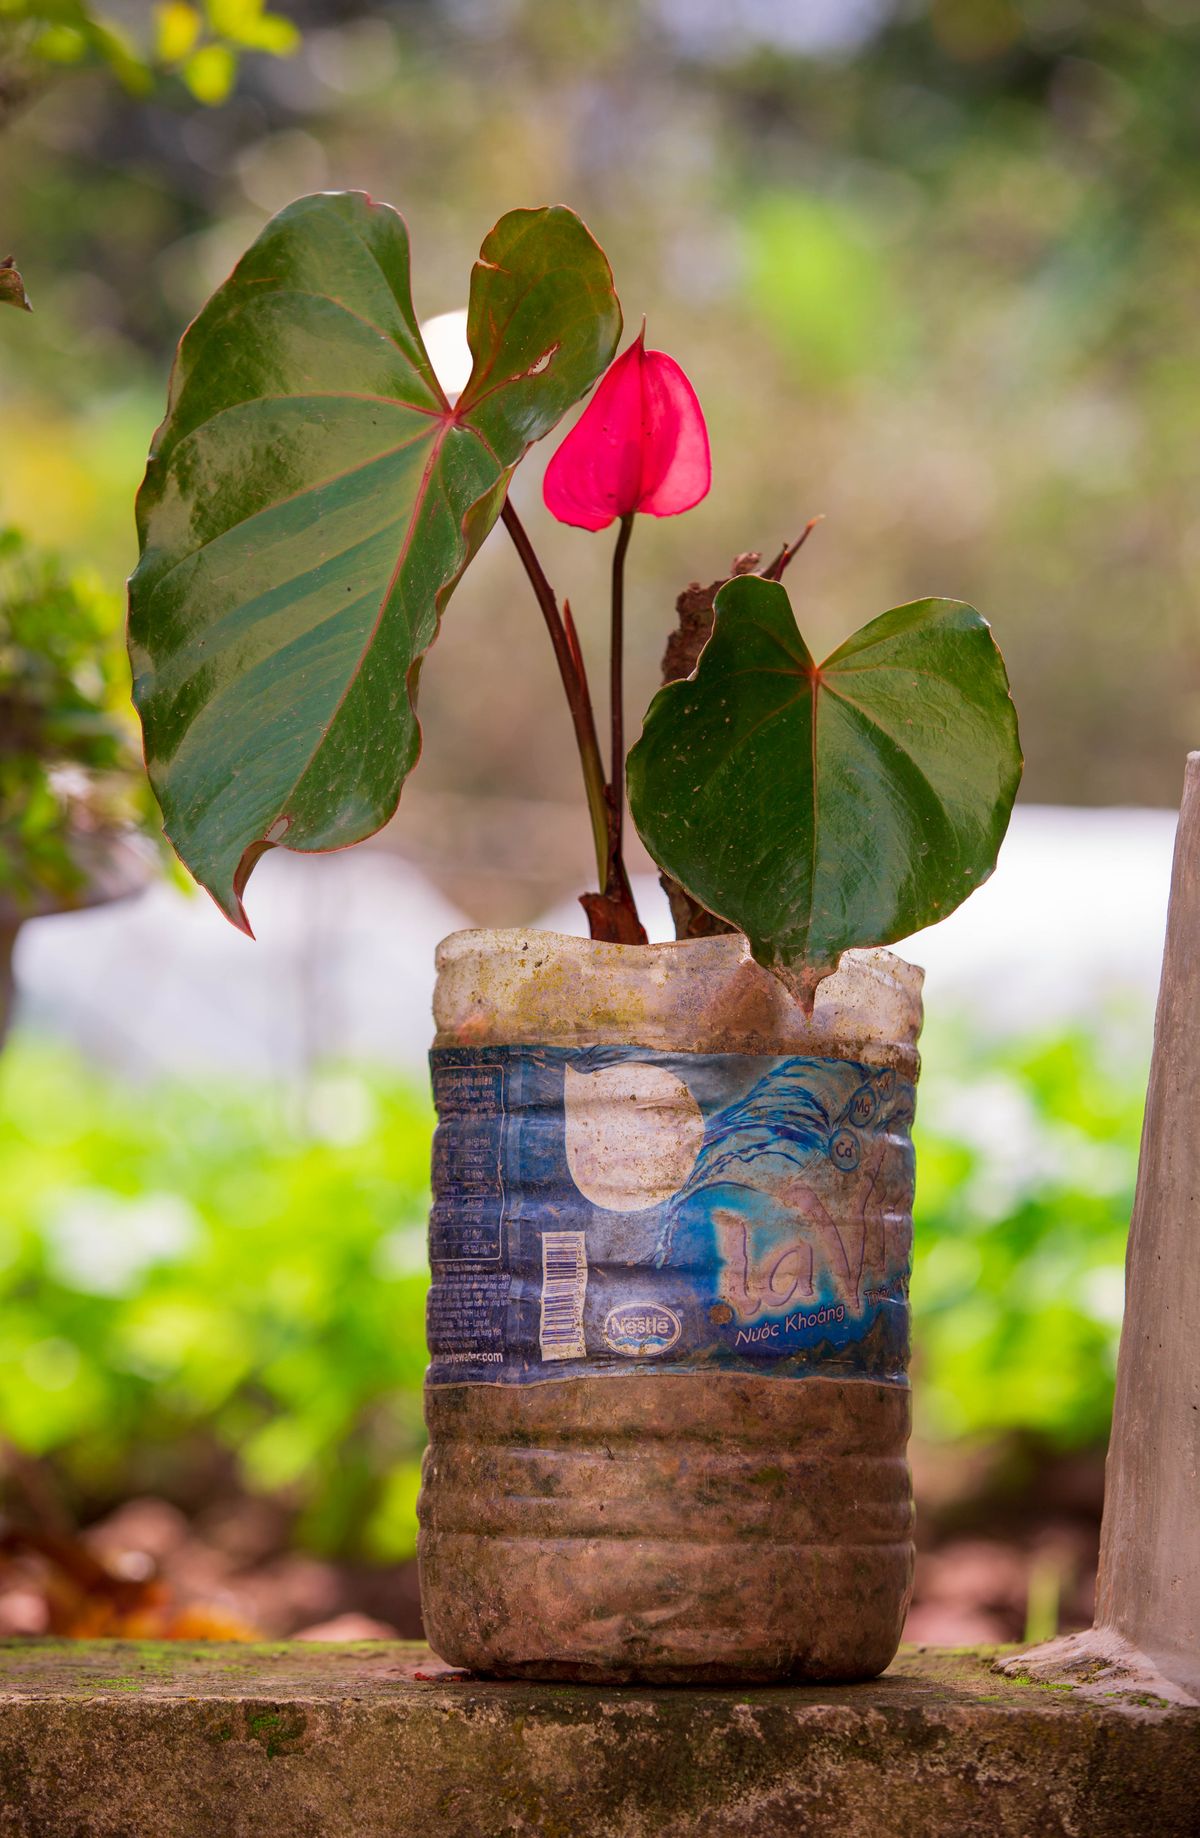
Image: Pexels — recycled plastic container gardening.
Using Egg Cartons for Seed Starting
If you want to grow herbs from seed, an egg carton can be useful as a temporary seed-starting structure when appropriate for the material and growing conditions.
Pexels also features imagery of young plants growing in recycled egg cartons, reflecting the popularity of this type of reuse.
Remember that a temporary seed starter is not necessarily the same thing as a permanent planter.
As seedlings develop, they may need to be moved into larger containers.
What About Glass Jars?
Glass jars look attractive in indoor gardens, but they require more thought than they initially appear to.
Many ordinary glass jars do not have drainage holes.
Rather than casually drilling glass, consider using a container specifically designed for planting or another recycled container that can provide a safer drainage solution.
If you use a decorative glass vessel as an outer cover or display container, keep the actual growing container separate when appropriate.
How Often Should You Water an Indoor Herb Garden?
There is no single watering schedule that works for every herb, room, and container.
Instead of watering automatically every morning, inspect the growing medium and consider the plant's individual requirements.
Small containers can dry out faster than larger ones, while a cool indoor location may retain moisture longer.
Excessive watering can be just as troublesome as neglecting the plant.
Common Problems With Mini Indoor Herb Gardens
Problem: Leaves are turning yellow
Yellowing can have several causes, including watering problems, insufficient light, nutrient issues, or natural aging.
Look at the overall condition of the plant instead of assuming that water is always the answer.
Problem: The plant is becoming tall and weak
This can happen when a plant is reaching toward an insufficient light source.
Consider whether the plant is receiving enough appropriate light.
Problem: Soil remains wet for a long time
Check the container and drainage arrangement.
A small planter without adequate drainage can create problems.
Problem: Leaves look dry
Check moisture, light, temperature, and airflow.
Do not immediately compensate by flooding the container with water.
Problem: Tiny insects appear
Inspect the plant carefully and isolate affected plants from others if necessary while you determine the cause.
Avoid applying random household chemicals to edible herbs.
How to Keep the Project Beginner-Friendly
The easiest way to lose interest in a new hobby is to make the first project unnecessarily complicated.
You do not need:
- Ten different herbs
- A complicated irrigation system
- Professional gardening equipment
- Expensive decorative containers
- A huge collection of seeds
- A complicated vertical garden
Start with three plants.
Learn how those three plants behave.
Then expand if you enjoy the process.
How to Turn the Project Into a Family Craft
A recycled herb garden can also become a shared creative activity.
One person can clean and prepare the containers.
Another can design the labels.
Someone else can arrange the finished planters.
Children can participate in age-appropriate decorating and labeling, while adults handle sharp tools and any container modifications that require cutting or drilling.
The finished garden then becomes something everyone helped create.
How to Make a Themed Herb Garden
Instead of randomly choosing herbs, create a theme.
Italian cooking theme
Choose herbs commonly associated with the dishes you enjoy making, such as basil and thyme.
Tea and aroma theme
Select herbs according to whether they are appropriate for your intended culinary or beverage use.
Pizza night theme
Choose compact culinary herbs that complement your favorite homemade meals.
Beginner theme
Choose three herbs based primarily on their suitability for your available growing conditions and your ability to care for them.
How to Track Your Herb Garden
Keeping a small gardening journal can make the craft more educational.
Write down:
- Plant name
- Date planted
- Container type
- Approximate location
- When you first noticed new growth
- When you harvested leaves
- Changes you made to light or watering
After several weeks, you will have your own record of what worked.
This is much more useful than blindly following someone else's exact watering schedule because indoor environments vary.
How to Harvest Without Ruining the Plant
Harvesting should be approached according to the requirements of the individual herb.
Do not remove most of the plant simply because you want a large handful of leaves.
For herbs that respond well to regular harvesting, small and consistent harvesting can be more practical.
Always identify the plant correctly before eating it.
If a plant has been exposed to inappropriate chemicals or treatments, do not assume it is safe to consume simply because it looks healthy.
Why This Is More Than a Gardening Project
There is something satisfying about taking an ordinary object that would otherwise be discarded and giving it a useful second purpose.
You begin with an empty container.
You clean it.
You design it.
You transform it.
You plant something.
Then you watch the result change over time.
That combination of creativity and patience is what makes this project fit naturally into the hobbies and crafts category.
10 More Recycled Container Ideas
- Small food tubs converted into labeled herb planters.
- Clean yogurt containers decorated with paper bands.
- Suitable cardboard containers used for temporary seed starting.
- Repurposed plastic cups used as temporary plant holders.
- Clean cans converted into decorated planters.
- Small reusable containers grouped into a miniature garden.
- Recycled bottles adapted into compact planters.
- Unused plant pots refreshed with handmade labels.
- Small containers placed together on a wooden tray.
- Mixed recycled containers arranged by plant height.
Frequently Asked Questions
What is the easiest herb to grow indoors?
There is no single easiest herb for every home because light, temperature, watering, and container conditions differ. Basil, chives, parsley, thyme, and other culinary herbs are commonly grown indoors. Choose according to the conditions you can provide.
Can I make an indoor herb garden without buying pots?
Yes. Suitable clean household containers can be repurposed as planters, provided they are safe, stable, appropriately sized, and have a workable drainage arrangement.
Can I use plastic food containers as planters?
Some clean, sturdy food containers can be repurposed for gardening. Evaluate the condition and size of the container and make sure the finished planter provides an appropriate environment for the plant.
Do indoor herb planters need drainage holes?
For conventional container growing, drainage is important because excess water needs somewhere to go. A container-gardening guide specifically recommends holes in the bottom of reused containers for herbs.
Can I grow herbs from seeds?
Yes. Many herbs can be started from seed, although germination time and planting requirements vary. Follow the instructions supplied with the seed variety you choose.
Can I grow herbs on a kitchen windowsill?
A bright kitchen windowsill can be a convenient location if it provides suitable light and temperature conditions for the chosen herbs.
How many herbs should I start with?
Three herbs are a manageable starting point. Once you understand how your plants respond to your indoor conditions, you can expand the collection.
Can this be a craft project for children?
Yes, with appropriate adult supervision. Children can help decorate containers, create labels, arrange plants, and observe growth. Adults should handle sharp tools and any cutting or drilling.
Can recycled containers make the garden look attractive?
Definitely. Matching labels, simple color schemes, grouped containers, and a shared tray can make mismatched recycled planters look intentional.
What should I do if my herb outgrows its recycled container?
Move the plant into a more suitable container when necessary. The recycled container can then be cleaned and reused for another small plant or seed-starting project.
Final Thoughts
Making a mini indoor herb garden from recycled containers is a small project, but it combines several satisfying skills in one activity.
You get to design something, reuse an everyday object, work with plants, create labels, experiment with arrangement, and eventually enjoy the practical result.
The best part is that your first attempt does not need to be perfect.
Your containers can be mismatched.
Your labels can be handwritten.
Your decoration can be simple.
What matters is that the project works for your space and encourages you to keep creating.
Start with three containers and three herbs.
Choose a bright location.
Pay attention to drainage and moisture.
Observe your plants rather than following a rigid routine.
And when the garden begins producing fresh leaves, you will have something that is more satisfying than a decoration: you will have a small handmade garden created from objects that might otherwise have been thrown away.
- Choose three clean recycled containers.
- Check that each container is safe and stable.
- Create an appropriate drainage solution.
- Select herbs suited to your indoor conditions.
- Use suitable potting mix.
- Decorate and label the containers.
- Place them where they receive appropriate light.
- Check moisture before watering.
- Observe plant growth and adjust care when necessary.
- Enjoy the process rather than trying to create a perfect garden immediately.