
Matter Smart Home Hub Setup Guide: The Complete Beginner Walkthrough (No Subscription Needed)
I set up my first "smart" light bulb back when it needed its own app, its own account, and its own little cloud outage to ruin a Tuesday evening. Four different ecosystems and a pile of orphaned hubs later, I finally moved everything over to Matter, and it's the first time my house has felt like one system instead of six competing apps arguing with each other. If you're about to do the same thing, this guide is the walkthrough I wish someone had handed me — not a marketing overview of what Matter is, but the actual sequence of screens, settings, and small mistakes that decide whether your setup takes twenty minutes or eats your whole Saturday.
We're going to cover how to pick a hub that actually fits your home, how to get your network ready so devices don't silently fail to join, the exact commissioning steps for adding your first few devices, how Thread fits into all of this, and the troubleshooting fixes that Google searches usually bury under generic "restart your router" advice. By the end, you'll have a working Matter hub, at least a couple of paired devices, and enough understanding to add the rest of your house without guessing.
Quick Answer
To set up a Matter smart home hub: pick a hub that matches your existing phone ecosystem (Apple, Google, Amazon, or Samsung), connect it to a dedicated 2.4GHz Wi-Fi network, open that platform's home app, tap "Add Device," and scan the Matter QR code printed on the device or its box. Most current hubs also double as a Thread border router automatically, so battery-powered sensors and locks join a separate low-power mesh without extra setup. No subscription is required for any of this.
What we'll cover
- What Matter actually is (and isn't)
- Do you actually need a dedicated hub?
- Choosing the right hub for your home
- Pre-setup checklist: network, apps, accounts
- Step-by-step: setting up your hub
- Adding your first Matter devices
- Understanding your Thread network
- Organizing rooms and building automations
- Troubleshooting common setup failures
- Security settings worth changing on day one
- Common mistakes beginners make
- Is Matter actually future-proof?
- FAQ
What Matter Actually Is (and Isn't)
Matter is a connectivity standard, not a product. Think of it less like a brand and more like USB-C for smart home devices — a shared language that lets a light bulb made by one company talk directly to a hub made by a completely different company, without either of them needing a translation layer in the cloud. Before Matter, if you bought a lock that only spoke "proprietary brand X protocol," you were stuck using that brand's app forever, and it often couldn't talk to your voice assistant without a clunky third-party skill.
Matter devices carry one of two radios under the hood: Wi-Fi or Thread. Wi-Fi devices connect straight to your router the way your laptop does. Thread devices use a low-power mesh radio that's closer to Zigbee in spirit — better battery life, better range through walls when several devices relay signal for each other, but it needs a "border router" to bridge that mesh back to your regular network. That border router is usually built into whatever Matter hub you buy, which is why the hub matters (no pun intended) even though Matter itself is technically hub-optional for Wi-Fi-only devices.
What Matter is not: a replacement for your voice assistant, a single app you install, or a guarantee that every smart device you already own will magically start working. Older Zigbee and Z-Wave devices generally need a firmware update or a bridge to join a Matter network, and some very old Wi-Fi devices never will. Matter is the plumbing underneath your smart home, not the faucet you touch every day.

Do You Actually Need a Dedicated Hub?
Technically, no — if every device you own is Matter-over-Wi-Fi, you can commission them straight from your phone's home app with zero additional hardware. In practice, almost nobody's setup stays that simple for long, for three reasons.
- Battery-powered devices need Thread. Door sensors, water leak detectors, and most smart locks drain a battery in days if they run over Wi-Fi. Thread solves that, but Thread needs a border router.
- Local control needs a hub running at home. Without a hub, some automations route through the cloud, meaning your motion-triggered lights stop working the moment your internet does. A hub that stays on your local network keeps those automations running offline.
- Remote access needs a hub. Checking your cameras or unlocking your door from outside the house requires a device on your home network to relay that request securely — your phone alone can't do it.
So while you can skip a hub for a one-bulb experiment, anyone building a real smart home setup — even a modest one with five or six devices — is going to want a hub. The good news is you very likely already own something that qualifies.
Choosing the Right Hub for Your Home
The single biggest decision here isn't "which hub is best" in the abstract — it's which ecosystem your household already lives in. If everyone's carrying an iPhone, an Apple hub will feel invisible. If you're deep in Google's calendar and photos ecosystem, fighting that with an Apple-first setup creates friction you'll notice every day. Pick the ecosystem first, then the hub.
| Hub | Ecosystem | Built-in Thread Router | Best For | Approx. Price |
|---|---|---|---|---|
| Apple HomePod mini | Apple Home | Yes | iPhone households wanting strong privacy defaults | $$ |
| Amazon Echo Hub / Echo (4th Gen) | Alexa | Yes | Voice-first households, widest device compatibility | $–$$ |
| Google Nest Hub (2nd gen) / Nest Hub Max | Google Home | Yes | Android households, screen-based routines | $$ |
| Samsung SmartThings Station | SmartThings | Yes | Samsung appliance and Galaxy phone owners | $$ |
| Aqara Hub M3 | Cross-platform (bridges into all above) | Yes | Mixed households running more than one ecosystem | $$$ |
| Home Assistant (Yellow or Green) | Fully local, no cloud dependency | Yes (with add-on) | Tinkerers who want total control and open-source flexibility | $$$$ |
A detail that trips people up: you don't need to buy only one of these. Matter's "multi-admin" feature means the same physical bulb can be controlled from an Apple hub and a Google hub at the same time, so a mixed household — say, one partner on iPhone and one on Android — doesn't have to fight over which app wins. If that's your situation, commission devices into whichever hub sits physically closest to them first, then share them into the second ecosystem afterward.
Skip this if you already own a smart speaker. If there's an Echo, Nest Hub, or HomePod mini already sitting on a shelf somewhere in your house, you almost certainly don't need to buy new hardware. A quick settings check in that device's app will tell you if it already supports Matter (most models from the last three to four years do).
Pre-Setup Checklist: Network, Apps, Accounts
This is the section people skip and then regret. Most Matter setup failures I've seen — and helped other people untangle — trace back to something on this list, not a defective device.
- Confirm your router broadcasts a usable 2.4GHz band.Nearly all Matter-over-Wi-Fi devices only support 2.4GHz. If your router uses a single merged SSID for both 2.4GHz and 5GHz, that's usually fine, but if you've previously disabled the 2.4GHz radio for speed reasons, turn it back on.
- Know your Wi-Fi password by heart, not by memory of "it's on the sticker somewhere."You'll be typing it several times during setup, sometimes on a screen with no keyboard shortcuts.
- Update your phone's home app before you start.Apple Home, Google Home, Alexa, and SmartThings all ship Matter-related bug fixes frequently. An outdated app is a common cause of QR codes that simply won't scan.
- Sign in to the right account first.Make sure you're logged into the Apple ID, Google account, or Amazon account you actually want tied to your smart home long-term — switching later means re-pairing everything.
- Place your hub centrally, not in a closet.Since most hubs double as Thread border routers, a hub buried in a basement utility room will leave upstairs sensors struggling to join the mesh.
- Have your devices physically nearby and unboxed.Keep the small paper insert with the QR code and setup code — you'll need it, and it's the first thing that gets thrown away.
Step-by-Step: Setting Up Your Hub
These steps are written for a typical first hub — an Echo, Nest Hub, or HomePod mini — but the shape of the process is nearly identical across platforms, because Matter standardized the commissioning flow itself even though the apps look different.
- Step 1 — Plug in the hub and wait for the light or chime.Give it a full sixty seconds; most hubs do a firmware check on first boot before they're ready to be discovered.
- Step 2 — Open your platform's home app and start "Add Device."In Apple Home this is the plus icon; in Google Home it's "Add" then "New device"; in Alexa it's "Devices" then the plus icon then "Add Device."
- Step 3 — Select the hub's product category when prompted.The app will usually detect the hub automatically over Bluetooth once it's powered and nearby — you often don't need to scan anything for the hub itself.
- Step 4 — Connect the hub to your Wi-Fi network.Choose your 2.4GHz SSID and enter your password carefully — this step fails silently more than any other if there's a typo.
- Step 5 — Assign the hub to a room and confirm.This matters later for voice commands ("turn off the kitchen lights" only works cleanly if devices are grouped correctly from the start).
- Step 6 — Let the hub finish its setup and Thread activation.Most apps show a short progress screen here; this is the point where the hub registers itself as a Thread border router on your network, even though nothing on screen explicitly says so.
- Step 7 — Confirm the hub appears as "online" in the app before adding any devices.Adding devices to a hub that hasn't fully finished its own setup is the single most common cause of a stuck pairing screen.
Adding Your First Matter Devices
With the hub online, adding a device is where Matter actually earns its reputation for being simpler than what came before. The flow is nearly the same regardless of what the device is — bulb, plug, sensor, lock, thermostat — because it's the same standardized commissioning protocol underneath.
- Unbox the device and leave it powered but not yet connected to anything.Smart plugs and bulbs just need to be plugged in; battery devices need their pull-tab removed.
- In your home app, tap "Add Device" again.The app will ask you to scan a QR code — this is different from the hub's setup and specific to the new device.
- Scan the Matter QR code printed on the device or its packaging.It's a black-and-white square code, sometimes next to a smaller 11-digit numeric setup code you can type manually if the camera struggles.
- Wait for the "Device Found" confirmation.This can take anywhere from five seconds to about a minute — Wi-Fi devices are usually faster than Thread devices, which need to first join the mesh before appearing.
- Assign the device to a room.Do this immediately rather than "later" — nobody ever goes back and organizes forty devices after the fact.
- Test the device before moving to the next one.Toggle it on and off from the app. If it responds instantly, you're set; if there's a multi-second lag every time, note it — that's often an early sign of a weak Thread connection worth investigating before you add ten more devices on the same shaky mesh.
One thing worth knowing before you start: Matter setup codes are single-use per ecosystem in some implementations, meaning if a pairing attempt fails halfway through, you may need to generate a fresh code from the device (often by holding its pairing button for five to ten seconds) rather than rescanning the same printed code repeatedly. This trips up more people than it should, mostly because nothing in the app explains it.
Understanding Your Thread Network
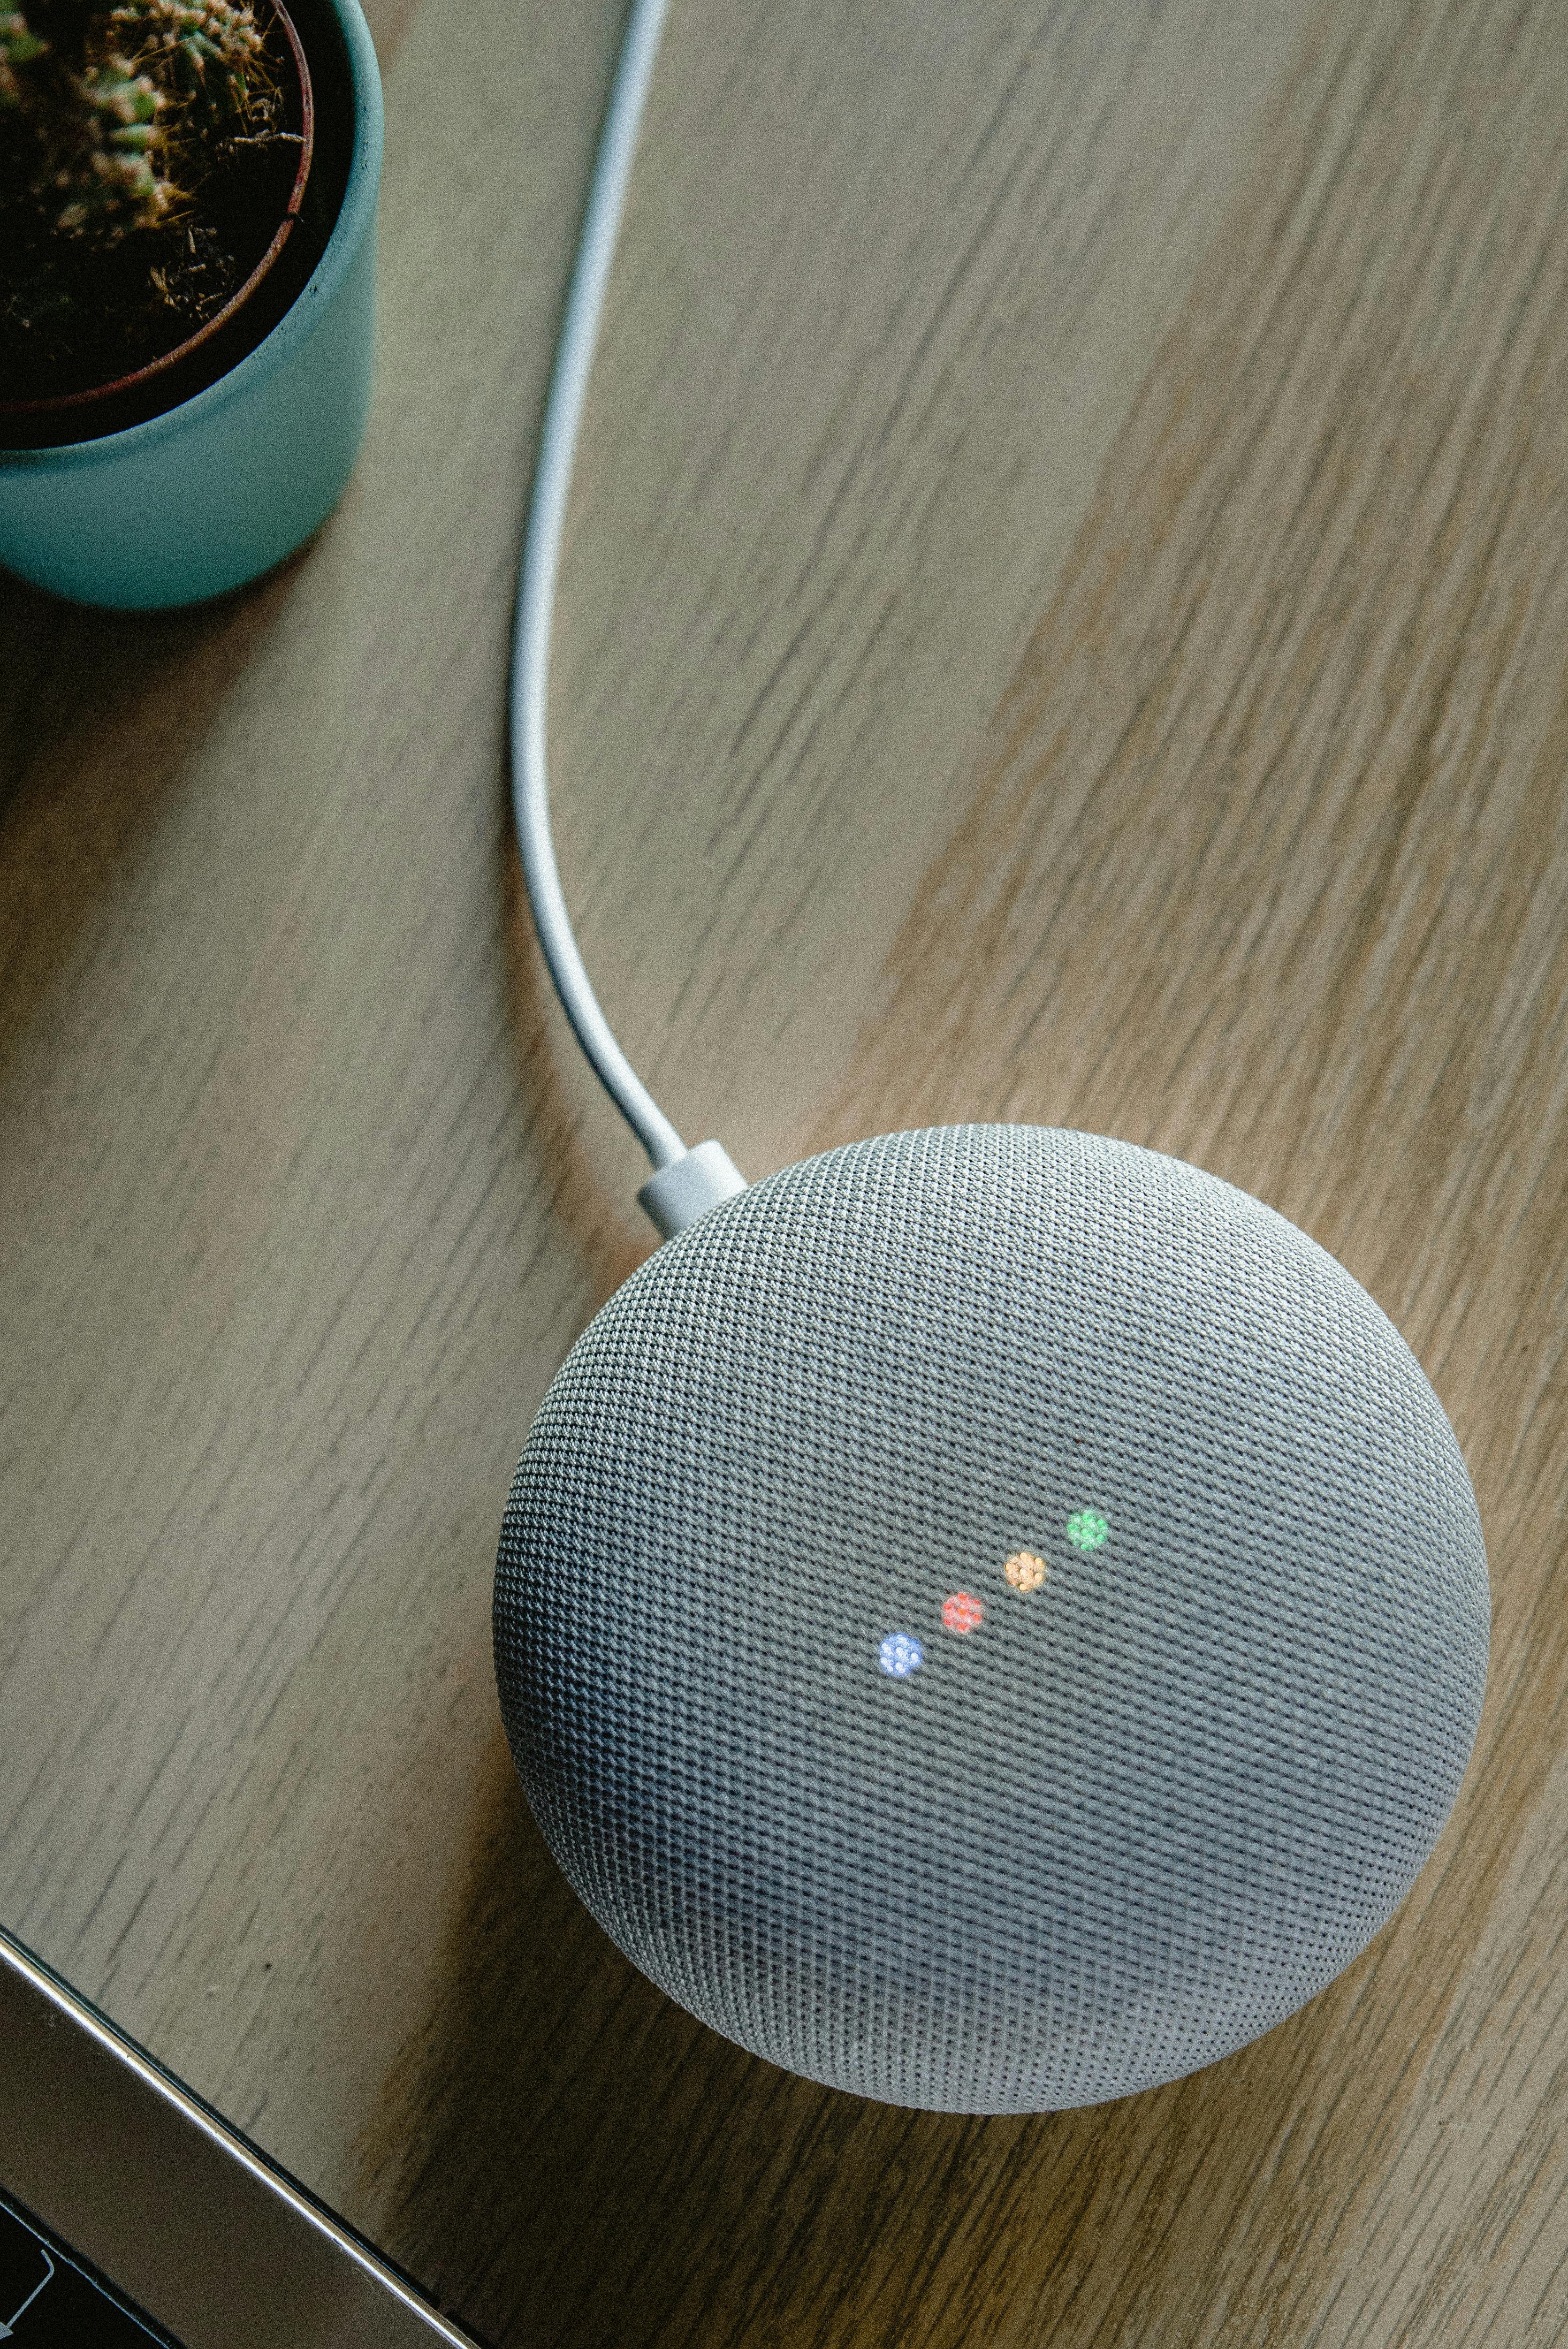
Thread is the part of this process that confuses people most, mostly because it's invisible by design. There's no separate "Thread app" to open and no password to manage day-to-day. Once your hub becomes a border router, any Thread-capable device you add simply joins that mesh automatically during commissioning — you never see a network name or type a Thread-specific credential.
What you do need to understand is how the mesh behaves. Thread routers — meaning any mains-powered Thread device, not just the hub — extend the network's reach by relaying signal to each other. A battery-powered sensor is typically a Thread "end device," meaning it talks to the nearest router rather than relaying for others, to preserve its battery. This has a practical consequence: if you put a battery sensor in a detached garage with no mains-powered Thread device anywhere nearby, it's going to struggle no matter how strong your hub's own signal is, because there's nothing between them to bridge the gap.
The fix, when you hit that situation, is almost always to add a cheap Thread-enabled smart plug somewhere between the hub and the struggling device. It doesn't need to do anything functionally interesting — its real job is extending the mesh. I've used a $15 smart plug purely as a signal relay in a converted garage, and it turned a sensor that dropped offline daily into one that's been rock solid for months.
Organizing Rooms and Building Automations
Once you've got a handful of devices online, resist the urge to immediately build a dozen automations. Spend fifteen minutes first getting your room structure right, because every automation you build afterward inherits that structure, and rebuilding it later means touching every automation again.
- Name rooms the way you'd say them out loud — "Living Room" and "Kitchen," not "LR" or "Zone 2." Voice commands match against these names directly.
- Group by physical space, not by device type. Don't create a room called "Lights" — group the lights, the plug, and the sensor that are all actually in the same physical room together.
- Start with one automation you'll actually notice. A good first one: motion sensor turns on a hallway light only between sunset and sunrise. It's simple, it's genuinely useful daily, and it proves your sensor and light are both reliably online before you build anything more complex on top.
- Add a "goodnight" or "away" scene early. Bundling multiple devices into one voice command or one tap is where a Matter setup starts feeling different from just a pile of connected gadgets.
Troubleshooting Common Setup Failures
Here's what actually causes the errors people search for at 11 p.m., and the fix that usually works — not the generic "restart everything" advice.
| Symptom | Likely Cause | Fix |
|---|---|---|
| QR code won't scan at all | Glare on the glossy code sticker, or outdated app camera permissions | Tilt the code away from overhead light, or type the numeric setup code manually instead |
| "Device Not Found" after scanning | Phone connected to 5GHz while device needs 2.4GHz | Temporarily connect your phone to the same 2.4GHz SSID before scanning again |
| Pairing hangs at "Connecting..." indefinitely | Device still holds a cached pairing from a previous failed attempt | Factory reset the device (hold the pairing button 10–15 seconds) and generate a fresh code |
| Device pairs but shows "No Response" a day later | Weak or single-hop Thread mesh with no relay device nearby | Add a mains-powered Thread smart plug between the hub and the device |
| Device works in one app but won't share to a second ecosystem | Multi-admin share code expired (they're often time-limited) | Generate a brand-new share code from the original app rather than reusing an old screenshot |
| Entire mesh goes offline after a router firmware update | Router briefly changed 2.4GHz channel or band settings during the update | Power-cycle the hub after any router firmware update, giving it two full minutes to rejoin |
The fix nobody mentions: if a device fails to join three times in a row, don't keep retrying the same commissioning attempt. Fully remove the device from the app's device list (not just close the screen), unplug it for thirty seconds, and start the "Add Device" flow completely fresh. A stuck partial pairing on the app's side causes more repeat failures than anything wrong with the device itself.
Security Settings Worth Changing on Day One
Matter's design is genuinely more secure by default than what most people had running five years ago, but "more secure by default" isn't the same as "secure without you doing anything."
- Turn on two-factor authentication for whichever account runs your hub. This is the account guarding the front door of your entire home network now — treat it accordingly.
- Review who has guest access. Home apps let you invite family members as "guests" with limited control; audit that list every few months, especially after houseguests or a break-up.
- Keep hub firmware on automatic update. Nearly every hub defaults to this, but it's worth confirming, since firmware updates are how border-router-level Thread security patches actually reach your mesh.
- Segment guest Wi-Fi away from your smart home network if your router supports it. Not essential for a small setup, but worthwhile once you're running cameras or locks — keeps a compromised guest device from being able to see your smart lock directly.
- Physically secure your Thread border router. Because it's the bridge for your entire local mesh, treat the hub itself like a piece of network infrastructure, not just a speaker — don't let it sit somewhere a visitor can unplug or factory-reset it unnoticed.
Common Mistakes Beginners Make
A few patterns show up again and again in setups that go badly, almost all avoidable in hindsight.
- Buying devices before picking an ecosystem. Ending up with three different hub brands because each device came with its own recommendation creates unnecessary complexity that Matter was supposed to eliminate.
- Naming everything "Device 1," "Device 2" during setup "to fix later." Later rarely comes, and a poorly named device list makes voice control frustrating for the rest of the household.
- Placing the hub for aesthetics instead of coverage. A beautiful hub tucked behind a TV stand in the corner of the house is a weak Thread border router no matter how good it looks there.
- Skipping firmware updates on the device itself before pairing. Some devices ship with Matter support added via firmware update after the fact — pairing an out-of-box device without updating first can fail entirely.
- Assuming every "smart" gadget is Matter-certified. Look for the Matter logo specifically on the packaging; plenty of budget devices still run entirely proprietary protocols with no Matter support at all, even in 2026.
Is Matter Actually Future-Proof?
No standard is permanently future-proof, but Matter's backing is broad enough — Apple, Google, Amazon, Samsung, and the Connectivity Standards Alliance all co-develop it — that the usual worry with smart home tech, a single company abandoning a protocol and stranding your devices, is much less likely here. The standard itself has already gone through multiple version updates since its 2022 launch, each one backward-compatible with devices certified under earlier versions.
The more realistic long-term consideration isn't whether Matter survives, but whether any individual device you buy stays supported by its manufacturer's firmware updates. A Matter-certified bulb from a company that goes out of business will keep working locally, since Matter doesn't route routine control through a manufacturer's cloud — but it won't receive new features or security patches. That's a reasonable trade-off compared to the pre-Matter era, where a defunct company could brick your device entirely by shutting down the cloud service it depended on.
Before you close this guide — quick setup checklist
- Confirmed 2.4GHz Wi-Fi is active and password is on hand
- Hub placed centrally, not in a closet or basement corner
- Home app updated to the latest version
- First device paired and tested before adding a second
- Rooms named clearly before building any automations
- Two-factor authentication enabled on the hub account
Frequently Asked Questions
Do I need a separate Thread border router if I already own a Matter hub?
Usually no. Most current-generation Matter hubs — the Apple HomePod mini, Amazon Echo (4th Gen) and Echo Hub, Google Nest Hub (2nd gen) and Nest Hub Max, and Aqara's M-series hubs — already contain a built-in Thread radio and act as a border router automatically once set up. A dedicated standalone Thread router only becomes worthwhile in a large home with several Thread devices spread far from your existing hub.
Why won't my smart plug show up when I try to add it as a Matter device?
Nine times out of ten it's a 2.4GHz Wi-Fi issue. Matter-over-Wi-Fi devices can't join a 5GHz-only network, and combined-band SSIDs sometimes push a device onto the wrong radio and fail silently. Temporarily split your network into a separate 2.4GHz SSID, clear any cached pairing in the device's original app, and rescan the QR code from a phone connected to that 2.4GHz network.
Can I run the same Matter device in Apple Home, Google Home, and Alexa at the same time?
Yes — that's the point of Matter's multi-admin feature. Once a device is commissioned into one ecosystem, generate a fresh share code to add that same physical device into a second and third ecosystem. Each platform controls it independently, so a state change in one app is reflected in the others almost instantly.
Is Matter actually more secure than the old proprietary smart home apps?
In most respects, yes. Matter requires device-attestation certificates and encrypted local communication over Thread or Wi-Fi, and it doesn't force every command through a manufacturer's cloud server the way many older devices did. Local control means lights can still respond to a switch even if the internet connection drops.
My Matter device keeps showing as "No Response" a day after I set it up — what's going on?
This is almost always a Thread mesh problem, not a device failure. A lone battery-powered sensor sitting far from the border router with nothing relaying signal in between can drop off the mesh once it enters a deeper sleep cycle. Add a mains-powered Thread device, such as a smart plug, between the router and the sensor to extend the mesh, then power-cycle the sensor.
Do I need a monthly subscription to use a Matter smart home hub?
No. Core functionality — pairing devices, local automations, voice control through the built-in assistant, and multi-app control — is free on every major platform. Subscriptions only apply to optional extras like extended video-doorbell cloud recording, not to running a fully functional smart home.
Wrapping Up
The gap between "smart home that's actually pleasant to live with" and "smart home that generates a support ticket every week" almost always comes down to the boring parts — a stable 2.4GHz network, a hub placed somewhere central, and a room structure you set up correctly before automations pile on top of it. None of that requires deep technical knowledge, just doing the setup steps in the right order the first time.
Start with one hub and two or three devices. Get comfortable with how commissioning feels, watch how the Thread mesh behaves as you add a second and third device, and only then start expanding room by room. A Matter smart home built slowly and correctly beats one assembled in a single overwhelmed afternoon — and unlike the smart home tech of a few years ago, everything you set up today should keep working together regardless of which brand you reach for next.