
How to Make a Macrame Plant Hanger: A Complete Beginner's Guide

Photo via Pexels
I picked up a length of cotton cord on a rainy Tuesday afternoon a few years back, mostly out of boredom, and I honestly did not expect to still be knotting cord on weekends years later. There is something almost meditative about macrame — the repetitive motion of the knots, the way a shapeless pile of rope slowly turns into something you'd actually want hanging in your living room. If you've been eyeing those boho plant hangers on Pinterest and wondering whether you could make one yourself, the answer is yes, and it's a lot more forgiving than it looks.
This guide walks through the whole process from a blank spool of cord to a finished hanger swinging from your ceiling hook. We'll cover the materials you actually need (not the twenty-item list some tutorials throw at you), the handful of knots that cover 90% of macrame projects, a full step-by-step build, the mistakes almost everyone makes on their first attempt, and how to pick plants that actually thrive in a hanging setup.
Why Macrame Is Worth Trying as a Hobby
Macrame isn't new — sailors were knotting decorative rope work on long voyages centuries before it ended up on home decor blogs. What's changed is how accessible it's become. You don't need a loom, a sewing machine, or any specialized equipment. A pair of scissors, some cord, and a flat surface to work on will get you through your first project.
It's also one of the few crafts where a genuine beginner can produce something that looks intentional and finished on the very first try. Knitting and crochet both have a rough patch where your stitches look uneven and your tension is all over the place. Macrame knots, by contrast, tend to look tidy even when you're new to them, because the knot itself does most of the visual work.
There's a practical side too. Hobbies that involve repetitive hand movements — knitting, macrame, embroidery — have been studied for their calming effect, and plenty of people describe knotting cord as similar to fidgeting with a purpose. You end up with a plant hanger, a wall piece, or a set of coasters instead of just a pile of doodles.
Materials and Tools You'll Need
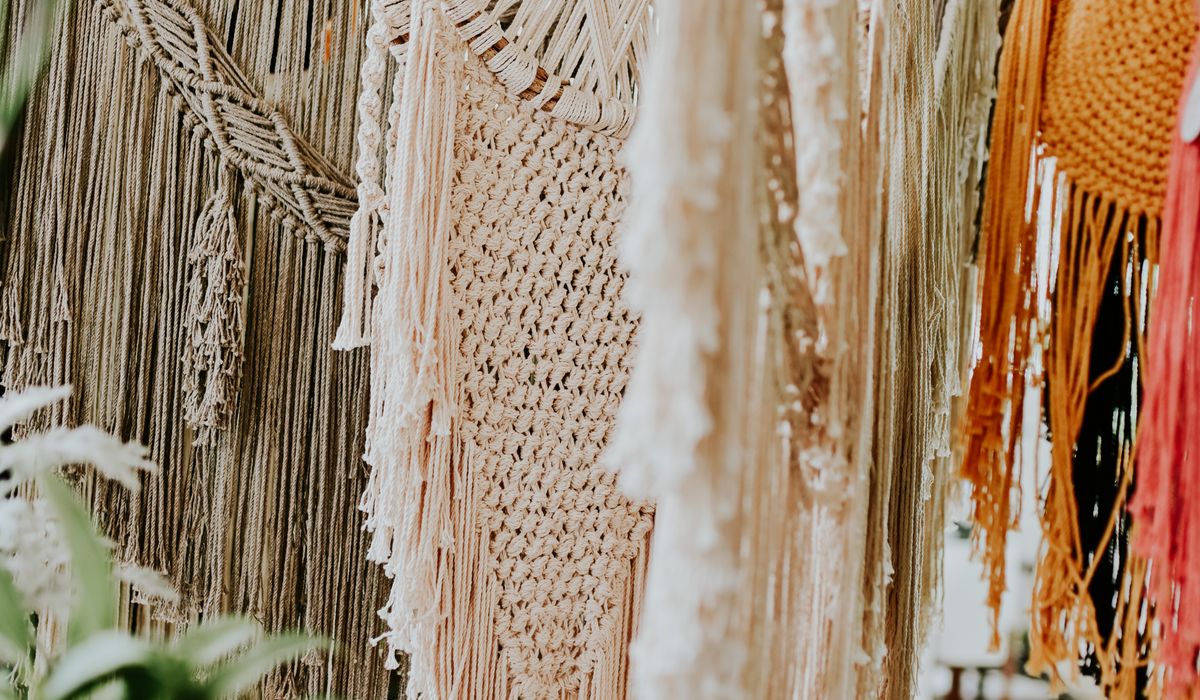
Photo via Pexels
Craft stores love to sell macrame "kits" loaded with rings, beads, dowels, and a dozen cord colors. Skip that for your first project. Here's the actual short list.
| Item | Why You Need It | Beginner Tip |
|---|---|---|
| Cotton cord (3–5mm, single or 3-strand twist) | Holds knots well and frays into a nice soft fringe | Buy 100% cotton — synthetic cord slips and won't hold shape |
| Scissors | Cutting cord and trimming the finished fringe | Sharp fabric scissors cut cleaner than household ones |
| Tape measure or ruler | Consistent knot spacing | A cheap sewing tape works fine |
| Masking tape or a clipboard | Holding your work steady while you knot | Tape the top loop to a table edge if you don't have a board |
| Wooden ring or metal ring (optional) | Gives the top of the hanger a clean finished loop | You can skip this and just use a larks head knot loop instead |
| A pot that fits your plant | What the whole thing is holding up | 4–6 inch pots work best for a first hanger |
The Only 4 Knots You Need to Know
Every intimidating macrame pattern you've seen online is really just these four knots repeated in different combinations. Once your hands know these, you can follow almost any plant hanger pattern without a second thought.
1. Larks Head Knot
This is how you attach your cords to the ring at the top. Fold a cord in half, loop it over the ring, then pull the two loose ends through the folded loop and tighten. It takes about ten seconds once you've done it a couple of times.
2. Square Knot
The workhorse of macrame. Using four cords, the two outer cords wrap around the two center (filler) cords in an alternating left-over-right, right-over-left pattern. A row of square knots creates the flat, braided-looking sections you see running down most plant hangers.
3. Half Hitch Knot
A simple loop-and-pull knot, usually worked in a row to create a diagonal or spiral line across several cords. It's what gives many hangers that woven, textured look in the middle sections.
4. Gathering Knot (Wrap Knot)
Used to bundle all your cords together near the bottom, right above where the fringe starts. You wrap a separate short piece of cord around the bundle several times and tuck the end through to secure it — similar to finishing off a tassel.
Step-by-Step Plant Hanger Tutorial
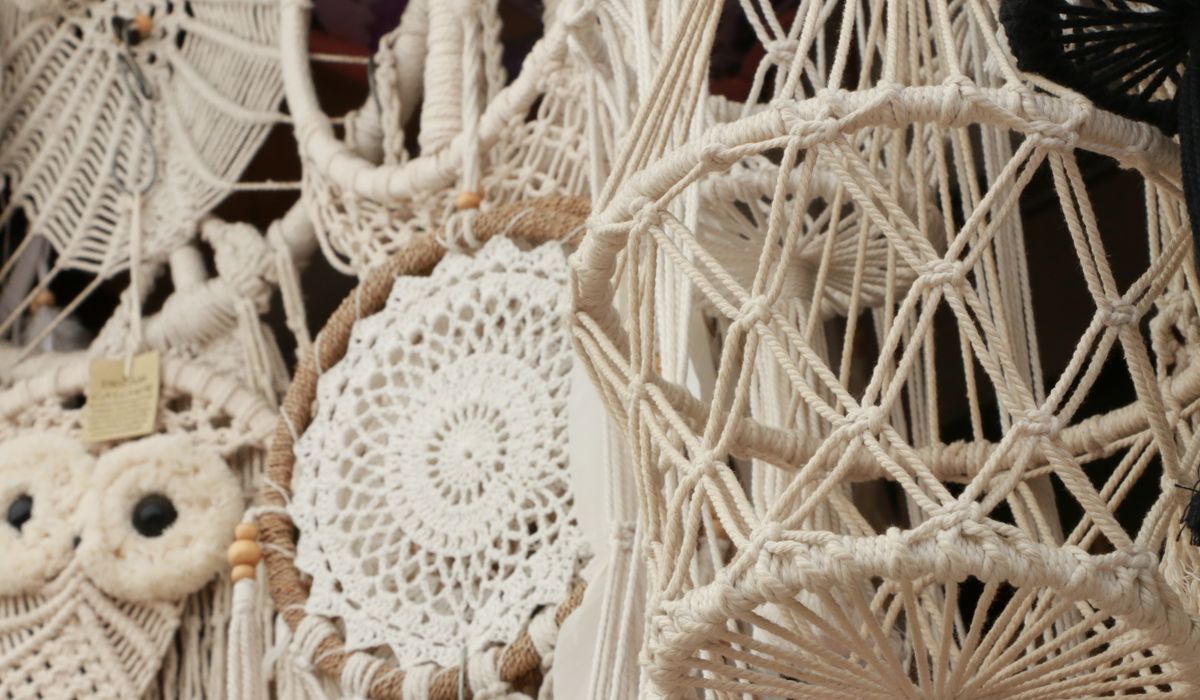
Photo via Pexels
This pattern makes a classic four-legged hanger, the same basic structure you'll see in most beginner tutorials, sized for a small to medium pot.
Step 1: Cut Your Cords
Cut four pieces of cord, each 8 feet long. If you're using a hanging ring, you'll fold each cord in half over the ring, which is why the length needs to be roughly double your finished hanger length plus extra for knotting and fringe.
Step 2: Attach Cords to the Ring
Using the larks head knot, attach all four cords to your wooden or metal ring. You'll now have eight cord ends hanging down. Hang the ring on a doorknob, a hook, or clamp it to a table so you have both hands free.
Step 3: Tie a Gathering Knot Below the Ring
About 3 inches below the ring, use a short separate piece of cord to wrap around all eight strands and secure them together. This creates a neat "neck" at the top of your hanger and keeps everything organized before you split the cords into working groups.
Step 4: Divide Into Four Groups
Separate your eight cords into four groups of two. Each group will become one of the four "arms" of your hanger.
Step 5: Tie Square Knots Down Each Arm
Within each group of two cords, add two more cords as filler if your pattern calls for a thicker look, or work directly with the pair using alternating half hitches. Tie a series of about 5–6 square knots or half hitch rows down each arm, spacing them evenly. Measure as you go — this is the step where inconsistency shows up most, so check your ruler every couple of knots.
Step 6: Create the First Connecting Row
About 8–10 inches down from the gathering knot, take one cord from each neighboring arm and tie them together with a square knot. This creates the "basket" shape that will cradle your pot. Repeat all the way around so all four arms are connected into a diamond pattern.
Step 7: Add a Second Connecting Row (Optional but Recommended)
A few inches below the first connecting row, repeat the same process, offsetting the knots slightly to create a woven, diamond-lattice look. This second row is what gives many hangers that "professional" appearance rather than looking like a plain four-strand pouch.
Step 8: Gather and Finish the Bottom
Bring all sixteen cord ends together below your last connecting row and tie a final gathering knot, the same technique as Step 3. Leave several inches of cord below this knot for the fringe.
Step 9: Trim the Fringe
Cut all the loose ends to an even length. Comb through the cord with a metal-bristle pet brush or fine comb to fray the cotton fibers into a soft, cloud-like fringe if you want that fuller boho look, or leave it straight for a cleaner finish.
Step 10: Insert Your Pot and Hang
Slide your potted plant into the woven basket section, adjust the arms so the pot sits level, and hang it from a ceiling hook or bracket rated for at least the combined weight of a wet, potted plant.
Common Beginner Mistakes (and How to Fix Them)
Almost every new macrame maker runs into the same handful of snags. Here's what usually goes wrong and the quick fix for each one.
Uneven knot spacing
This happens when you eyeball distances instead of measuring. The fix is simple but tedious: measure with a ruler before every single knot for your first project, even when it feels like overkill. Your eye gets better at judging spacing after a few projects, but don't trust it yet.
Knots that slip or come loose
Usually caused by pulling knots too loosely, or using a slippery synthetic cord instead of cotton. Tighten each knot firmly as you go rather than planning to "fix it later" — once you've tied ten more knots on top, loosening happens invisibly and is hard to correct.
Cords tangling into a mess
Long cords love to twist around each other while you work. Loosely braid or clip the cords you aren't actively using with small binder clips or clothespins so only the strands you're knotting are free.
The finished hanger looks lopsided
This almost always traces back to inconsistent knot counts between the four arms. If you tied six square knots on one arm and only five on another, the difference will show. Count out loud as you knot each arm if you tend to lose track.
Fringe looks stringy instead of fluffy
Straight-cut cord ends stay straight. To get that soft frayed look you see in photos, you need to actively comb out the individual fibers using a fine metal comb or an old pet slicker brush, working from the bottom up.
Ways to Customize Your Hanger

Photo via Pexels
Once you've made one basic hanger, small changes open up a lot of variety without learning any new techniques.
- Cord thickness: A thinner 2mm cord gives a delicate, lacy look; a chunky 5–6mm cord reads as more modern and sculptural.
- Color: Natural undyed cotton stays neutral and pairs with anything. Dyed cord in terracotta, sage, or rust tones leans more into a specific color scheme.
- Beads: Wooden or ceramic beads threaded onto the cord between knot sections add visual breaks and a bit of weight and movement.
- Number of arms: Six or eight arms instead of four creates a fuller, rounder basket, better suited for larger pots.
- Length: Short hangers (18–20 inches) work well in a kitchen window; long ones (40+ inches) make a dramatic statement piece in a stairwell or high-ceilinged room.
- Multi-tier hangers: Once you're comfortable with the basic pattern, you can extend the cords further and add a second, smaller basket section below the first for two plants on one hanger.
Choosing the Right Plant for a Hanging Pot
Not every houseplant is suited to hanging life. Plants that trail or cascade tend to look the most intentional in a macrame hanger, since their growth pattern complements the hanging shape rather than fighting it.
| Plant | Light Needs | Why It Works |
|---|---|---|
| Pothos | Low to medium indirect light | Extremely tolerant of missed waterings, trails beautifully |
| String of Pearls | Bright indirect light | Unusual bead-like trailing foliage, dramatic in a hanger |
| Spider Plant | Medium indirect light | Produces "babies" on long shoots that hang naturally |
| English Ivy | Medium light | Dense, full growth fills out the hanger quickly |
| Boston Fern | Medium to bright indirect light, high humidity | Soft, feathery texture contrasts nicely with knotted cord |
| Philodendron Brasil | Medium indirect light | Variegated leaves and easygoing care |
If you're new to houseplants generally, pothos is close to foolproof and forgives inconsistent watering better than almost anything else on this list — a good first plant for a first hanger.
Caring for Your Finished Macrame Plant Hanger
Cotton cord holds up well indoors for years with basic care, but a few habits will keep it looking good rather than gray and limp.
- Keep it dry when possible. Water your plant over a sink or move the pot briefly rather than soaking the cord directly every time you water.
- Dust it occasionally. A quick pass with a soft brush or a blast of a hairdryer on the cool setting keeps dust from building up in the knots.
- Avoid direct sun on the cord itself. Prolonged sun exposure can yellow or weaken cotton fiber over time, even if your plant needs the light.
- Re-fluff the fringe. After a few months, comb through the fringe again if it's started to look flat or matted from gravity and humidity.
- Rotate the pot. Turning the pot a quarter turn every couple of weeks keeps the plant growing evenly instead of leaning toward the light source.
Frequently Asked Questions
How much cord do I need for a beginner plant hanger?
For a standard four-arm hanger about 30 inches long, plan on four cords cut to roughly 8 feet each, plus a short extra piece for the gathering knots. It's always safer to cut a bit long and trim the excess at the end than to come up short mid-project.
Can I use regular rope instead of macrame cord?
You can, but the results vary a lot. Nylon rope and paracord are slippery and don't hold knots as firmly, which makes the whole piece look loose over time. Natural fiber cord — cotton, jute, or hemp — grips itself during knotting and holds its shape far better.
Do I need a wooden ring to start?
No. A ring gives a clean, professional-looking loop at the top, but you can skip it entirely by folding your cords and attaching them to a hook or curtain ring you already own, or even tying them into a simple loop knot.
How long does it take to make one plant hanger?
Most beginners finish a basic four-arm hanger in one to two hours once they're comfortable with the knots. The first attempt often takes longer simply from checking instructions repeatedly — the second and third hangers go noticeably faster.
What size pot fits a standard macrame hanger?
A basic beginner pattern comfortably holds pots in the 4 to 6 inch diameter range. Larger pots need a wider basket section, achieved either with more arms or by tying the connecting knots further apart.
Is macrame expensive to get into as a hobby?
Not really. A single spool of cotton cord is usually enough for two or three small hangers and typically costs under $10. Scissors and a tape measure are things most households already own, which makes macrame one of the more budget-friendly craft hobbies to try.
My knots look messy compared to tutorial photos — what am I doing wrong?
Almost always it's knot tension. Pull each knot snug immediately after tying it rather than leaving it loose and moving on. It also helps to work on a slightly elevated surface, like a clipboard propped on a table, so you can pull down evenly on both sides of each knot.
Final Thoughts
Macrame rewards patience more than skill, at least at first. Your first hanger probably won't be perfectly even, and that's genuinely fine — it will still hold a plant, still look handmade in a good way, and still teach your hands the muscle memory you'll rely on for every project after it. Start with one hanger, one plant, and a spare afternoon. Once you see how quickly a pile of cord turns into something you actually want on your wall, it's easy to see why this old sailor's craft has found its way back into so many living rooms.

Photo via Pexels