
How to Clean Wireless Earbuds Without Damaging Them: The Complete Step-by-Step Guide
Quick Answer
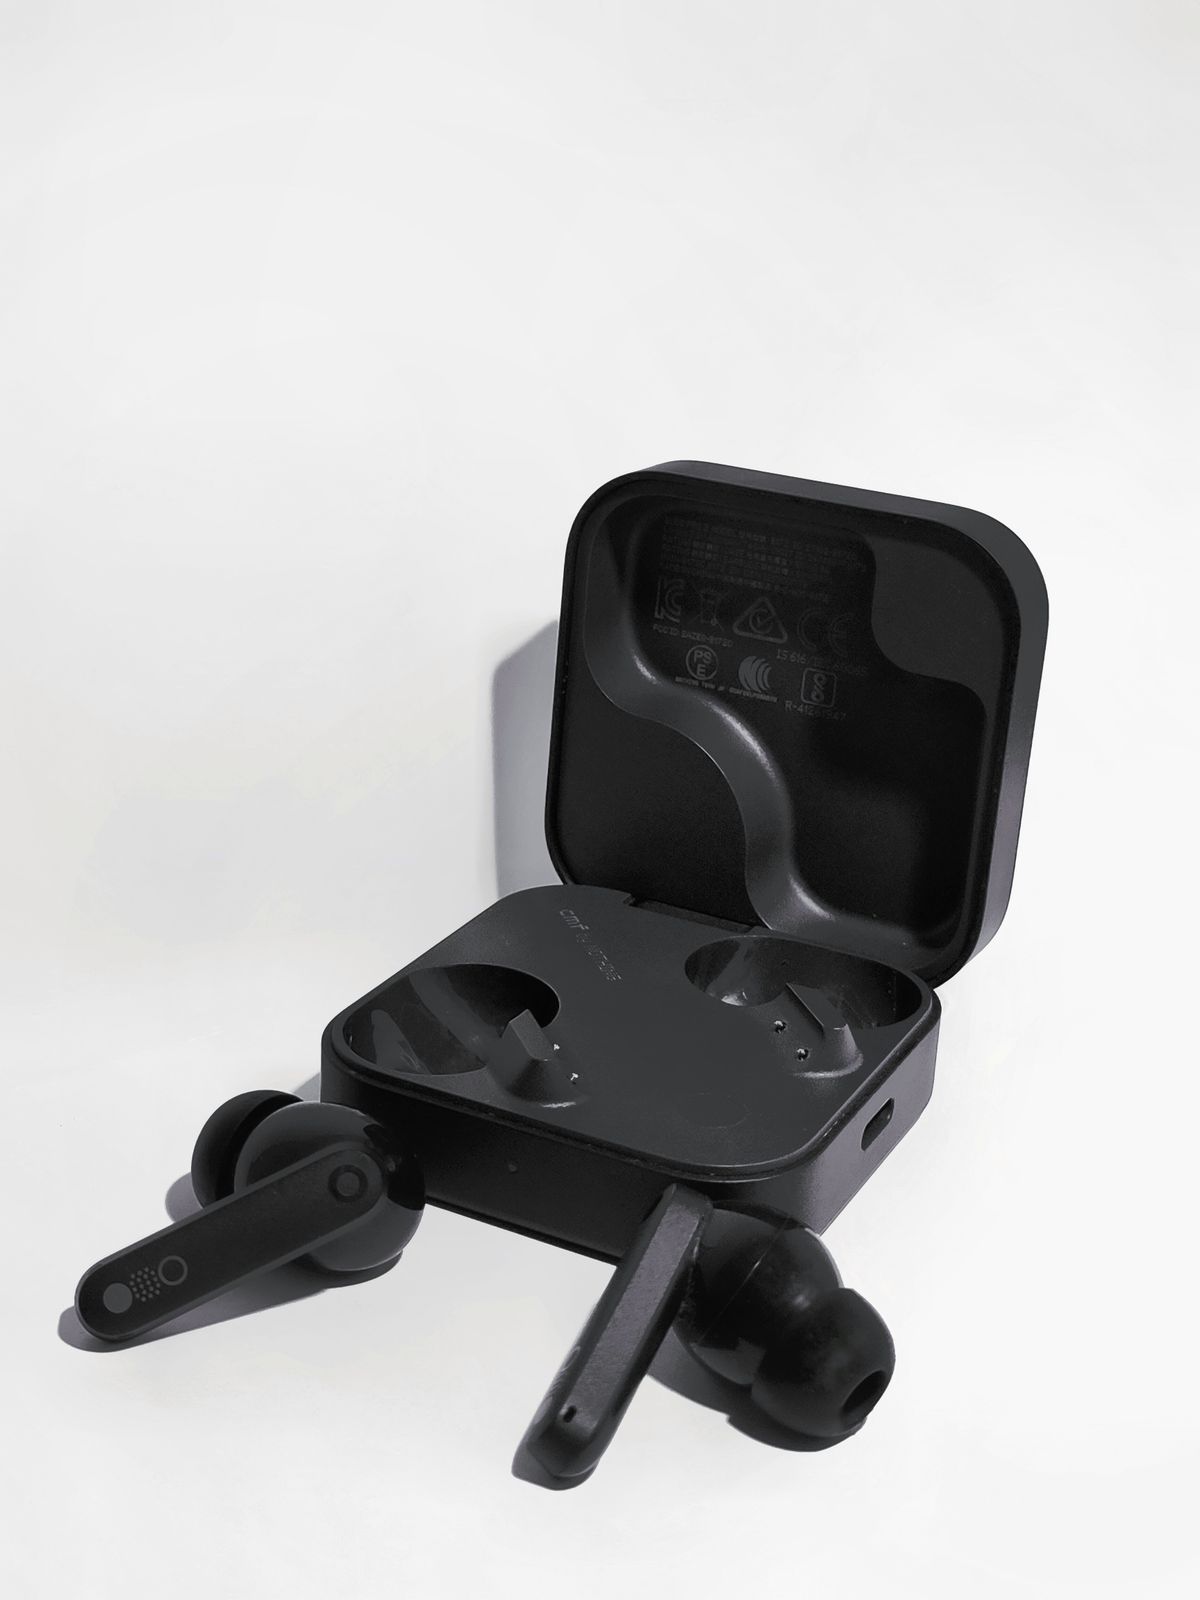
Turn the earbuds off, remove the silicone or foam tips, and wipe the housing with a cloth barely dampened with water or 70% isopropyl alcohol — never run water over them. Use a dry, soft-bristled brush (an old, clean toothbrush works) at a downward angle to lift wax out of the speaker mesh instead of pushing it in, and clean the metal charging contacts in the case with a dry cotton swab only. Let everything air-dry for at least 30–60 minutes before placing the earbuds back in the case to charge.
What's in This Guide
- Why Cleaning Your Earbuds Matters More Than You Think
- What You'll Need: Tools and Supplies
- Tools and Habits to Avoid
- Step-by-Step: Cleaning the Earbud Bodies
- Step-by-Step: Cleaning Silicone and Foam Ear Tips
- Step-by-Step: Cleaning the Charging Case and Contacts
- How Often You Should Actually Clean Them
- Cleaning Method Comparison: DIY vs. Kits vs. UV Sanitizers
- Warning Signs Your Earbuds Need Cleaning Right Now
- Common Mistakes That Cause Damage
- How Buildup Affects Sound Quality and Ear Health
- Cleaning Different Earbud Types
- Storage Habits That Cut Down on Buildup
- Frequently Asked Questions
Why Cleaning Your Earbuds Matters More Than You Think
Most people replace their wireless earbuds long before the electronics inside actually fail. The real culprit is rarely the battery or the Bluetooth chip — it's buildup. Earwax, dead skin cells, sweat, and pocket lint accumulate in the mesh grille that protects the speaker driver, and once that mesh is even partially blocked, the sound coming through it changes. Bass gets muddy, treble sounds distant, and voice calls start to feel like they're coming through a pillow. Owners often assume the earbuds themselves are wearing out, so they buy a replacement pair, when a five-minute cleaning session would have restored the original sound.
There's a second, less obvious cost: charging failures. The metal pogo pins on the earbuds and inside the case are how the battery gets topped up between listening sessions. A thin film of oil or wax on those contacts is enough to interrupt the electrical connection, which is why earbuds sometimes show up "dead" in the case even though nothing electronic has actually broken. A dry cotton swab across those contacts solves a surprising number of "my earbuds won't charge" complaints that would otherwise be blamed on a faulty case or a bad battery.
There's also a hygiene angle that's easy to overlook. Earbuds sit inside a warm, humid part of the ear canal for hours at a time, which is exactly the kind of environment bacteria and fungi thrive in. People who wear the same pair daily without ever removing or cleaning the tips are, in effect, keeping a small petri dish pressed against sensitive skin. None of this requires expensive tools or a trip to a specialty store — it requires a repeatable routine, which is what the rest of this guide walks through.
What You'll Need: Tools and Supplies
You almost certainly already own most of what's needed for a thorough earbud cleaning. The goal is to lift debris away from the electronics, not to flush it out with liquid, so every tool on this list is chosen because it's dry, soft, or minimally damp.
- A soft-bristled brush — a clean, unused toothbrush, a makeup brush, or a dedicated electronics cleaning brush. Stiff bristles can scratch plastic or push debris deeper into the mesh.
- A lint-free microfiber cloth — the same kind used for eyeglasses or camera lenses. It won't leave fibers behind in the mesh or ports.
- Cotton swabs — for precision work around the mesh edges and charging contacts. Trim the cotton tip smaller with scissors if it's too large for tight spots.
- 70% isopropyl alcohol — for disinfecting hard plastic surfaces and drying out moisture on contacts. Avoid higher concentrations, which can be harsher on certain plastic coatings, and avoid using it directly on foam tips.
- A small bowl of lukewarm water — only for separately washing removable silicone tips, never for the earbud bodies themselves.
- Blu-tack, cleaning putty, or a dedicated earbud cleaning pen — optional, but useful for lifting stubborn wax out of the mesh without scraping.
- A toothpick or wooden cocktail stick — for gently scraping around, not into, the mesh edges. Use with a very light touch.
Tools and Habits to Avoid
Almost every case of accidental earbud damage traces back to one of a handful of avoidable habits. Knowing what not to do is arguably more important than knowing the correct steps, because a single mistake can undo months of otherwise careful use.
Never run water directly over earbuds. An IPX4 or IPX5 rating means the earbuds can handle light sweat or a splash — it does not mean they're sealed against a stream of water from a tap. Water forced against the mesh under pressure can get past the weatherproofing membrane and reach the driver itself, which is one of the few forms of earbud damage that's rarely fixable.
Sharp metal objects — needles, paperclips, safety pins — should never touch the speaker mesh. They can puncture the fine metal grille or the acoustic membrane underneath it, and once that membrane is torn, sound quality is permanently affected. Similarly, compressed air canisters held too close or tilted can spray propellant residue onto the components rather than just air, so if you use compressed air at all, hold it several inches away and use short bursts.
Avoid soaking cotton swabs or cloths in alcohol or water. A truly damp cloth — one that leaves visible moisture on the surface — can seep into seams around the buttons or microphone ports. The correct dampness level is closer to "barely there": press the cloth against your palm first, and if it leaves a visible wet mark, it's too wet for the earbuds.
Step-by-Step: Cleaning the Earbud Bodies
- Power off and disconnect. Turn the earbuds off (or place them in the case briefly to let them power down) and disconnect them from any paired device before cleaning. This prevents accidental button presses from triggering volume changes or pairing mode mid-clean.
- Remove the ear tips. Gently twist and pull the silicone or foam tips off the earbud stem. This exposes the full speaker mesh and lets you clean the tips separately, which is far more effective than trying to clean around them while attached.
- Dry-brush first. Using the soft brush, sweep loose debris away from the mesh in short, outward strokes — away from the center of the grille, not into it. This removes the majority of surface dust and wax before any liquid touches the earbud.
- Lift stubborn wax with putty or a pick. Press cleaning putty gently against the mesh and lift straight up to pull out embedded debris, or use a toothpick at a shallow angle along the mesh edge — never straight down into the holes.
- Wipe the housing. Lightly dampen the microfiber cloth (or a cotton swab) with water or 70% isopropyl alcohol and wipe the outer plastic shell, avoiding the mesh and any exposed microphone holes.
- Spot-clean the mesh, if needed. If wax remains, use a barely damp cotton swab to gently dab — not rub — the mesh surface. Rubbing motions tend to drive debris deeper rather than lifting it out.
- Air-dry completely. Set the earbuds on the microfiber cloth and let them air-dry for at least 30 minutes before reattaching tips or placing them in the case.
Step-by-Step: Cleaning Silicone and Foam Ear Tips
Ear tips deserve their own cleaning process because they're the part that makes the most direct, sustained contact with skin and earwax, and because silicone and foam behave very differently under water.
Silicone tips
- Remove the tips from the earbuds completely.
- Wash them in lukewarm water with a small amount of mild soap, working the soap gently into the inner ridge where wax tends to collect.
- Rinse thoroughly under running water — silicone tips, unlike the earbuds themselves, can be safely rinsed since there's no electronics inside them.
- Pat dry with a clean towel and let them air-dry fully, ideally overnight, before reattaching. Reattaching damp tips can trap moisture against the speaker mesh.
Foam tips
- Foam tips should never be submerged — they absorb water and can take days to dry out completely, during which mold can develop inside the foam.
- Wipe the outer surface with a barely damp cloth or an alcohol wipe instead.
- Because foam degrades faster than silicone and compresses permanently with repeated ear insertion, plan to replace foam tips every one to three months rather than relying on cleaning alone.
Step-by-Step: Cleaning the Charging Case and Contacts
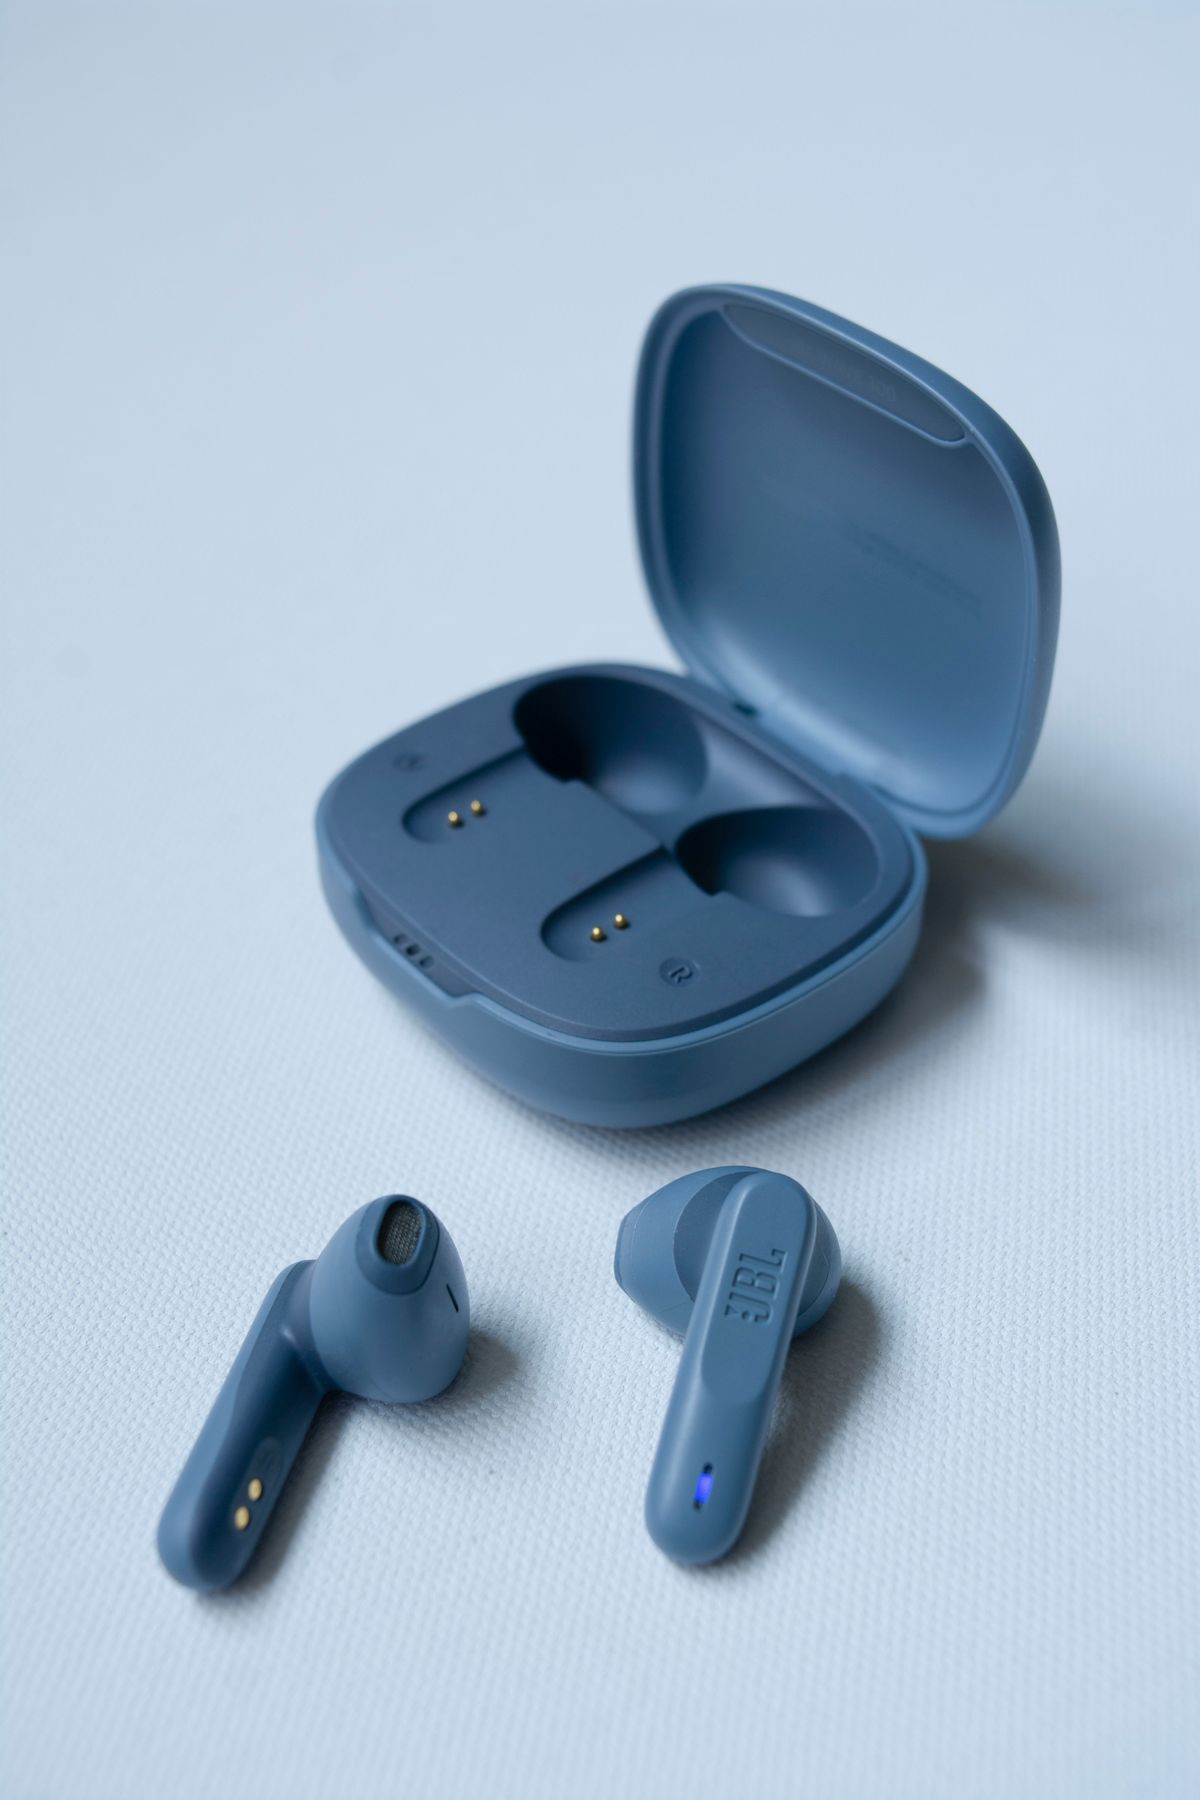
The charging case gets less attention than the earbuds themselves, but it's just as prone to buildup — and it's the part most directly responsible for charging failures, since it houses the metal contacts that transfer power.
- Empty the case and inspect the contacts. Look for a dull film, discoloration, or visible grime on the small metal pins inside each earbud slot.
- Dry-clean the contacts first. Use a dry cotton swab or a soft-bristled brush to wipe each contact point. In many cases this alone resolves charging issues, since oxidation and light residue lift off without needing any liquid.
- If residue remains, use minimal alcohol. Dampen a cotton swab with 70% isopropyl alcohol, squeeze out excess so it's nearly dry, and gently wipe the contacts. Never let liquid pool inside the slot.
- Clean the case exterior and hinge. Wipe the outer shell with a microfiber cloth, and use a dry brush to clear dust from the hinge and any seams where the lid meets the base.
- Let it dry fully before closing. Leave the case open for 15–20 minutes so any residual moisture evaporates before the earbuds go back in to charge.
Why this fixes most "won't charge" problems: the case doesn't send power wirelessly — it relies on direct metal-to-metal contact. A layer of oil thinner than a human hair is enough to break that connection, which is why cleaning the pins is one of the first troubleshooting steps worth trying before assuming the battery or case is faulty.
How Often You Should Actually Clean Them
There's no single universal schedule, because cleaning frequency depends heavily on how and where the earbuds are used. Someone who wears earbuds for a daily gym session in humid conditions needs a very different routine than someone who uses them occasionally for phone calls at a desk.
| Usage pattern | Quick wipe-down | Deep clean (tips + mesh) | Case & contact clean |
|---|---|---|---|
| Daily workout / heavy sweat | After every session | Every 3–4 days | Weekly |
| Daily commute / office use | Every 2–3 days | Weekly | Every 2 weeks |
| Occasional / weekend use | Weekly | Every 2–3 weeks | Monthly |
| Shared between people | Before each new user | Weekly | Every 2 weeks |
If you notice sound quality dropping, charging becoming inconsistent, or any odor from the tips, that's a sign to clean ahead of schedule rather than waiting for the next planned session.
Cleaning Method Comparison: DIY vs. Kits vs. UV Sanitizers
Dedicated earbud cleaning kits and UV sanitizing cases have become common add-on purchases, but they aren't strictly necessary for most users. Here's how the options actually compare.
| Method | Typical cost | Best for | Limitations |
|---|---|---|---|
| DIY household tools (brush, cloth, swabs, alcohol) | $0 if already owned | Everyday maintenance, most users | Requires a slightly steadier hand for mesh cleaning |
| Dedicated earbud cleaning kit (brush + putty + swabs) | $10–20 | People who clean frequently or have multiple earbud pairs | Mostly convenience — same tools in one package |
| UV-C sanitizing charging case | $30–60 | Reducing bacteria on tips between uses | Does not remove physical wax or debris; still needs manual cleaning |
| Ultrasonic cleaner | $25–50 | Removable silicone tips only | Not safe for the earbud bodies themselves — electronics inside |
For the vast majority of users, the DIY approach covers everything needed. UV sanitizers address bacteria, not buildup, so they work best as a supplement to — not a replacement for — the manual cleaning steps above.
Warning Signs Your Earbuds Need Cleaning Right Now
A few clear signals mean it's time to clean before the next scheduled session, rather than waiting:
- Muffled or noticeably quieter audio in one or both earbuds compared to when they were new.
- Visible dark buildup inside the ear tip opening or across the mesh grille.
- Inconsistent charging — earbuds showing as fully charged in the app but dying quickly, or not charging at all when seated in the case.
- An odor from the tips, which usually indicates bacterial buildup rather than just dust.
- Itching or mild irritation in the ear canal after extended wear, which can point to a hygiene issue rather than a fit issue.
Common Mistakes That Cause Damage
Most earbud damage during cleaning isn't caused by neglect — it's caused by over-cleaning with the wrong technique. A few patterns show up again and again:
Pushing debris in instead of lifting it out
Scrubbing motions, especially with a swab pressed straight into the mesh, tend to compact wax deeper into the grille rather than removing it. The correct motion is closer to lifting or flicking debris away from the mesh, using tools like cleaning putty or a soft brush at a shallow angle.
Cleaning immediately before charging
Placing earbuds in the case while still even slightly damp introduces moisture right next to the charging contacts — the opposite of what cleaning was meant to fix. Always allow a full drying window, ideally 30–60 minutes in open air, before charging.
Using the wrong alcohol concentration
Higher-concentration alcohol (90%+) evaporates faster but can be harsher on certain plastic coatings and adhesives used to seal the mesh in place over repeated use. A 70% isopropyl solution offers enough disinfecting power with less risk to the housing.
Ignoring the microphone ports
Small pinhole microphone openings on the earbud body can clog with debris just like the speaker mesh, leading to muffled or distant-sounding call quality even when the speaker side sounds fine. Treat these openings with the same gentle, dry-brush-first approach.
How Buildup Affects Sound Quality and Ear Health
The relationship between cleanliness and sound is mostly physical: the speaker mesh is engineered with specific hole sizes to let sound waves pass through with minimal resistance. Wax and debris reduce the effective opening size, which disproportionately affects higher frequencies first — this is why dirty earbuds often sound "dull" or bass-heavy even though nothing about the actual driver has changed. Restoring the mesh to its original open state typically restores the original sound profile immediately, without any equalizer adjustment needed.
On the health side, the ear canal is a naturally self-cleaning system, but earbuds interrupt that process by physically blocking wax from migrating outward on its own. Combined with the warmth and humidity created by extended wear, this creates conditions that audiology researchers have associated with a higher incidence of outer ear irritation in frequent earbud users. This isn't a reason to stop using earbuds — it's a reason to treat tip cleaning and periodic tip replacement as routine maintenance rather than an occasional afterthought, the same way people treat replacing a toothbrush.
Cleaning Different Earbud Types
The core principles stay the same across earbud styles, but a few details change depending on the design.
True wireless earbuds (in-ear, removable tips)
These follow the full process outlined above — remove the tips, dry-brush the mesh, wipe the housing, and clean the case contacts separately. Because they spend the most time in an enclosed case, contact cleaning matters more for this category than any other.
Wired earbuds and neckband-style earbuds
The cord itself collects as much grime as the earbud bodies, since it rubs against skin, clothing, and bags throughout the day. Wipe the cord with a damp cloth along its full length, paying attention to the connector plug, which can accumulate lint that interferes with the audio jack connection.
Open-ear and bone-conduction earbuds
Without a sealed tip or deep ear insertion, these accumulate less earwax but more surface sweat and skin oil, especially around the parts that rest against the outer ear or cheekbone. A simple wipe-down after each use is usually sufficient, with less need for deep mesh cleaning since there's typically no enclosed speaker cavity to clog in the same way.
Storage Habits That Cut Down on Buildup
Cleaning technique matters, but storage habits determine how quickly buildup happens in the first place. A few adjustments make a noticeable difference over time.
- Wipe before storing, not just before use. A quick pass with a dry cloth immediately after use removes fresh sweat and oil before it has time to dry and harden inside the mesh.
- Keep the case closed when not in use. An open case exposes the contacts and the earbuds themselves to ambient dust, which is one of the most common sources of buildup for people who leave earbuds sitting out on a desk.
- Avoid storing in a pocket with keys or coins. Loose pocket items can scratch the housing and press debris into seams around the buttons.
- Let sweat-soaked earbuds dry before closing the case. Sealing a warm, damp earbud into a closed case creates a small humid chamber that speeds up both buildup and, in rare cases, corrosion on the contacts.
Frequently Asked Questions
Can I rinse my wireless earbuds under water?
No. Even earbuds with an IPX water-resistance rating are only sealed against sweat and splashes, not submersion or direct running water. Water forced against the mesh under pressure can get past the weatherproofing membrane and reach the driver, causing permanent muffling or failure. Wipe with a barely damp cloth instead, and never run water over the charging case, which has no water resistance at all.
How often should I clean my wireless earbuds?
A quick wipe-down after each workout or humid-weather use, a deeper clean of the tips and mesh once a week for daily wearers, and a full case-and-contact cleaning every two to three weeks. Daily exercise users should clean tips more frequently, since sweat and oil build up faster than with casual, occasional listening.
Why do my earbuds sound muffled after cleaning?
Muffled sound after cleaning almost always means moisture or debris got pushed into the speaker mesh rather than out of it, usually from a cloth or swab that was too wet, or from scraping motions that pushed wax deeper into the grille. Let the earbuds air-dry completely for several hours before using them again; if muffling persists past 24 hours, the mesh may need a dedicated cleaning tool.
Is it safe to use alcohol wipes on earbuds?
A cotton swab lightly dampened with 70% isopropyl alcohol is generally safe on the hard plastic housing and charging contacts, since it evaporates quickly and leaves no residue. Avoid soaking the swab, avoid repeated alcohol use on silicone or foam tips since it can dry them out and cause cracking, and never let alcohol drip into the speaker mesh or microphone ports.
Why won't my earbuds charge even after cleaning?
The most common cause is residue or oxidation on the metal charging pins, which blocks the electrical connection even when the earbuds look clean. Use a dry cotton swab or soft-bristled brush on just the metal contact points, and make sure the pins are completely dry before placing the earbuds back in the case.
Can dirty earbuds cause ear infections?
Earbuds sit in a warm, enclosed part of the ear canal where bacteria and fungi can multiply on trapped wax, sweat, and skin oil. Audiology research has linked wearing unwashed or shared earbuds for extended periods to higher rates of outer ear irritation and infection. Regular tip cleaning and periodic replacement of foam or silicone tips significantly reduces this risk.
Cleaning keeps your current earbuds sounding sharp — but fit and battery habits matter just as much for day-to-day comfort and longevity.