
How to Clean a Phone Charging Port Safely (Without Damaging It)
You plug your phone in before bed, wake up, and the battery is sitting at 38 percent. Or the cable only works if you hold it at one particular angle, like you're defusing something. Most of us blame the cable first, then the wall adapter, then the phone itself, and sometimes we end up paying for a replacement we never needed. Very often the real culprit is far less dramatic: a tightly packed wad of pocket lint sitting at the bottom of the charging port, quietly stopping the plug from seating all the way in.
The good news is that this is one of the few phone problems you can genuinely fix at home in about ten minutes, with tools that cost next to nothing. The less good news is that it's also a problem people make worse. Metal pins, aggressive blasts of air and a splash of the wrong liquid have turned plenty of fixable ports into expensive repairs. This guide walks through the whole thing slowly: how to confirm the port is really the problem, what to use, what to never use, the exact cleaning routine, and how to keep the port clean afterward.

- Why charging ports clog up in the first place
- How to tell it's the port and not the cable
- The safe toolkit (and what to keep away from the port)
- Step-by-step: cleaning a USB-C charging port
- Lightning and micro-USB: what changes
- Don't forget the cable and the charger
- Moisture warnings and corrosion
- Common mistakes that wreck good ports
- How to test the result properly
- Habits that keep the port clean
- When to stop and get it repaired
- Frequently asked questions
1. Why Charging Ports Clog Up in the First Place
A charging port is basically a tiny cave. It's open to the world all day, it sits at the bottom edge of a device that lives in pockets, bags and car cup holders, and it's built with very little clearance. Every time you slide the phone into a pair of jeans, a little cotton, denim fiber and dust goes in with it. Because the opening is narrow and the cable plug fits snugly, each charge acts like a tiny piston: the plug goes in, pushes whatever is inside a bit deeper, and comes out leaving the debris behind. Over months, that layer gets compressed into something that looks and feels like felt.
That compressed layer does two annoying things. First, it physically stops the plug from going all the way in, so the metal contacts on the cable and the contacts inside the port only touch partially, or not at all. Second, it can hold a bit of moisture from your pocket or your hands, which encourages tarnish on the contacts. Neither problem is dramatic on its own, but together they explain a huge share of the "my phone won't charge" complaints that turn out to have nothing wrong with the battery.
Where you live and how you carry the phone matters more than the phone's price. Someone who keeps a device in a jacket pocket in a cold climate collects a different kind of lint than someone in a dusty, hot workplace with the phone on a workbench. Beach sand, construction dust, pet hair, makeup powder and even crumbs from a car console all end up in ports. If you're in a dry, sandy region, you'll probably need to look at the port more often than someone in a humid, clean office.
It also helps to know that not every charging problem is lint. Batteries wear out, cables fray, and adapters die. The next section is about telling those apart, because cleaning a perfectly healthy port is a small risk you don't need to take.
2. How to Tell It's the Port and Not the Cable
Before you pick up a toothpick, do five minutes of detective work. It's a bit like troubleshooting a flat tire: you don't replace the whole wheel until you've checked the valve. The table below matches common symptoms with the most likely cause and the quickest test to run.
| What you notice | Most likely cause | Quick first check |
|---|---|---|
| Cable feels loose or doesn't click in fully | Packed lint at the bottom of the port | Shine a flashlight into the port and look for gray or brown material |
| Charging starts and stops when you touch the cable | Partial contact from debris, or a worn cable | Try a second cable you trust, in the same port |
| Slow charging with multiple cables | Port debris, weak adapter, or heavy background use | Try a different wall adapter and leave the phone idle while charging |
| Works with one cable but not another | Cable problem, not the port | Inspect the plug on the failing cable for bent or dirty contacts |
| A "moisture detected" or "liquid detected" warning | Damp or corroded contacts | Unplug, dry the phone, and follow the moisture section below |
| Wireless charging works, wired doesn't | Port problem, since the battery is clearly fine | Compare the two methods for a full hour |
| Phone gets hot at the port while charging | Poor contact resistance or a damaged cable | Stop using that cable and read the overheating guide linked below |
The wiggle test, done properly
Plug in a cable you know works with another device. If the phone shows the charging indicator only when you hold the plug at a slant, or if the connection cuts out when you nudge it, note where the wobble is. A cable that clicks out easily at the bottom edge often points to debris. A cable that feels tight but disconnects when you bend the wire near the plug points to a failing cable. Two minutes of this narrows the list a lot.
The flashlight check
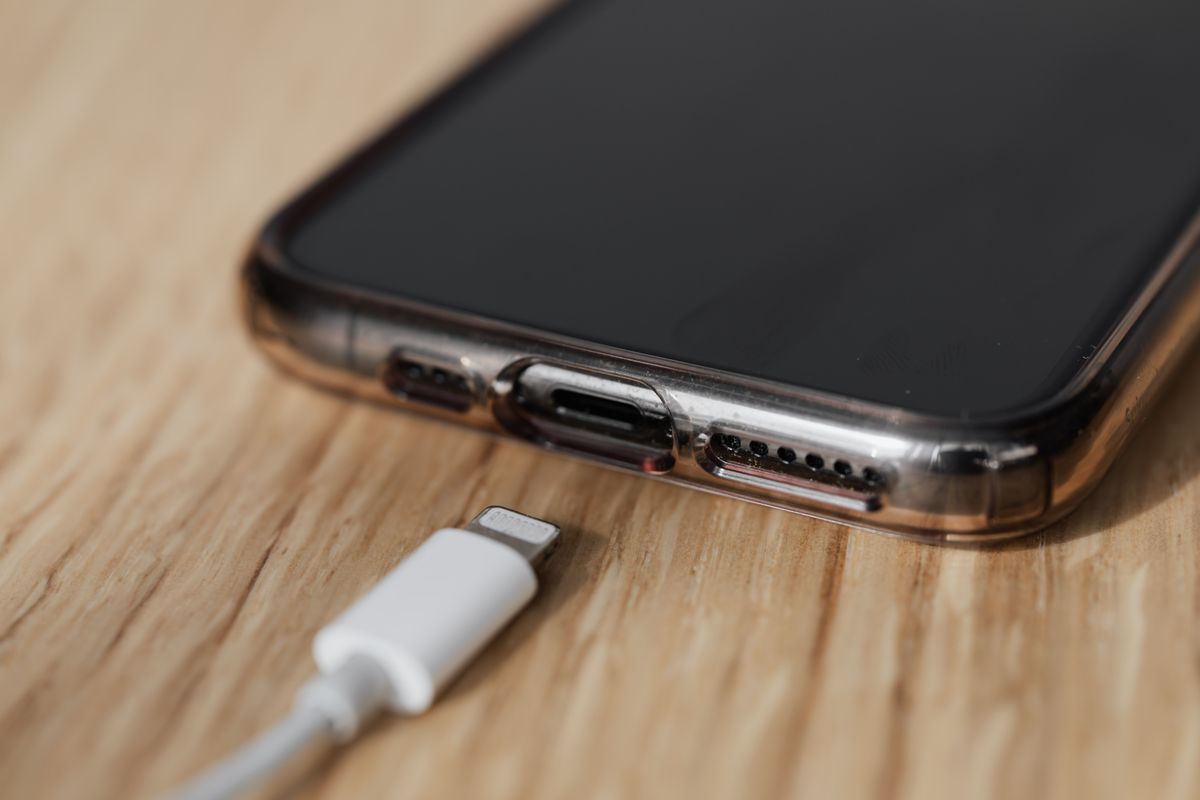
Use the flashlight from another phone, or a small penlight, and look straight into the port. A clean USB-C port shows a slim metal tongue in the middle with tiny gold-colored contacts on both faces, surrounded by a metal shell. If you see a gray fuzzy layer at the base, or if the space around the tongue looks filled in, that's your answer. Also look for green or white crust around the contacts, which suggests corrosion rather than lint, and bent or crooked contacts, which suggests a repair rather than a cleaning.
3. The Safe Toolkit (and What to Keep Away From the Port)
You don't need to buy anything special. Most households already have what you need. What matters is choosing tools that are softer than the metal contacts inside the port, so you remove lint without scratching the surface. Anything harder than the contacts risks scoring the plating, and once the plating is scratched, tarnish gets in and problems return faster.
| Tool | Safe to use? | Notes |
|---|---|---|
| Wooden toothpick | Yes, with care | Best all-round choice. Sand the tip slightly if it's splintery. |
| Plastic or nylon spudger / anti-static pick | Yes | Slightly stiffer and cleaner. Sold in cheap phone repair kits. |
| Soft, dry, small-bristled brush (clean interdental or small paint brush) | Yes | Great for sweeping loosened lint out. |
| Flashlight | Essential | You can't clean what you can't see. |
| Microfiber cloth | Yes | For the phone body and the cable plug, not for inside the port. |
| Cotton swab | Rarely | Fibers can snag and stay behind. Only with the cotton trimmed and tight. |
| Isopropyl alcohol (90 percent or higher) | Last resort | On a nearly dry tip, for visible grime only, phone powered off. |
| Compressed air | Best avoided | Can drive lint deeper or push in moisture. |
| Metal pins, paper clips, SIM ejector, needles | No | They scratch contacts and can short a powered circuit. |
| Vacuum cleaner nozzle | No | Static and suction can damage internals. |
| Water, sprays, or household cleaners | No | Liquid is the fastest way to turn a lint problem into a corrosion problem. |
If you plan to do this more than once in a phone's life, a cheap plastic repair kit is worth the few dollars. The plastic picks are consistent, they don't splinter, and they come in flat and pointed shapes that suit different ports. Still, a fresh wooden toothpick has cleaned countless ports without harm, so don't feel you must shop before you begin.
4. Step-by-Step: Cleaning a USB-C Charging Port
USB-C is the most common port on current Android phones and many newer devices, and it's also the one where people worry most about the thin center tongue. That tongue is the reason this routine focuses on working along the outer walls. Take your time. A careful ten minutes is faster than a rushed one followed by a repair bill.
- Turn the phone completely off. Not just locked; properly powered down. This removes the risk of a short circuit while you work and stops the phone reacting to stray contact. Unplug any cable or accessory too.
- Find good light and a steady seat. Sit at a table, put the phone on a soft cloth, and angle the flashlight into the port. If you wear reading glasses, put them on. Being able to see the packed area clearly is half the job.
- Turn the phone so the port faces down and slightly away. Gravity is your helper. Holding the port facing downward means loosened lint has somewhere to go besides deeper into the phone.
- Tap out the loose stuff first. Give the phone a couple of gentle taps against your palm with the port pointing down. Sometimes a surprising amount of surface debris falls out before you use any tool.
- Insert the toothpick at a shallow angle and press against the outer wall. Aim for the inner wall of the metal shell, not the center. Imagine you're running the tip along the inside of a tiny tube. Don't push straight down toward the middle.
- Scrape and lift, don't jab. Use small, slow strokes to loosen the felt-like layer, then hook it upward and outward. Compressed lint often comes out as one gray plug. Pause and reassess each few strokes with the flashlight.
- Work around all four sides. Do the top wall, bottom wall and both short ends. The bottom edge usually holds the most, because gravity and the plug's motion push debris there.
- Sweep with the soft brush. Once the big pieces are out, run a dry brush along the inside to catch fine dust. Brush outward, and tap the phone gently again.
- Check with the flashlight. The port should look uniformly clean, and you should be able to see the base of the tongue clearly. If some lint remains, repeat steps 5 to 8, but stop if you feel resistance from something that isn't lint.
- Wait a minute, then power on and test. Let the phone rest, switch it on, and plug in a good cable. Notice whether it now clicks in deeper than before. That extra millimeter of seating is often the entire fix.
A note on pressure
People often ask how hard to press. The honest answer is "far lighter than you think." You want about the pressure you'd use to scrape a stubborn crumb off a tabletop with your fingernail. If you're gripping the toothpick like a pen and bearing down, you're already too hard. The lint is soft; the tool is only there to hook it, not to break it apart by force.
What compacted lint looks like when it comes out
Don't be shocked if a single scoop produces a small dense pellet the size of a grain of rice. That's normal for a port that has been used every day for a year or more. Once the pellet is out, the plug will often feel noticeably different. Many people describe the click as "solid" or "deeper," and the charging speed returns to what it was when the phone was new, provided the adapter and cable are up to the job.
5. Lightning and Micro-USB: What Changes
The method above works in spirit for every port type, but the delicate part is different in each one. Use this table to adjust your approach.
| Port type | Most fragile part | Where lint collects | Adjustment |
|---|---|---|---|
| USB-C | Thin center tongue with contacts on both faces | Base of the tongue and bottom edge | Work along the outer shell walls only |
| Lightning | Contact pins along the inside walls | Bottom of the cavity, behind the contacts | Use a very thin plastic pick, sweeping parallel to the pins rather than across them |
| Micro-USB | Small metal tongue and side clips | Around the tongue | Extra light pressure, because the tongue is narrow and easy to bend |
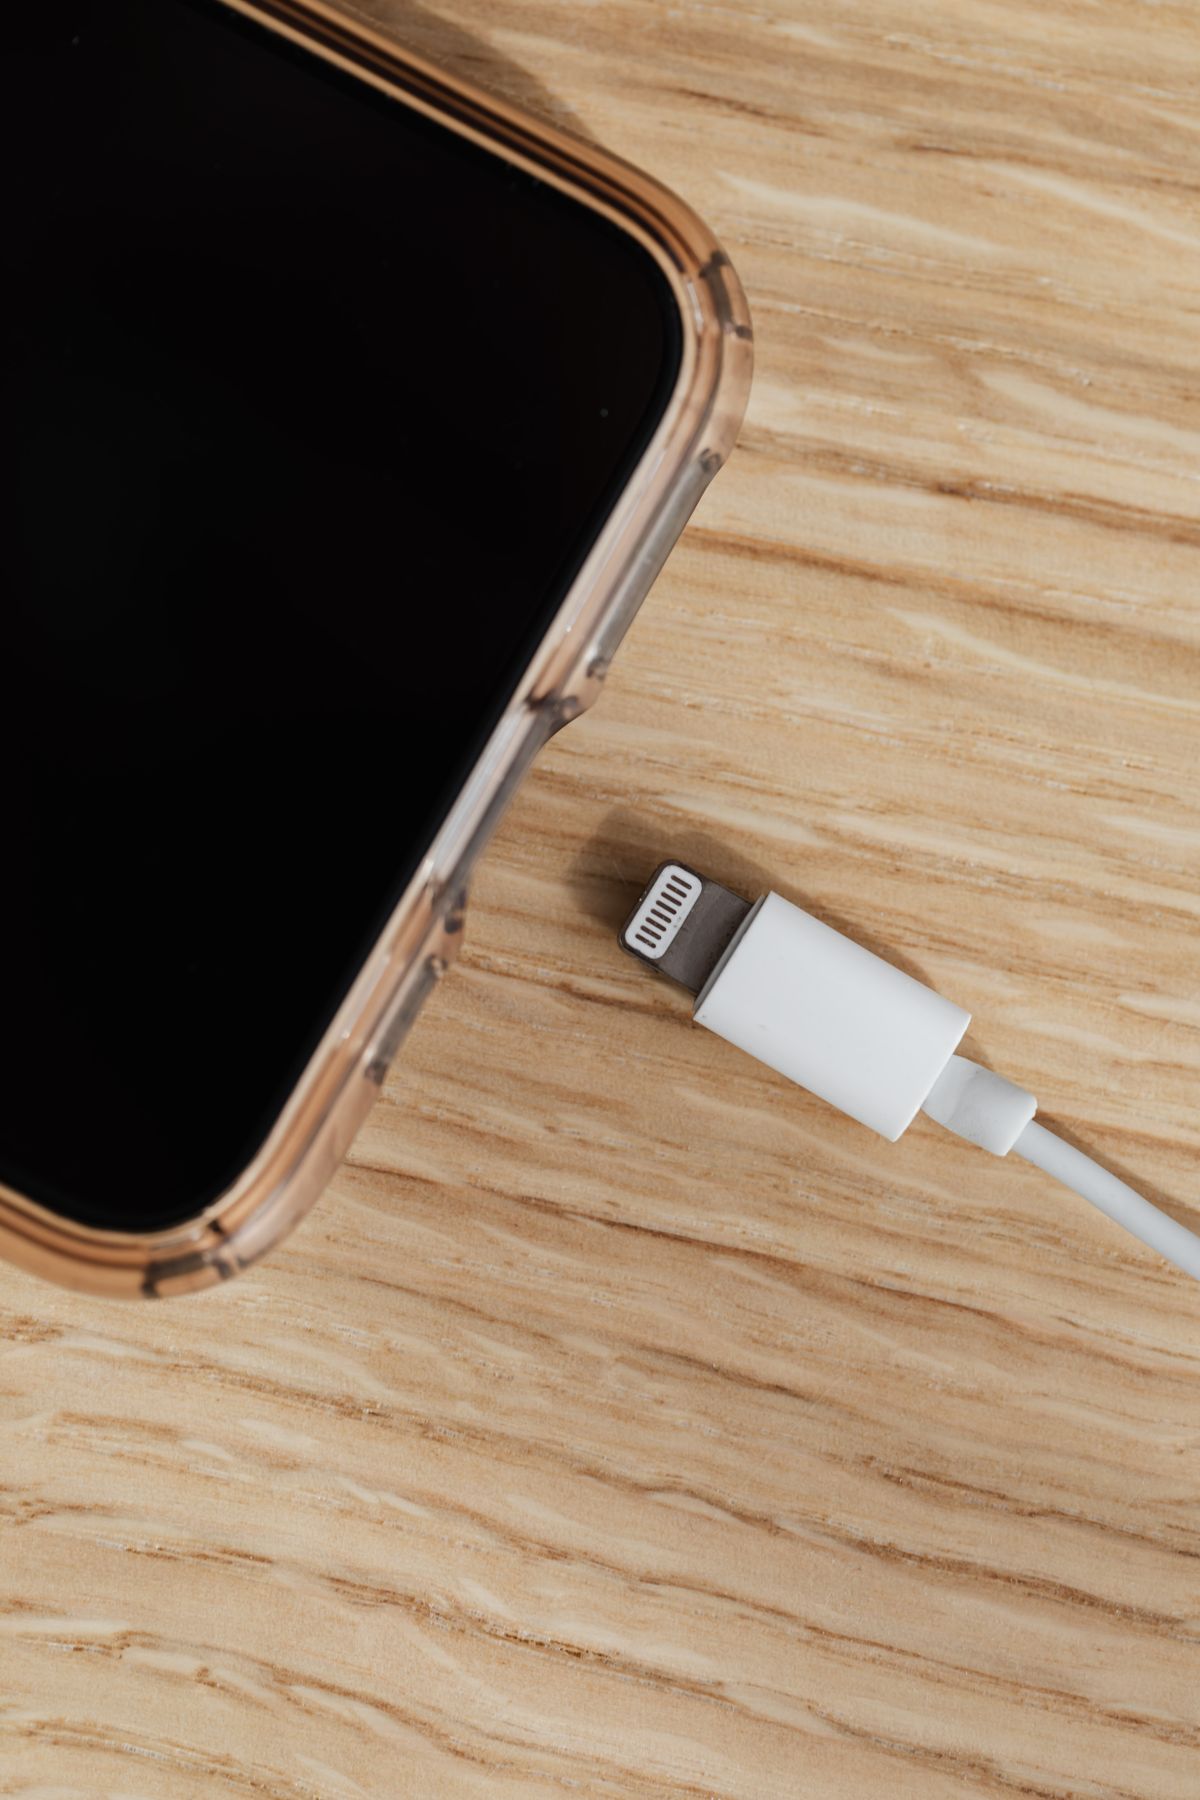
On Lightning ports, the contacts sit on the inside walls rather than on a central tongue. That means the risk is scraping across the pins. Run your tool along the length of the cavity, parallel to the contacts, and lift outward. Never drag across the pins sideways. On micro-USB, which is still found on older phones, e-readers and some budget accessories, the tongue is proportionally thinner and can bend under a rushed stroke, so slow down even more.
Tablets, wireless earbud cases and power banks use the same kinds of ports and collect lint in a similar way. If you've read our guide on making a power bank last longer, you'll recognize the theme: small physical neglect, such as dust in a port, quietly shortens the life of hardware that is otherwise perfectly healthy.
6. Don't Forget the Cable and the Charger
Cleaning the port and then plugging in a grimy cable is like mopping a floor and walking across it in muddy boots. The plug end of the cable also collects pocket debris, skin oils and tarnish, and it can carry that dirt straight back into the freshly cleaned port.
Look at the plug under the flashlight. Wipe the metal shell and the flat contact area with a dry microfiber cloth. If there's a stubborn film, a very lightly dampened cloth with a bit of isopropyl alcohol will lift it, but let it dry fully before plugging in. Then look at the strain relief, which is the flexible collar where the cable meets the plug. Splits, kinks or exposed wire here mean the cable should retire, not be cleaned.
The wall adapter matters too. A charger that has been dropped several times, or a cheap unbranded one, can deliver unstable power and make a perfectly clean port look bad. If you're testing after cleaning and things still feel off, borrow a different adapter and a different cable, one at a time, so you can identify which piece is actually failing. Changing everything at once tells you nothing.
7. Moisture Warnings and Corrosion
Lint is the friendly version of a charging problem. Moisture is the tricky one. Many modern phones will show a warning if their sensors think the port is wet, and some will refuse to charge until the reading clears. That protection exists because charging a wet port can cause corrosion at the pins, and corrosion is much harder to fix than lint.
What to do if you see a moisture warning
- Unplug the cable straight away. Don't keep testing it.
- Power the phone off if the warning is persistent.
- Let the phone sit port-down in a well-ventilated, room-temperature spot for several hours. A gentle air flow helps; heat does not.
- Don't put the phone in rice. It's a persistent myth, and rice dust can add debris to the port.
- Don't use a hair dryer or a heater. High heat can damage the battery and the adhesive that keeps the phone sealed.
- Try again after the drying time. If the warning keeps returning without any obvious cause, the port may be damp inside or slightly corroded.
Recognizing corrosion
Corrosion looks like a green, white or bluish crust on the contacts, or a dull, dark coating where the plating should be shiny. Sometimes only one or two contacts are affected. It usually grows slowly, and it's more common in people who sweat heavily, work near the sea, or have dropped their phone in liquid at some point. Light tarnish can sometimes be improved with a barely damp tip of high-percentage isopropyl alcohol, applied with the phone powered off, then left to dry thoroughly. Heavier corrosion is a professional job. Scrubbing it harder won't help and often scars the contacts.
8. Common Mistakes That Wreck Good Ports
Most damaged ports aren't damaged by lint. They're damaged by the cleaning attempt. Here are the mistakes that come up over and over, and why each one is a problem.
Using a metal pin or SIM tool
It's the classic move, and it's the most harmful. The plating on charging contacts is thin. A metal tool scratches through it, exposing the base metal underneath, which corrodes. On a powered phone, the tip can also bridge two contacts and create a short. If you're ever tempted to reach for a safety pin "just this once," put the toothpick in your hand instead.
Blasting compressed air at close range
It seems logical: dust out, problem solved. In practice, a jet of air at close range can compact lint deeper, force moisture from the propellant into the port, and in some cases push debris past the contacts toward internal components. Cans held upside down or shaken can even release liquid propellant. If you insist on air, use short bursts from a distance, and treat it as a finishing touch rather than the main method.
Pouring or spraying liquid into the port
Even a small amount of cleaning spray can creep behind the contacts. Once liquid is inside, you're no longer dealing with a dirty port but with potential water damage. Any liquid you use should be on a tool that's nearly dry, and the phone should be powered off and left to air dry before you charge.
Charging immediately after cleaning
Patience matters here. If there's any trace of dampness, plugging in gives it a path to cause trouble. Wait several minutes at least, and longer if you used alcohol.
Forcing a cable that doesn't want to go in
If a plug resists, something is blocking it or the port is deformed. Forcing it can bend the contacts or the tongue. Stop, look again with the flashlight, and only continue once you understand what's stopping it.
Cleaning constantly
A healthy port doesn't need weekly attention. Every time you insert a tool, there's a small risk. Clean when you have symptoms, or on a sensible schedule if you know your lifestyle is lint-heavy. Over-cleaning can be its own kind of wear.
9. How to Test the Result Properly
A quick glance at the battery icon isn't enough to declare victory. Give the fix a fair trial so you know whether you've solved the problem or merely postponed it.
- Check the seating. Plug in and notice whether the plug now goes in noticeably deeper and holds itself without support.
- Watch the charging indicator. It should appear promptly and stay steady, with no flicker when you lightly touch the cable.
- Run a timed test. Note the battery percentage, leave the phone idle on the charger for 30 minutes, and compare the gain against what you expect from your adapter. Do the same test with another known-good cable if you can.
- Try the wobble. Gently move the plug up and down a couple of millimeters. A healthy connection won't drop out.
- Test more than once. Check again after a night of charging and after a day of normal pocket use, because some connection issues only appear after movement.
If charging is fixed, great: you've likely saved yourself a repair. If it's better but not perfect, try a second gentle clean, because compressed lint sometimes comes out in layers. If nothing changed at all, then lint probably wasn't the main cause, and the next suspects are the cable, the adapter, the battery or a damaged port.
Three typical situations, and what they usually mean
The daily commuter. Picture someone whose phone spends the morning in a coat pocket and the evening on a desk. The charging speed dropped gradually over several months, and the cable now needs to be pressed in with a little push. A flashlight shows a gray plug of lint at the bottom edge. This is the textbook case, and a careful clean usually restores full contact.
The gym-goer. Now picture someone who takes the phone to workouts and often pockets it while damp. Charging is inconsistent, and there's an occasional moisture warning. Here the issue may be a mix of lint and light tarnish. A clean plus better drying habits often helps, but if the warning continues, professional cleaning is the smarter call.
The dropped phone. Finally, imagine a phone that fell on concrete and afterward charges only at certain angles. Even if lint is present, the drop may have bent the port or loosened its connection to the board. Cleaning won't fix that, and repeated poking might make it worse. That's a repair shop scenario.

10. Habits That Keep the Port Clean
You'll spend far less time cleaning ports if you stop a lot of the lint from arriving. None of these habits is complicated, and together they make a real difference.
Change where the phone lives
Pockets, especially fleece and denim, are the biggest lint source. If you can, use a jacket pocket with a smooth lining, or a phone sleeve. Bags collect crumbs and dust, so avoid dropping a phone loose into the bottom of one. A small pouch or a case with a port cover keeps most debris out.
Choose cases with sensible port design
Some cases have flaps or plugs for the charging opening, and they work well for people in sandy or dusty environments. Just make sure the flap doesn't trap moisture against the port. A poorly fitted case can also press the plug at a slight angle, wearing the port unevenly, so choose one that leaves a clean, straight approach.
Consider dust plugs, carefully
Small silicone dust plugs fit into the port when it's not in use. They're cheap and can be helpful for workshop or beach use. The caveat is that they can be lost, and pushing one in with a dirty finger can add more debris than it prevents. If you use one, keep it clean and store it somewhere sensible when charging.
Give your port a break with wireless charging
If your phone supports wireless charging, using a pad for overnight top-ups means the port isn't being plugged and unplugged daily. Fewer insertions means less compaction and less wear on the contacts. Wireless charging isn't magic, and it can run a bit warmer and slower than a good wired setup, so it's a supplement rather than a replacement for everyone. It's simply one of several ways to spread wear around.
Be gentle with plugging and unplugging
Insert the plug straight and pull it straight. Yanking at an angle, or tugging by the wire, wears the port walls and loosens the fit. It sounds minor, but repeated over thousands of charges, it's a genuine cause of wobbly connections.
Do a quick monthly look
You don't need a strict schedule. Simply glance into the port with a flashlight once in a while, especially if the phone lives in a pocket. Catching light lint early means a gentle five-minute clean rather than a stubborn compressed plug later.
| Your situation | Suggested check | Extra habit |
|---|---|---|
| Phone mostly on a desk, occasional pocket | Every 4 to 6 months | Wipe the plug end when you notice grime |
| Daily pocket carry (jeans, hoodies) | Every 2 to 3 months | Use a smooth-lined pocket or sleeve |
| Dusty, sandy or workshop environment | Monthly | Case with a port cover, keep the phone off dirty surfaces |
| Heavy gym or outdoor sweat exposure | Monthly, plus after very sweaty sessions | Wipe the phone dry and let it breathe before charging |
| Shared family phone or tablet | Every 3 months | Keep chargers plugged in at a fixed spot to reduce fumbling |
Habits around the phone extend to its accessories, too. If loose earbuds are part of your everyday carry, our guide on why wireless earbuds keep falling out also covers how you store them, and a tidy pouch keeps both the earbuds case and the phone free of pocket lint. And if your listening setup also drops out at random, the piece on why Bluetooth headphones keep disconnecting helps you separate a wireless problem from a charging one.
11. When to Stop and Get It Repaired
Knowing your limit is part of doing this safely. Some symptoms are beyond a toothpick, and pushing further can turn a small repair into a bigger one. Take the phone to a qualified technician if you notice any of the following.
- The port looks bent, crooked or has a visibly loose or wobbling shell.
- There's green, white or blue crust on the contacts that doesn't lift with a gentle wipe.
- Cleaning didn't change anything, and several cables and adapters behave the same way.
- The phone charges only at a specific angle even after the port is spotless.
- The plug or port gets hot, smells like burning, or shows discoloration.
- The phone was dropped or exposed to liquid shortly before the problem began.
- The moisture warning keeps coming back after several hours of drying.
A port replacement is usually a well-known, modest repair compared with replacing a phone, though pricing varies widely by model and region. Ask for a quote, and ask whether the port is a separate part or built into a larger board on your model. It's also worth checking whether your device is still under warranty or covered by a protection plan before you pay out of pocket.
One more point of honesty: if you're not comfortable working with a small tool in a small space, that's a perfectly fine reason to book a repair. A quick professional clean is inexpensive at many shops, and technicians have magnification and proper tools. There's no prize for doing it yourself if your hands aren't steady or your eyesight makes it hard to see what you're doing.
Protecting your data before any repair
If you decide to hand the phone over, back it up first. Even a simple port replacement is routine, but accidents happen and it's smart practice to have your photos, contacts and messages saved somewhere else. Most phones make this easy through their built-in cloud backup or a computer transfer, and a backup takes far less time than it takes to regret not having one.
Keep Reading: More Gadget Care Guides
12. Frequently Asked Questions
Is it safe to use a toothpick to clean a phone charging port?
A wooden or plastic toothpick is the safer end of the spectrum, provided the phone is powered off and you use it gently, tilted against the wall of the port rather than pushed into the center. Never use metal pins, paper clips or SIM ejector tools, because they can scratch the contacts or short a live circuit.
Can I use compressed air on a charging port?
It's best avoided. The blast can push lint deeper, force moisture into the phone, and spin delicate parts too fast. If you do try it, use very short bursts from a distance, but a gentle mechanical clean is usually more reliable.
How often should I clean my phone's charging port?
Only when you notice symptoms such as a loose fit, slow charging or a cable that needs wiggling. For people who carry the phone in a pocket all day, a quick inspection with a flashlight every two to three months is a sensible habit.
Why does my phone say moisture detected when the port looks dry?
The warning can be triggered by tiny amounts of moisture, sweat residue or corrosion you can't see. Unplug everything, let the phone air dry in a well-ventilated spot for several hours and try again. If the message keeps returning, get the port inspected.
Should I use isopropyl alcohol to clean the port?
Only as a last resort for visible grime or corrosion, using a nearly dry swab with high-percentage isopropyl alcohol, with the phone powered off. Never spray or pour liquid into the port, and let it dry completely before charging.
When is a charging port beyond a home fix?
If the port is visibly bent or corroded, the cable falls out even after cleaning, the phone charges in some cables but not others in a way you can't explain, or you smell burning, stop and take it to a qualified repair shop.
Final Thoughts
A charging port is one of the hardest-working parts of any phone. It's plugged and unplugged thousands of times, exposed to pocket grit all day, and rarely thought about until it fails. The reassuring part is that many "dead port" stories end with a small gray pellet of lint and a toothpick. If you take one thing from this guide, let it be the order of operations: diagnose first, power off, use soft tools, work along the walls, keep liquids out, and test thoroughly.
Cleaning won't fix every charging problem, and it shouldn't be your first move if the cable is visibly frayed or the phone has taken a hard fall. But when the symptoms match, it's a low-cost, low-risk fix that can save you a trip to the repair shop and give a tired-feeling phone a second wind. Build a couple of easy habits around how you carry and plug in your devices, and the next time your battery stalls overnight, you'll know exactly where to look first.