
Smart Home Setup for Renters: The Complete No-Drill, Deposit-Safe Guide
If you rent, you've probably scrolled past a hundred "ultimate smart home setup" articles that assume you own the walls you're screwing things into. Most smart home content is written for homeowners — people who can run a new circuit for a video doorbell, mount a hardwired thermostat, or drill through drywall without thinking twice. That's not most of us. If you've ever stood in a hardware store aisle wondering whether a smart lock will get you flagged by your landlord, or whether a "quick 15-minute install" actually means patching three holes when you move out, this guide is for you.
Over the past few years, apartment-friendly smart home tech has quietly gotten very good. You can automate lighting, secure your front door, keep an eye on your pet, and cut your electricity bill — all without touching a single wire, without asking your landlord for permission, and without losing your security deposit. This guide walks through exactly how to do it, room by room, device by device, with the specific gotchas that catch renters off guard.
Why "Renter-Friendly" Actually Matters Here
Most smart home buying guides don't mention leases at all, and that gap causes real problems. A hardwired smart thermostat, for example, is one of the most recommended smart home purchases — right up until you realize most of them need a "C-wire" (a common wire) that a lot of older apartment buildings simply don't have behind the wall plate. Installing one anyway can mean opening up a wall panel that technically isn't yours to modify.
The same goes for smart locks that require replacing the entire deadbolt assembly, video doorbells that need permanent wiring into an existing doorbell circuit, and in-wall dimmer switches that require an electrician and, often, written permission from a property manager. None of these are illegal to install, but they can violate a standard lease clause about "alterations to the unit," and reversing them before you move out is rarely as clean as the box promises.
The good news: nearly every category of smart device now has a renter-friendly version — battery-powered, adhesive-mounted, or plug-in — that performs almost as well as the hardwired original, and comes apart in about ninety seconds when you move out.
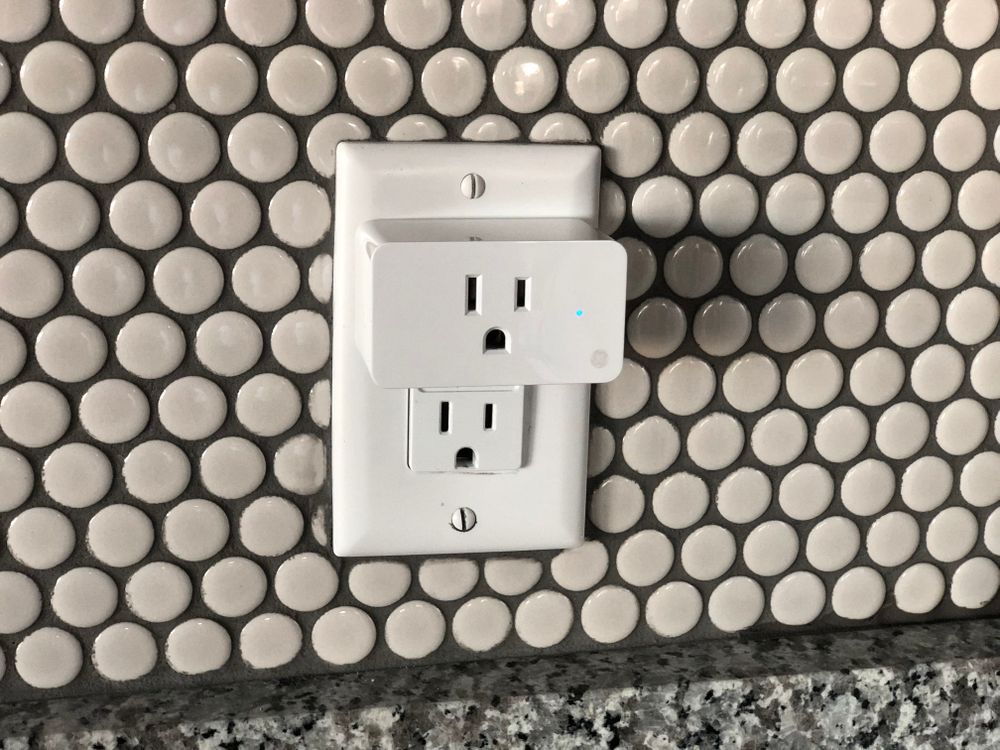
Photo by Kenny Ginapp / Pexels
Step 1: Pick Your Ecosystem Before You Buy Anything
The single most common mistake renters make is buying devices one at a time, based on whatever's on sale, and only later discovering that half of them don't talk to each other. Before you buy a single bulb or plug, decide which "ecosystem" you're building around — this determines which app you'll use daily and which devices will actually work together in routines.
There are three realistic starting points:
- Amazon Alexa — the widest device compatibility, cheapest entry-level hub (an Echo Dot), and the easiest voice control setup for beginners.
- Google Home — tightly integrated if you already use Android and Google services like Calendar and Nest devices.
- Apple Home — the most private and polished option if you're already in the Apple ecosystem, though historically the smallest device selection.
In 2023, the industry introduced Matter, a shared smart home standard designed to make devices work across all three ecosystems regardless of which app you started with. If you're setting up a smart home from scratch today, prioritize devices with a Matter logo on the box — it future-proofs your purchases so you're not locked into one brand forever. We've covered the technical differences between Matter, Thread, and Wi-Fi in more depth in our Matter vs Thread vs Wi-Fi comparison if you want to go deeper on the networking side before buying.
For most renters, the practical starting point is a smart speaker you already own or can pick up cheaply — it becomes your control hub, your voice assistant, and often the anchor for other devices in that ecosystem.
Step 2: Smart Plugs — The Highest Value, Lowest Risk Device
If you only buy one category of smart device this year, make it smart plugs. They plug into any standard outlet, require zero modification to your apartment, cost between $8 and $20 each, and instantly make "dumb" electronics smart. Lamps, fans, space heaters, string lights, coffee makers — anything that plugs into the wall — can now be scheduled, voice-controlled, and monitored from your phone.
Practical ways renters use smart plugs:
- Scheduling lamps to turn on at sunset so your apartment looks occupied while you're out — a genuinely useful security habit, not just a novelty.
- Turning off a space heater automatically after a set number of hours, which matters a lot if your lease prohibits leaving heating appliances unattended.
- Cutting "phantom" standby power draw from TVs, game consoles, and chargers, which can shave a noticeable amount off a monthly electricity bill in a small apartment.
- Controlling a window AC unit remotely, so you can cool the apartment down ten minutes before you get home instead of running it all day.
When shopping, look specifically for plugs that support energy monitoring — a small feature that lets you see, in the app, exactly how much power a device is drawing. It's the easiest way to figure out which appliance is quietly inflating your electric bill.
Step 3: Smart Bulbs Without Touching Your Fixtures
Smart bulbs are the second-easiest renter upgrade because they screw into existing fixtures — no rewiring, no electrician, nothing to undo before move-out beyond screwing the old bulb back in. A few things worth knowing before you buy a case of them:
- Check your fixture type first. If your apartment has enclosed or recessed fixtures, confirm the bulb is rated for enclosed spaces — smart bulbs generate more internal heat than standard LEDs and can shorten their own lifespan if trapped without airflow.
- Decide between Wi-Fi and hub-based bulbs. Wi-Fi bulbs (like most budget options) connect directly to your router — simpler, but they add load to your home Wi-Fi if you buy a dozen of them. Hub-based bulbs (Zigbee, Thread, Matter-over-Thread) route through a separate hub or your smart speaker, which scales better once you're past ten or so devices.
- Existing dimmer switches can conflict with smart bulbs. If your rental already has physical dimmer switches installed, smart bulbs often flicker or behave unpredictably, because the dimmer is cutting power in a way the bulb's internal electronics don't expect. The fix is either replacing the dimmer with a standard switch (ask your landlord first) or leaving the physical switch fully "on" at all times and controlling brightness only through the app.
A smart bulb strategy worth stealing from renters who've done this for a while: start with just the entryway and one living room lamp. Get your routines and voice commands feeling natural in two rooms before expanding to the whole apartment. It's a lot cheaper to fix a mistake in ecosystem choice with two bulbs than with twenty.
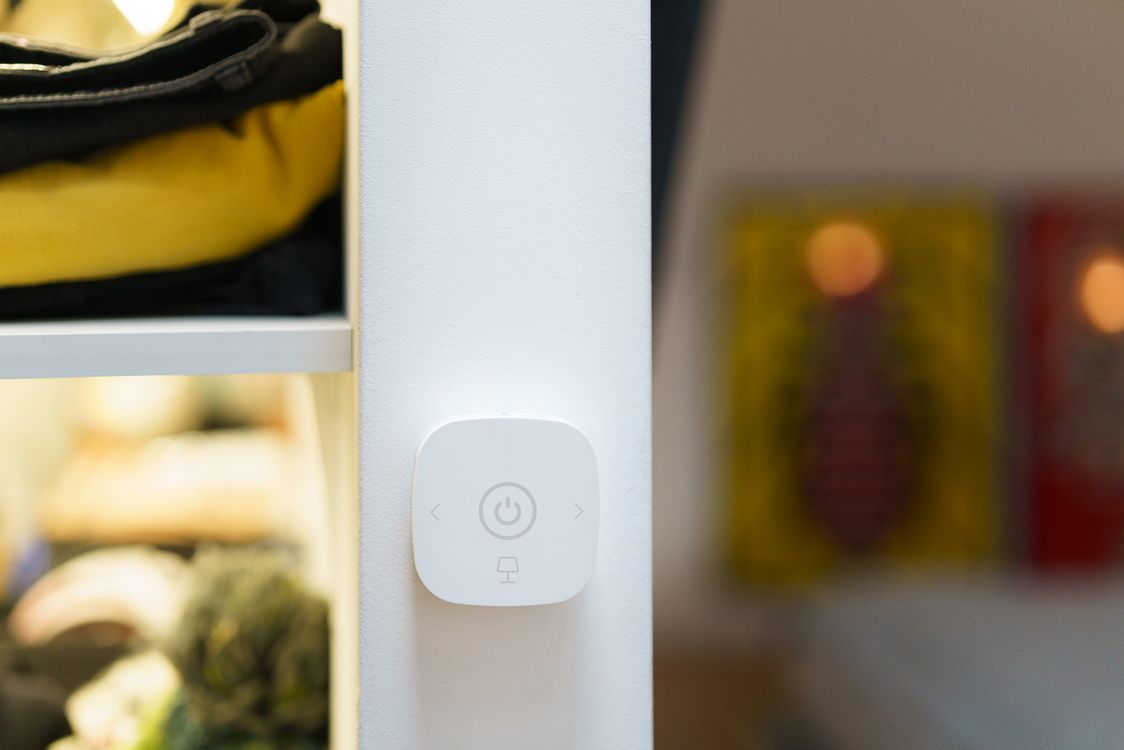
Photo by Jakub Zerdzicki / Pexels
Step 4: Smart Locks You Can Actually Take With You
Smart locks are where renters get tripped up most often, because the majority of marketing images show full deadbolt replacements — the kind that require swapping out your entire lock cylinder. That's usually a lease violation unless your landlord signs off, and reversing it means you need to keep the original hardware in a labeled bag for two years so you can put it back exactly as it was.
Fortunately, there's a whole category built specifically for this problem: retrofit smart locks. These attach directly over your existing deadbolt thumb-turn on the inside of the door, using a strong adhesive pad — no drilling, no hardware swap, and no visible change from the outside of the door at all. Your existing keys still work exactly as before; the retrofit unit just adds the ability to lock and unlock via app, auto-lock behind you, and generate temporary codes for guests or dog walkers.
A few honest limitations to know before buying one:
- They only work with standard single-cylinder deadbolts — check your door before ordering, since European-style locks and certain older deadbolt shapes aren't compatible.
- Battery life varies widely (roughly 3–12 months depending on usage), so budget for occasional battery swaps rather than treating it as "set and forget."
- Even though it's adhesive-based, it's still worth a quick message to your landlord or property manager — some buildings have specific rules about door hardware, and a two-line email avoids any ambiguity later.
If your landlord is genuinely against any lock modification, a smart video doorbell (battery-powered, not hardwired) paired with existing peepholes gets you most of the security benefit without touching the lock at all.
Step 5: Security Cameras and Sensors, No Drilling Required
This is the category that's changed the most in the last few years. Early smart cameras assumed you'd screw a mounting bracket into your exterior wall or ceiling. Now, most reputable brands sell battery-powered indoor and outdoor cameras designed around adhesive mounts, magnetic bases, or simple tabletop placement — genuinely no permanent marks left behind.
Practical setup tips for renters:
- Indoor cameras: A single camera aimed at your front door from inside, placed on a shelf or small tripod, covers 90% of what most renters actually want — knowing who's at the door and catching package theft on video.
- Outdoor cameras: Look specifically for models with 3M adhesive mounting kits included in the box. These hold surprisingly well through wind and rain and peel off cleanly without paint damage, unlike generic double-sided tape.
- Door and window sensors: Small magnetic sensors that stick to a door frame and the door itself, alerting you if something opens while you're away. These are entirely adhesive-based and take under a minute to install per door.
- Motion sensors: Useful for automating lights (turn on the hallway light when motion is detected after dark) as well as basic security alerts.
One thing worth being upfront about: check your local and state laws, along with your specific lease, before pointing any outdoor-facing camera toward shared spaces like a hallway, courtyard, or a neighbor's window. Recording your own doorstep is generally fine; recording a shared hallway or a neighboring unit's window can raise real privacy and legal issues depending on where you live.
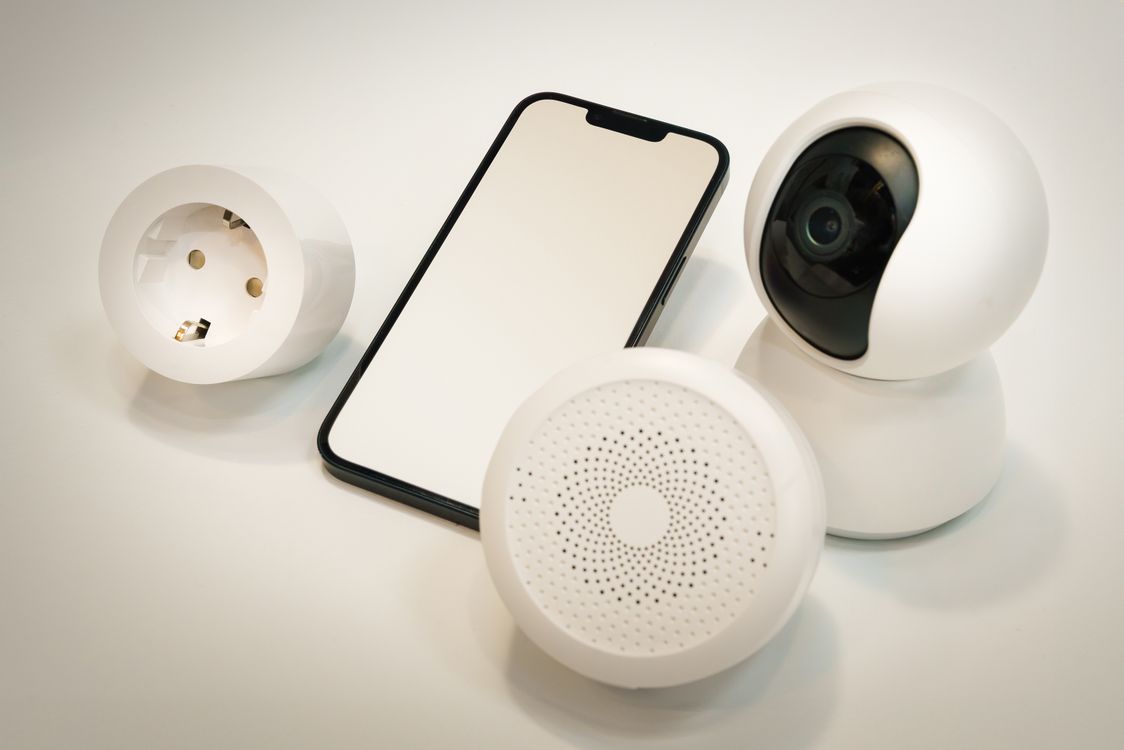
Photo by Jakub Zerdzicki / Pexels
Step 6: Climate Control Without a Hardwired Thermostat
This is the honest section most guides skip. Smart thermostats are genuinely excellent for saving energy, but the vast majority require a C-wire for continuous power, and a meaningful number of older rental units simply don't have one run to the thermostat location. Before buying one, take the cover off your existing thermostat (most pop off without tools) and check whether there's an unused wire labeled "C" in the wall connector — if there isn't, you have two realistic options:
- Battery-powered smart thermostats exist specifically for this situation, running on standard or rechargeable batteries instead of a C-wire. They have slightly fewer features than their hardwired siblings but are a genuine upgrade over a manual thermostat, and installation is still just swapping a wall plate — no new wiring.
- Smart plugs on space heaters, fans, or a window AC unit sidestep the thermostat question entirely. You lose whole-apartment temperature averaging, but you gain scheduling and remote control on the exact appliances actually heating or cooling your space.
Either way, always double-check with your landlord before replacing the thermostat itself, even with a compatible battery-powered model — central HVAC systems are shared infrastructure in a lot of buildings, and a mismatched thermostat can cause real problems for whoever handles maintenance after you move out.
Step 7: Fixing Your Apartment's Wi-Fi Before Anything Else
Smart home devices live and die by your Wi-Fi signal, and apartments are uniquely bad environments for it — concrete and brick construction, dozens of neighboring routers fighting for the same channels, and router placement dictated by wherever the cable jack happens to be, not where the signal actually needs to reach.
A few fixes that make a real difference before you add a dozen new devices to the network:
- Split your bands. Most modern routers broadcast both 2.4GHz and 5GHz Wi-Fi. Smart home devices almost always prefer 2.4GHz for its longer range through walls, while your laptop and phone benefit more from 5GHz's speed. If your router combines both into a single network name, check settings for an option to separate them — it dramatically reduces connection failures during device setup.
- Consider a mesh system if you're above roughly 900 square feet or have multiple floors/walls between the router and your devices. A single router straining to cover a whole apartment is the single most common cause of smart plugs and bulbs randomly "going offline."
- Create a guest network for smart devices. Many routers let you set up a second network specifically for IoT devices. This isolates them from your laptop and phone, which is both a security improvement and a practical one — a compromised smart plug can't be used to snoop on your other devices if it's sitting on a separate network.
- Reserve a fixed spot for your hub. If you're using a smart speaker or dedicated hub, keep it centrally located and off the floor — router and hub placement inside cabinets or behind TVs quietly kills range for everything connected to it.
Step 8: Setting Up Your First Routine (Step-by-Step)
Once you have a hub picked and your first few devices unboxed, here's a straightforward setup order that avoids most first-time headaches:
- Connect your phone to your home Wi-Fi (not mobile data) before opening any device's setup app — most pairing processes fail silently if your phone is on cellular data.
- Set up your hub or smart speaker first, and confirm it can reach the internet before adding anything else.
- Add one device at a time, testing each one (turn it on/off from the app) before moving to the next. Bulk-adding ten devices at once is the most common cause of confusing setup failures, because you can't tell which specific device is causing the problem.
- Name devices by location, not brand — "Living Room Lamp" instead of "Plug 1" — since this is what makes voice commands and automations intuitive later.
- Group devices into rooms inside the app before building any automations. Most platforms let you say "turn off the bedroom" to control everything in that group at once, which only works if the grouping is set up first.
- Build one simple automation before anything complex — something like "porch light turns on at sunset" — to confirm routines are actually triggering before you build a ten-step morning routine.
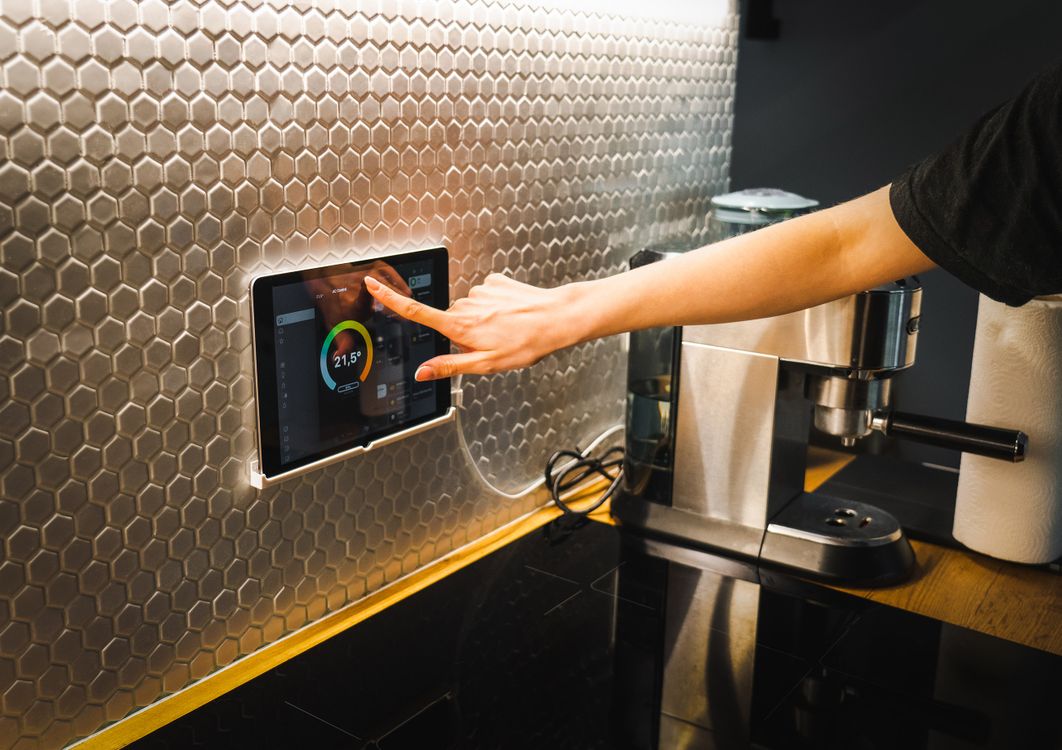
Photo by Jakub Zerdzicki / Pexels
Security and Privacy: The Part Renters Often Skip
Smart home devices are small computers connected to your network around the clock, and the security basics matter more in a shared building — where Wi-Fi signals from your apartment can often be picked up by neighbors — than in a detached house.
- Change default passwords immediately. A shocking number of budget smart plugs and cameras ship with a default admin password that's publicly documented online. Change it during setup, not "later."
- Turn on two-factor authentication for whichever ecosystem app you're using as your hub. It's the single highest-value five minutes you'll spend on this whole project.
- Keep firmware updated. Most apps will nag you about this anyway, but security patches for smart devices genuinely matter — these are always-on, always-connected devices, and manufacturers push fixes for real vulnerabilities regularly.
- Be selective with camera placement relative to windows. Indoor cameras aimed toward a window can inadvertently record into a neighboring unit or the street outside, which is worth checking from the camera's live view before mounting anything permanently.
- Review app permissions annually. Smart home apps accumulate permissions over time — location access, microphone access, contacts — that are worth periodically checking are still necessary.
What a Realistic Starter Budget Looks Like
Here's a genuinely useful starting point, based on covering a one-bedroom apartment without overspending on your first attempt:
| Category | Typical Cost | Priority |
|---|---|---|
| Smart speaker/hub | $25–$50 | Start here |
| Smart plugs (pack of 4) | $25–$40 | High value |
| Smart bulbs (2–4 rooms) | $30–$70 | High value |
| Retrofit smart lock | $60–$100 | Optional, security-focused |
| Indoor camera | $30–$60 | Optional |
| Door/window sensors (2-pack) | $20–$35 | Optional |
| Battery smart thermostat | $100–$150 | Only if C-wire is absent |
| Mesh Wi-Fi (2-pack, if needed) | $100–$180 | Do this first if Wi-Fi is weak |
A genuinely functional starter setup — hub, four plugs, a few bulbs, and a couple of door sensors — realistically lands between $100 and $180, and every piece of it moves with you.
Moving Out: Taking It All With You
The entire point of a renter-friendly setup is that move-out day shouldn't cost you anything. A quick checklist for when the lease ends:
- Factory reset every device before packing it, especially locks, cameras, and anything tied to your home address in an app. This protects your privacy and makes re-setup at your new place painless.
- Peel adhesive mounts slowly and at a low angle rather than pulling straight off — this is what prevents paint from lifting. A hairdryer on low heat for a few seconds first softens most adhesives further.
- Keep original hardware together (bulb boxes, lock adhesive backing, mounting screws) in one labeled bin from day one, so you're not hunting for a smart bulb's original dumb bulb the morning of your move.
- Screenshot your Wi-Fi network setup (network name conventions, guest network settings) before you cancel service, since you'll likely recreate a similar structure at your next place.
- Check walls under any adhesive mount once removed — most leave zero residue after a few months, but a quick wipe with rubbing alcohol handles anything left behind before your move-out inspection.
Frequently Asked Questions
Do I need to tell my landlord about smart home devices?
For plug-in and battery-powered devices (plugs, bulbs, most cameras, retrofit locks), generally no — you're not altering the unit. For anything involving wiring, replacing switches, or full lock hardware swaps, check your lease's alteration clause first, and a quick heads-up email is cheap insurance either way.
Will smart devices slow down my Wi-Fi?
A handful of devices won't be noticeable. Once you're past 15–20 connected devices on an older router, you may notice slowdowns — this is the point where a mesh system or a dedicated IoT guest network starts paying for itself.
What happens to my smart home if the power goes out?
Most devices reconnect automatically once power returns, though automations and schedules may need a moment to re-sync. Battery-powered locks and sensors are unaffected by a power outage since they don't rely on apartment wiring at all.
Can I use smart home devices without a monthly subscription?
Many core features — scheduling, voice control, basic automation — work without any subscription. Subscriptions typically unlock extras like extended camera video history, advanced AI detection (package vs. person vs. animal), or professional monitoring, none of which are required to get real value from the device.
Is it worth buying used or refurbished smart devices?
For hubs and speakers, usually yes. For locks and cameras, be more cautious — resetting a used security device fully and confirming it's not still linked to a previous owner's account is essential before relying on it.
The Bottom Line
A genuinely useful smart home doesn't require ownership, a toolbox, or a landlord's blessing. Start with a hub and a handful of smart plugs, get comfortable with the app and voice commands, then layer in bulbs, sensors, and a retrofit lock as your confidence — and your lease renewal date — allow. Every device on this list works exactly as well in a 400-square-foot studio as it does in a house, and every one of them packs up in a box on moving day with nothing left behind but a slightly quieter, less automated apartment for the next tenant