
Hardware & Peripheral Troubleshooting
Webcam Light On but Black Screen? 9 Fixes That Actually Work
The indicator is glowing, the preview is pitch black, and your meeting starts in a minute. Here is how to find where the picture is getting lost and get it back.
You open a video call, glance at your preview, and there it is: a flat black rectangle where your face should be. The little light beside the lens is glowing, so the camera is obviously doing something. Yet nothing shows up. The meeting is about to start, and you're staring at a machine that seems to contradict itself.
That contradiction is what makes this problem so annoying. A webcam that's completely dead is easy to reason about. A webcam that's lit but blank is not, because the evidence points in two directions at once. The light says power is reaching the camera. The black picture says nothing useful is coming out the other end. Somewhere between the sensor and the app you're using, the image gets lost, and your only job is to work out where.
The reassuring news is that a truly broken camera is the least likely explanation. In the large majority of cases the cause is a setting, a permission, a second program grabbing the camera, or a loose connection. Those are all fixable in a few minutes without spending a cent.
This guide is built around how the problem actually shows up in daily life. I've ordered the fixes from the quickest checks to the deeper ones, so you can stop the moment your picture returns. If you use a headset or wireless accessories with your calls, you may also find our guides on Bluetooth headphones that keep disconnecting and a wireless mouse that keeps dropping useful, since the same USB and power habits show up in all three problems.
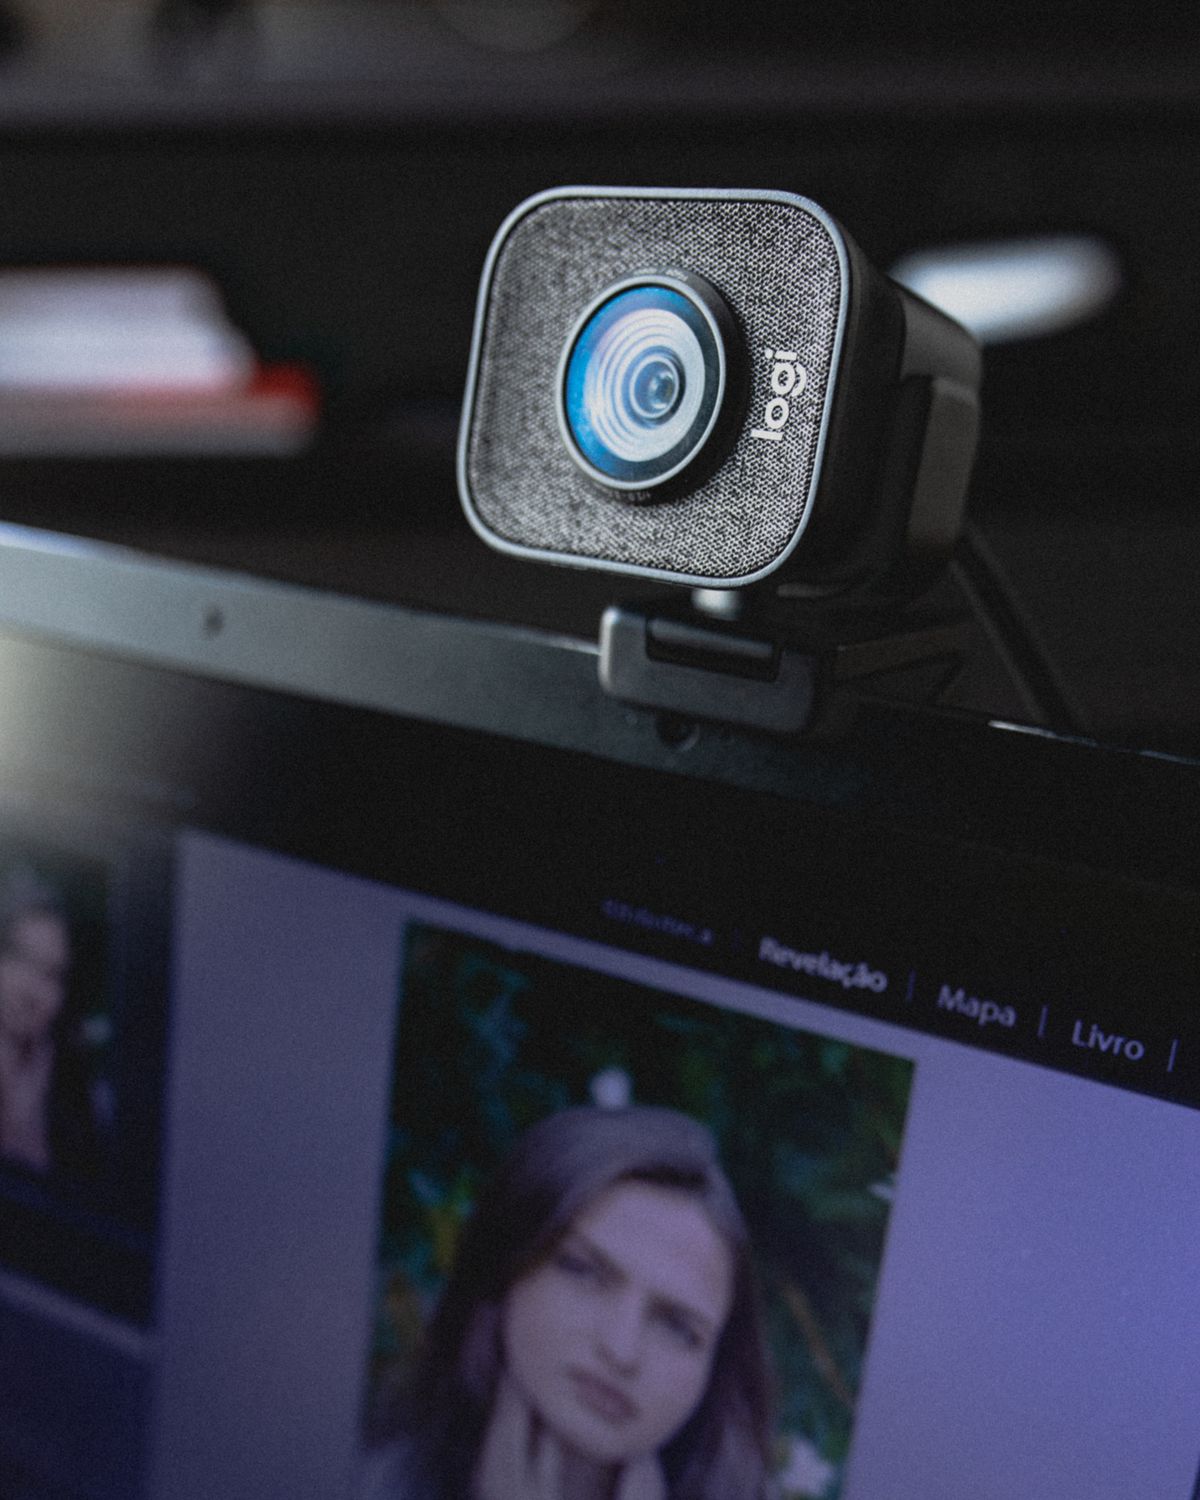
A lit webcam LED only proves the camera was switched on. Black video usually means the picture is being blocked or misrouted: a closed privacy shutter, denied camera permission, another app already using the camera, the wrong camera selected in your call app, a bad driver, or (for external webcams) weak USB power. Test in your system's own camera app first. If it works there, the fault is in the app you were using. If it fails there too, work through privacy settings, drivers and the USB port.
- What "light on, screen black" really means
- The two-minute triage
- Fix 1: Physical shutters and function keys
- Fix 2: Privacy and permission settings
- Fix 3: Another app is holding the camera
- Fix 4: The wrong camera is selected
- Fix 5: Driver problems
- Fix 6: USB power and bandwidth
- Fix 7: Mac-specific causes
- Fix 8: Security software and work policies
- Fix 9: It isn't black, it's just dark
- Symptom-to-fix cheat sheet
- When the hardware really is failing
- Habits that prevent a repeat
- Frequently asked questions
What "Light On, Screen Black" Really Means
It helps to picture your video as a relay race with three runners. The first runner is the hardware: the lens, the sensor, and the little chip that turns light into a digital signal. The second is the operating system, which decides whether apps are allowed to receive that signal and which driver translates it. The third is the app itself, such as Zoom, Teams, Google Meet, or your browser, which has to pick a camera and display what it receives.
The indicator light usually sits with the first runner. On many laptops it turns on when the camera hardware is activated, and that can happen even if the second or third runner drops the baton. So a glowing light narrows things down less than people expect. It mostly tells you the request to start the camera got through. It says very little about whether the video actually arrived.
That is why the smartest first move is to test at the operating system level, using the camera app built into Windows or macOS, before blaming any single call app. If the built-in app shows you, the hardware and driver are fine, and the fault lives in a setting or in the app you were using. If the built-in app is also black, you can skip the app-specific fixes and focus on permissions, drivers, and connections.
Another useful detail: black video comes in a few flavours. A pure, perfectly black frame with no noise often points to a blocked or disabled feed. A very dark, grainy image suggests the camera works but is struggling for light. A frozen frame that doesn't update points somewhere else entirely, usually bandwidth or a driver crash. Noticing which one you have will save you time.
The Two-Minute Triage
Before diving into settings, run this short routine. It resolves a surprising share of cases and tells you which section below to read next.
- Look at the lens. Check for a sliding privacy cover, a sticker, a protective film left over from unboxing, or a smudge thick enough to block light.
- Open the built-in camera app. On Windows, search for "Camera" in the Start menu. On a Mac, open Photo Booth or FaceTime. Note whether you see yourself.
- Close everything that might use video. That includes call apps, browser tabs running meetings, screen recorders, and streaming software. Quit them fully, not just minimise.
- Reopen only the app you need and check the camera dropdown in its settings.
- Restart the computer if nothing changed. It sounds boring, but a restart clears stuck camera processes better than any menu.
If the built-in camera app worked in step 2, jump to the sections about the wrong camera being selected and another app holding the camera. If it didn't, start at the physical shutter and work down the list in order.
Fix 1: Physical Shutters and Function Keys
This is the least glamorous fix and probably the most common. A large number of modern laptops ship with a tiny physical slider over the lens, and many business models include a hardware or keyboard shortcut that cuts the camera. When the shutter is closed, the sensor is looking at a piece of plastic, and the picture is perfectly black. The indicator light may still glow because the camera has been switched on, and the cover simply blocks the view.
Take a slow look at the top edge of your screen. Some sliders are so small they blend into the bezel. Also scan the function row of your keyboard for a key showing a camera icon with a slash through it. On several brands that key toggles the camera on and off at a low level, and pressing it accidentally is easy when you're reaching for the volume or brightness keys.
External webcams have the same trap. Many include a rotating lens cap or a clip-on shutter, and some ship with a removable plastic film over the lens that people forget to peel off. A cheap webcam left on a shelf can also gather a thin film of dust. Wipe the lens gently with a clean microfibre cloth, the kind you'd use on glasses. Avoid harsh cleaners, and don't press hard.
If you have a laptop with a switch for "camera privacy" in its manufacturer's utility software, open that utility too. Lenovo, Dell, HP, ASUS, and others sometimes include a camera toggle inside their support apps, and that toggle can disagree with the operating system's own setting.
Fix 2: Privacy and Permission Settings
Once the physical side is ruled out, the next suspect is permission. Both Windows and macOS make apps ask before using the camera, and a denied or reset permission produces exactly the "light flickers on, picture stays black" behaviour people complain about. Updates are a common trigger, because a major system update can reset a permission you granted months ago.
On Windows 11
Open Settings, go to Privacy & security, then choose Camera. You need to check three things, and it's worth checking all of them rather than stopping at the first one that looks right:
- Camera access should be switched on for the device.
- Let apps access your camera should be switched on.
- Scroll down and confirm the specific app you use is allowed. Below that, Let desktop apps access your camera must also be on. Traditional programs like Zoom, Teams, and most browsers count as desktop apps, so this switch is the one people miss.
If you use a browser for calls, remember there is a second layer. In Chrome or Edge, click the small icon at the left of the address bar, open the site's permissions, and make sure the camera is set to Allow. You can also visit the browser's camera settings page to see which sites are blocked. A site you once blocked by accident will stay blocked until you change it.
On macOS
Open System Settings, choose Privacy & Security, then Camera. You'll see a list of apps with a toggle beside each. If your call app is missing or switched off, turn it on and restart the app. Apps only pick up the change after a fresh launch. Also check Screen Time, then Content & Privacy Restrictions, then allowed apps. If the camera is restricted there, apps can't use it no matter what other settings say. This one catches a lot of shared and family computers.
Fix 3: Another App Is Holding the Camera
Here's a rule that trips up nearly everyone: on most systems, only one application can use a camera at a time. If something already has the camera, your second app may get an empty, black feed instead of a friendly error message. You'll often see the indicator light on and yet no picture in the app you just opened, because the light belongs to the first program.
The offenders are usually not obvious. Common ones include a video call app that's minimised to the tray after your last meeting, a second browser tab that's still on a call page, screen recording tools, streaming software, a smart-lighting or "studio" utility from your webcam's manufacturer, and even a virtual background helper left running in the background. Sometimes a crashed app leaves a ghost process behind that still owns the camera even though no window is open.
On Windows, press Ctrl + Shift + Esc to open Task Manager. Sort by name and look for anything video-related in the Apps and Background processes lists. End the ones you don't need. If you're not sure what a process is, search for it first rather than ending it blindly. On a Mac, open Activity Monitor and do the same, or use Force Quit from the Apple menu.
Windows also gives a clue when this happens. If you open the Camera app while another program owns the camera, it may show an error such as "Close other apps, your camera is being used by another app" or an error code like 0xA00F4243. That message is your confirmation that it's a conflict, not a hardware fault. Close the offending program, or restart, and try again.
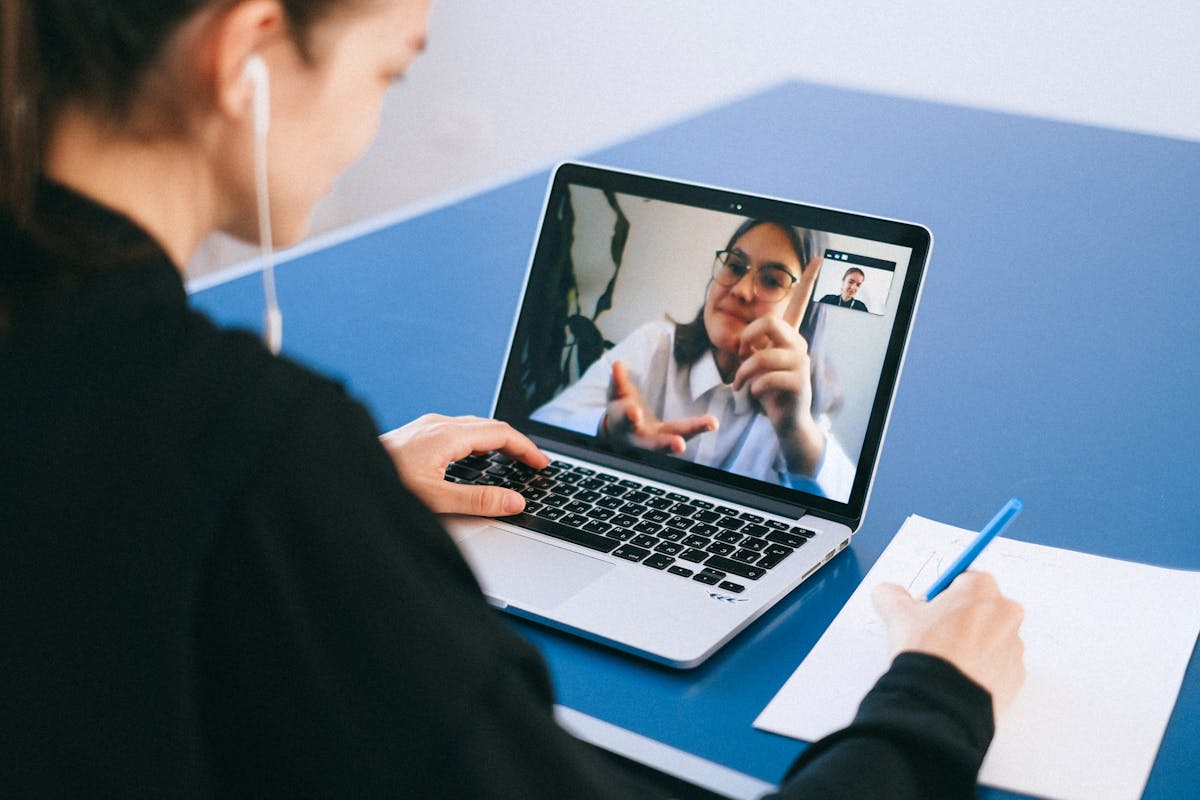
Fix 4: The Wrong Camera Is Selected
This cause is sneaky because everything is technically working. The app is showing video from a camera. It just isn't the camera you think it is, or it's a camera that has nothing to show.
The infrared camera trap
Many Windows laptops that support face sign-in contain two lenses side by side. One is the regular colour camera. The other is an infrared camera used by Windows Hello to recognise your face. In the device list of a call app, the infrared camera can show up with a name that includes "IR." If the app picks it, you may see black video or a strangely dark, monochrome image. Open the camera dropdown in your app's video settings and choose the standard camera, often labelled "Integrated Camera" or "HD Webcam."
Virtual cameras
Tools that add filters, backgrounds, or overlays install a virtual camera. Streaming software, background-blur utilities, and some manufacturer apps create these. If your call app is set to a virtual camera but the program behind it isn't running, or isn't sending video, the app receives a blank feed and displays black. The fix is either to launch the program that powers the virtual camera or to switch the app back to your real camera.
Phones and other devices acting as cameras
On a Mac, Continuity Camera can automatically pick your nearby iPhone as the webcam. If the phone is locked, in a pocket, or in another room but still in range, the app might choose it and show black or a stalled picture. Check the camera menu in your call app and pick the Mac's built-in camera explicitly. The same idea applies to any phone-as-webcam app you may have installed on your PC: a leftover entry in the list can quietly take priority.
The habit worth building is simple: whenever you install a new video app, open its settings once and confirm the camera choice manually rather than trusting the default. It takes ten seconds and saves the frantic pre-meeting scramble.
Fix 5: Driver Problems
A driver is the small piece of software that lets your operating system talk to the camera. When it's missing, outdated, or damaged, the camera can power up but fail to deliver frames. This is especially common after a major Windows update, after installing a new webcam, or after a system restore.
Check Device Manager first
Right-click the Start button and open Device Manager. Expand the Cameras section, or Imaging devices on some systems. Your camera should appear there with no warning icon. A yellow triangle means the system sees a problem. If the camera isn't listed at all, that's a different story pointing to a disabled device, a loose connection, or a fault. An arrow pointing down on the icon means the device has been disabled, and you can right-click it and choose Enable device.
Roll back, then reinstall
If the problem started right after an update, try rolling the driver back. Right-click the camera, choose Properties, open the Driver tab, and select Roll Back Driver if it's available. This restores the previous version that worked. If the button is grey, there's nothing to roll back to.
If rolling back isn't possible, uninstall the device. Right-click the camera, pick Uninstall device, and restart the computer. Windows normally detects the camera on startup and installs a fresh copy of the driver automatically. Don't tick the option to delete the driver software unless you have the manufacturer's installer ready, since you'll want Windows to have something to reinstall.
Use the manufacturer's driver when Windows doesn't help
Laptops from the big brands often need a specific camera driver from the manufacturer's support page rather than the generic one Windows supplies. If Windows Update didn't fix things, search your laptop's exact model number on the maker's support site, open the driver downloads, and install the camera or chipset driver listed there. For external webcams, brands like Logitech offer their own software that can also restore default camera settings, which occasionally cures a black feed caused by a corrupted setting.
On the same theme of accessories and their software, if your microphone also misbehaves during calls, our guide on fixing a laptop microphone that isn't working covers the audio side of the same permission and driver system.
Fix 6: USB Power and Bandwidth
Everything so far applies to both built-in and external cameras. This section is only for external USB webcams, where the cable, the port, and the hub all become suspects.
Plug directly into the computer
Unpowered USB hubs and docks share a limited pool of power and data capacity between everything plugged into them. A webcam streaming high-resolution video is a demanding neighbour. On a crowded hub it may draw enough power to light its LED but fail to push a stable stream, leaving you with black or freezing video. Unplug the webcam, connect it straight to a port on the computer itself, and test again. If you have both USB 2 and USB 3 ports, try both. Some cameras behave better on one than the other, and 1080p or 4K models generally want a USB 3 connection.
Swap the cable and the port
Cables wear out, and cheap ones sometimes carry power but not data reliably. If your webcam has a detachable cable, try another known-good one. Try a different port too, ideally on the other side of the machine, because ports on the same side can share a controller. A quick experiment like this separates a hardware fault from a port problem faster than any amount of software fiddling.
Turn off USB power saving
Windows can switch off USB devices to save power, and that feature can put a webcam to sleep at the wrong moment. In Device Manager, expand Universal Serial Bus controllers, double-click each USB Root Hub entry, open the Power Management tab, and untick Allow the computer to turn off this device to save power. You can also open your power plan's advanced settings and disable USB selective suspend. This is the same fix that helps flaky mice and keyboards, and it's the reason our wireless mouse disconnecting guide recommends it too.
Finally, check the physical plug. A loose connector at either end produces intermittent behaviour: the light flickers, the picture comes and goes. Reseat the cable firmly, and if you notice any bent pins or a wobbly port, that's a sign of mechanical wear rather than a settings issue.
Fix 7: Mac-Specific Causes
Macs handle cameras a little differently, so a few extra points are worth covering on their own. Apple's built-in camera has no separate driver to reinstall. It's managed by the system, which means fixes tend to revolve around permissions, restarts, and software updates rather than driver surgery.
Start with the permission list described earlier, then check for pending macOS updates. Camera bugs are occasionally patched in point releases, and being a version behind is a plausible reason for a stubborn black screen. If an update is available, install it and restart.
Next, quit every app that could be using the camera, including menu bar utilities. Then do a proper restart rather than just closing the lid. Mac camera helper processes tend to linger, and a restart is the safest way to reset them. You'll find guides online that suggest terminating camera helper processes in Terminal. A restart achieves the same result without typing commands that could affect other parts of the system, so it's the better first choice for most people.
If you use an external webcam on a Mac, plug it in before opening your call app, and check the app's camera menu to make sure it's chosen over the built-in one. Also remember Continuity Camera from earlier, which is a very Mac-specific source of confusion when an iPhone is nearby. As a last resort, starting the Mac in Safe Mode clears some caches and can confirm whether third-party software is involved, although it's rarely necessary.
Fix 8: Security Software and Work Policies
Some antivirus and internet security suites include a webcam shield. Its job is to stop unknown programs from using your camera, which is a good idea, but it can misfire. After an update, or after you install a new call app, the shield may block it without much fanfare, producing a black picture and a lit light.
Open your security software and look for terms like "webcam protection," "camera privacy," or "privacy shield." Add your call app to the allowed list, or temporarily switch the protection off to test. If the camera springs to life, you've found the cause, and you can turn protection back on with the proper exception in place.
If the computer belongs to your employer or school, camera access might be controlled by policy. Managed devices can disable the camera entirely, or restrict it to certain apps, and no setting you change will override that. In that situation, the fastest route is a short message to your IT team describing exactly what you see and which steps you've already tried. It shows you've done the basics and saves them time.
Fix 9: It Isn't Black, It's Just Dark
Sometimes the camera is fine and the room is the problem. Webcams have small sensors that need a decent amount of light, and in a dim room the automatic exposure may crush the picture down to something that looks almost black. Add a window or a lamp in front of you and see whether the image brightens. If it does, you've solved it without touching a single setting.
Check for the reverse too. A bright window directly behind you can fool the camera into darkening everything else. Turn the desk so the light falls on your face, or close the blinds.
Manufacturer apps often include exposure, brightness, and auto-light-correction controls. If a previous setting pushed exposure to the bottom, the picture could be very dark even in good light. Resetting the camera to defaults in the manufacturer's app fixes this. Windows also lets you adjust brightness and contrast for many built-in cameras. Look under Settings, Bluetooth & devices, Cameras, and open your camera to see what's available.
Symptom-to-Fix Cheat Sheet
Use this table to jump straight to the most likely cause once you've noticed how the problem behaves.
| What you see | Most likely cause | First thing to try |
|---|---|---|
| Perfectly black in every app, light on | Closed shutter or camera-off key | Check the cover and function row |
| Black in one app, fine in the built-in camera app | Wrong camera selected in that app | Open the app's video settings and pick another camera |
| Error mentioning another app is using the camera | Camera conflict | Quit other video apps, then restart |
| Black after a Windows update | Driver or permissions reset | Roll back the driver, recheck Privacy settings |
| Black or freezing on a USB webcam only | Hub power or bandwidth | Plug directly into the computer |
| Black or dark grey, monochrome look | Infrared camera chosen | Select the standard colour camera |
| Black only in a browser | Site permission blocked | Allow camera in the site's permissions |
| Very dark but faintly visible | Low light or exposure | Add light in front of you |
| Camera missing from Device Manager | Disabled device or hardware fault | Enable it, then reseat or replace the connection |
When the Hardware Really Is Failing
After all those fixes, a small share of cases will remain, and it's fair to consider real hardware trouble. Before you do, make sure you can honestly answer yes to these questions: Does the camera fail in the built-in camera app? Does it fail after a driver reinstall? Does it fail after a full restart with no other apps open? If the answer to all three is yes, the fault is unlikely to be a setting.
For an external webcam, the definitive test is a second computer. Plug it into another machine. If it's black there as well, the webcam or cable is at fault, and replacement is the sensible route. Many decent webcams cost little, and the time you've already spent probably outweighs the price of a new one. If it works on the second computer, the problem is on your original machine, which sends you back to drivers, ports, and settings.
For a built-in laptop camera, the picture is a little different. The camera module connects to the motherboard through a thin ribbon cable running through the lid hinge. Years of opening and closing can wear that connection, and drops or pressure on the lid can loosen it. Signs include a camera that works only at certain lid angles or disappears from Device Manager altogether. Repairing it usually involves opening the lid assembly, which is a job for a repair shop unless you're experienced. If your laptop is under warranty, contact the manufacturer first. Meanwhile, a cheap external webcam is an inexpensive workaround that gets you back on calls while you decide.
Be careful with any tool or website that claims to "repair" your camera in one click. Legitimate fixes come from your operating system, your laptop's manufacturer, or your webcam's maker. Random downloads add risk without adding anything you can't do yourself with the steps above.
Habits That Prevent a Repeat
Once your picture is back, a few small habits make it much less likely you'll be scrambling again.
- Test before important calls. Open the built-in camera app ten minutes early. Finding a problem with time to spare turns a crisis into a shrug.
- Fully close call apps after meetings. Minimised apps and stray browser tabs are the number one cause of conflicts.
- Keep the camera plugged straight into the computer. Reserve hubs for lower-demand accessories such as mice and keyboards.
- Update deliberately. Install system updates when you have time to check your camera afterwards, rather than minutes before a meeting.
- Confirm the camera in each new app. A quick look at the video settings when you first install something prevents wrong-camera surprises.
- Keep the lens clean and use the cover. If your camera has a shutter, get used to opening it as part of your pre-call routine.
- Keep a backup option. Joining from your phone as a fallback lets you attend the meeting while you sort out the computer afterwards.
None of these takes more than a few seconds, and together they cover most of the causes described above.
A Short Pre-Call Checklist
- Shutter open, lens clean.
- Only one video app running.
- Correct camera chosen in the app's settings.
- Room lit from the front.
- External webcam connected directly to the computer.
Frequently Asked Questions
Why is my webcam light on but the screen is black?
The light only shows that the camera has power or was asked to start. The picture can still be lost because of a closed shutter, blocked permissions, another app using the camera, the wrong camera being selected, a faulty driver, or a USB power problem. Testing in the built-in camera app quickly tells you which group of causes to investigate.
Can a Windows update cause a black webcam screen?
Yes. A feature or driver update can swap a working camera driver for a different one or reset your privacy permissions. Roll back the driver in Device Manager, then recheck Settings, Privacy & security, Camera. In most cases one of those two steps restores the picture.
Why does my webcam work in one app but show black in another?
Each app keeps its own camera choice and permission. The failing app may be set to an infrared or virtual camera, or it may not have been granted access. Open its video settings, choose your standard camera, and confirm the operating system allows that app to use the camera.
Is a black webcam picture a sign the camera is broken?
Rarely, at least at first. Most cases come from settings, software, or connections. Hardware failure becomes likely only if the camera also fails in the built-in camera app, fails on a second computer, and stays black after a driver reinstall and a restart.
Why is my external USB webcam black when it's on a USB hub?
Hubs and docks share limited power and data capacity among all connected devices. A webcam streaming high-resolution video may light up but fail to stream properly. Plug it directly into the computer, preferably into a USB 3 port, and test again.
Could my antivirus be blocking my camera?
It can. Some security suites include webcam protection that blocks camera access until you approve an app. Look in the software's privacy or webcam settings, allow your call app, or switch the protection off briefly to test. On work or school computers, an administrator may also control camera access.
Final Thoughts
A lit webcam with a black picture feels like a mystery, but it's really just a chain of small handoffs, and one of them is dropping the ball. Start with what you can see: the shutter, the lens, the light in the room. Move on to what the system controls, meaning permissions, competing apps, and the camera selection. Only then get into drivers and USB connections, and treat hardware failure as the last explanation rather than the first.
Work through the list in order and you'll almost certainly find the problem without spending anything. And once your face is back on screen, take the extra minute to build the habits above, because the best fix for a black webcam is not having to fix it at ten to the hour.
Image credits: photographs from Pexels, used under the Pexels license (free to use). Steps are written for current versions of Windows 11 and macOS; menu names can differ slightly between versions and manufacturers. If your device is under warranty or managed by an employer or school, contact the manufacturer or your IT team before making system changes.