
WordPress & Web Development Basics
How to Set Up a Local WordPress Development Environment (Without Touching a Command Line)
Every theme tweak you make on a live site is a small gamble. This guide walks you through building a private, offline WordPress sandbox where you can break things on purpose — and fix them before anyone else ever sees it.

Quick Answer
To set up a local WordPress development environment, download a local server app like Local by WP Engine, DevKinsta, or XAMPP, install it on your computer, then use the app's "create new site" wizard to spin up a fresh WordPress install running on your own machine — no hosting account, domain, or internet connection required. The whole process takes about 15 minutes on a normal broadband connection.
What's in this guide
- Why bother with a local environment at all
- Choosing the right local environment tool
- Step 1: Install a local server app
- Step 2: Create your first local WordPress site
- Step 3: Get familiar with what you just built
- Step 4: Install themes and plugins safely
- Step 5: Test permalinks and URL structure locally
- Step 6: Moving your local site to a live server
- Common problems and how to fix them
- Local development checklist
- Frequently asked questions
I broke a client's live site twice before I ever bothered setting up a local environment. Both times it was something small — a typo in functions.php, a plugin that quietly conflicted with the theme — but both times the site was down for real visitors while I scrambled to fix it. That's the moment most people finally get around to installing a local WordPress environment, and honestly, it's a lot less painful than the mistake that pushed them to it.
If you're just getting started with WordPress theming, plugin development, or even basic site maintenance, this is the single habit that will save you the most headaches. Nothing here requires prior coding knowledge. By the end you'll have a working WordPress site running entirely on your own laptop or desktop, completely disconnected from the internet, where you can click, break, and rebuild things as many times as you want.
Why bother with a local environment at all
A local WordPress environment is just a copy of WordPress — database, files, and all — running on your own computer instead of a hosting server. Nobody else can see it. It doesn't need a domain name. It doesn't cost anything beyond the disk space it uses. And critically, if you break it, the only person affected is you.
Compare that to editing directly on a live site. Every change is visible immediately to anyone who happens to load the page at the wrong moment. A missing semicolon in a custom function can produce the dreaded white screen for real visitors. A plugin update that clashes with your theme can take checkout pages offline during business hours. None of that is hypothetical — it's the normal cost of skipping local testing, and it adds up fast once you're managing more than one site.
There's a speed argument too, one that doesn't get talked about enough. A local site loads from your hard drive, not over the internet, so page loads and admin actions are close to instant. When you're iterating on a design — tweaking a template, testing a new block layout, adjusting spacing twenty times in a row — that speed difference turns a frustrating afternoon into a productive hour.
Choosing the right local environment tool
There are several solid options, and the "best" one really depends on how comfortable you already are with servers. If you've never installed a web server in your life, skip straight to Local — it's built specifically for WordPress and hides almost all of the technical plumbing.
| Tool | Best for | Setup difficulty | Notes |
|---|---|---|---|
| Local (by WP Engine) | Total beginners, freelancers, small agencies | Very easy | Free. One-click WordPress sites, built-in SSL, live push feature. |
| DevKinsta | Anyone already hosting with Kinsta | Easy | Free, includes database and email viewer tools out of the box. |
| XAMPP | Developers who want manual control over Apache/MySQL | Moderate | Free, general-purpose PHP stack, not WordPress-specific. |
| MAMP | Mac users wanting a lightweight PHP/MySQL stack | Moderate | Free tier available; Pro version adds extra tooling. |
| wp-env (Docker) | Plugin/theme developers comfortable with the command line | Advanced | Official WordPress tool, requires Docker and Node.js. |
For the rest of this guide, we'll use Local, since it's the option most beginners land on and stick with — but the underlying steps (create a site, log into wp-admin, install a theme, test permalinks) apply no matter which tool you pick.

Step 1: Install a local server app
Download and run the installer
Head to Local's official site and download the version that matches your operating system — Windows, macOS (Intel or Apple Silicon), or Linux. The download is a single installer file, usually somewhere around 500–600 MB, since it bundles its own copies of PHP, MySQL, and a lightweight web server so you don't have to install any of that separately.
Run the installer like you would any other application. There's nothing unusual to configure at this stage — accept the defaults unless you have a specific reason to change the install location.
Let it finish and open the app
Once installation finishes, launch the app. The first screen you'll see is an empty dashboard with a single button: "Create a new site." That's your starting point for everything that follows.
Step 2: Create your first local WordPress site
This is where most beginners expect complexity and get a pleasant surprise instead. Local walks you through three short screens.
Name your site
Give it a plain, descriptive name — something like "client-redesign-test" or "theme-sandbox." This name becomes part of your local URL (typically yoursitename.local), so avoid spaces and special characters.
Choose your environment
You'll be asked to pick a "Preferred" environment (Local's recommended, sensible defaults) or a "Custom" one where you manually choose the PHP version, web server, and database version. As a beginner, choose Preferred. You can always clone the site later and test a different PHP version without touching your original.
Set up WordPress
Finally, enter a WordPress admin username, password, and email address for this local install. These credentials are only used locally — they have nothing to do with any live hosting account, so feel free to use something memorable rather than a high-security password here.
Click "Add Site" and wait roughly 30–60 seconds. Local is quietly setting up a database, installing WordPress core files, and configuring the local server to serve them. When it finishes, you'll land on a site overview screen with two buttons: "Admin" and "View Site."
Step 3: Get familiar with what you just built
Before installing anything, spend five minutes poking around the file structure — it makes troubleshooting far less mysterious later on. Local gives you a shortcut button (usually labeled "Open Site Folder" or similar) that opens the WordPress install directly in your computer's file explorer.
Inside, you'll find the same structure every WordPress install shares:
- wp-content/themes/ — where every installed theme lives, including any child theme you create
- wp-content/plugins/ — every installed plugin, each in its own folder
- wp-content/uploads/ — media library files, organized by year and month
- wp-config.php — database connection details and core configuration constants
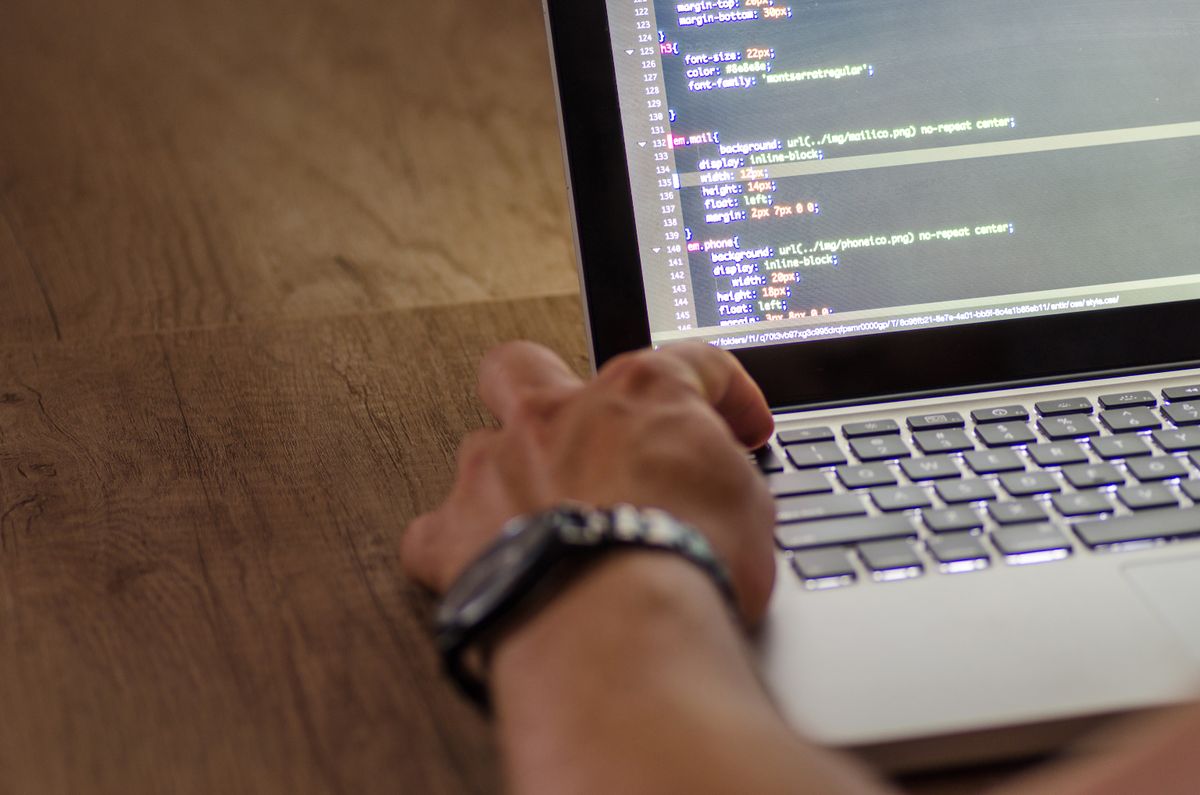
You can open and edit these files directly with any code editor — Visual Studio Code, Sublime Text, even Notepad in a pinch — and refresh your browser to see changes instantly, without deploying anything or touching FTP.
Step 4: Install themes and plugins safely
Log into wp-admin using the credentials you set during site creation. From here, WordPress behaves exactly like it would on a live server — the same dashboard, the same menus, the same "Add New" buttons under Themes and Plugins.
This is the ideal place to test anything risky before it ever touches a real site:
- Trying out a new page builder or block plugin without worrying about it conflicting with something already live
- Testing a theme update before applying it to a client's production site
- Building and debugging a child theme from scratch — if you haven't done this yet, our step-by-step child theme guide walks through exactly that, and doing it locally first means you can safely tinker with
functions.phpwithout any risk to a live site - Installing a caching or security plugin to see how it behaves before rolling it out
Because everything here lives only on your machine, there's no consequence to trial and error. Install five different themes back to back if you want to compare them side by side. Delete a plugin that turned out to be a bad fit. None of it is visible to anyone but you.
Step 5: Test permalinks and URL structure locally
One detail that trips up a lot of beginners: local environments handle URL rewriting slightly differently than most live hosts, especially if your local server is using nginx instead of Apache. If you plan on changing your permalink structure, it's worth testing that locally first, since a broken rewrite rule is a very common source of local-only "Page Not Found" errors.
Go to Settings → Permalinks in your local wp-admin, choose "Post name" (the SEO-recommended structure), and click "Save Changes" — even if nothing else changed. This forces WordPress to regenerate its rewrite rules, which resolves the majority of local 404 issues. If you want the deeper reasoning behind why "Post name" is the structure most sites should be using, our WordPress permalinks SEO guide covers the tradeoffs between each option in more detail.
Local by WP Engine handles this rewriting automatically in most cases, but if you're using XAMPP or MAMP, you may need to confirm that Apache's mod_rewrite module is enabled and that your .htaccess file allows overrides. This is one of the rare spots where the "beginner-friendly" tools genuinely save you time over the manual ones.
Step 6: Moving your local site to a live server
Eventually you'll want what you built locally to exist on the actual internet. There are a few ways to do this, ranked roughly from easiest to most manual.
Option A: Built-in push feature
Local includes a "Connect" feature for certain hosts (WP Engine being the obvious one, though other hosts are supported through add-ons) that lets you push your entire local site — files and database together — to a live server with a few clicks. This is by far the least error-prone method if your host supports it.
Option B: Migration plugin
Tools like Duplicator or All-in-One WP Migration package your local site's files and database into a single downloadable archive. You install the same plugin on the live site, upload the package, and it rebuilds everything — including your theme, plugins, and content — on the new server. This works regardless of which host you're moving to.
Option C: Manual export and import
The most hands-on approach: export the local database using phpMyAdmin or Adminer (both accessible through Local's site tools), manually upload your wp-content folder via FTP, import the database on the live server, and update the site URL in wp-config.php or through a search-and-replace tool. This gives you the most control but also the most room for a missed step.
Common problems and how to fix them
"This site can't be reached" when visiting yoursite.local
Usually means the local server stopped running in the background. Reopen Local, select your site, and click "Start" if it shows as stopped. On Windows, a firewall prompt asking to allow Local network access sometimes gets dismissed accidentally — check your firewall settings if restarting doesn't help.
Mixed content warnings or broken styling
Often caused by a site URL mismatch — content referencing https:// when your local site is serving over plain http://, or vice versa. Check Settings → General in wp-admin and confirm both the WordPress Address and Site Address match what your browser is actually loading.
404 errors on every page except the homepage
This is almost always a permalinks issue. Revisit Settings → Permalinks and re-save, as described in Step 5 above. If that doesn't resolve it, confirm URL rewriting is enabled at the server level.
Local site is noticeably slower than expected
Check how many sites you have running simultaneously inside Local — each one runs its own background server processes. Stopping sites you're not actively working on frees up meaningful RAM, especially on machines with 8GB or less.
Changes to a PHP file aren't showing up
Confirm you're editing the file inside the correct site folder — it's easy to have two similarly named local sites and edit the wrong one. Also check whether a caching plugin is installed locally; caching plugins are rarely necessary on a local environment and can mask changes while you're actively developing.

Local development checklist
- Local server app installed and confirmed running
- First test site created and reachable in a browser
- Logged into wp-admin with local-only credentials
- File structure explored — themes, plugins, and uploads folders located
- Permalinks set and re-saved to confirm rewrite rules work
- At least one theme or plugin installed and tested for conflicts
- Migration method chosen and tested on a low-stakes project before relying on it for client work
- Live site backed up before any future push or migration
Frequently asked questions
Do I need to know how to code to set up a local WordPress environment?
No. Tools like Local, DevKinsta, and XAMPP install WordPress through a graphical wizard. You don't need to write a single line of code to get a working local site up and running.
Is a local WordPress environment the same as a staging site?
No. A local environment lives entirely on your own computer and isn't reachable from the internet. A staging site is hosted on a server and used to preview changes before they go live. Many developers use both — local for early experiments, staging for final client review.
Will setting up WordPress locally slow down my computer?
A single local WordPress install uses a modest amount of RAM and disk space — comparable to running a browser with several extra tabs open. Running four or five sites at once is where older machines start to feel it.
Can I use a local WordPress site without an internet connection?
Yes, mostly. The core site, admin dashboard, theme editing, and plugin testing all work offline once installed. You'll only need a connection to download new plugins or themes from the WordPress repository.
What's the easiest tool for a total beginner to set up local WordPress?
Local (by WP Engine) is generally considered the easiest starting point. It bundles PHP, MySQL, and a web server into one installer with a simple point-and-click interface, so there's no separate server software to configure.
How do I move my local WordPress site to a live host?
Most local tools include a one-click push or export feature, or you can use a migration plugin like Duplicator or All-in-One WP Migration to package the database and files and import them on your live host.
Wrapping up
None of this is complicated once you've done it once — that's really the whole point of writing it down step by step. The install takes fifteen minutes, the first site takes another minute after that, and from there every future project starts the same safe way: build it locally, break it as many times as you need to, and only push it live once you're confident it's ready.
If you're setting up a local site specifically to build out a child theme or clean up a permalink structure, the two guides linked below pick up exactly where this one leaves off.